I may earn from purchases through links in this post.
There are people for whom dessert isn’t dessert without chocolate.
If you’re one of those people, this collection of spectacular chocolate desserts is for you.
There’s a range of skill levels for these recipes (the brownies are easier than the mousse cakes). And these recipes include everything from milk chocolate and dark chocolate to cocoa powder and cocoa nibs.
As with so many things in life, with chocolate, you get what you pay for. You can cheap out on plenty of other ingredients and not notice, but if you have a few extra dollars to spend on cocoa powder or a bar of chocolate, you’ll find it makes a difference.
But what counts as good chocolate is whatever tastes good to you.
Happy baking!
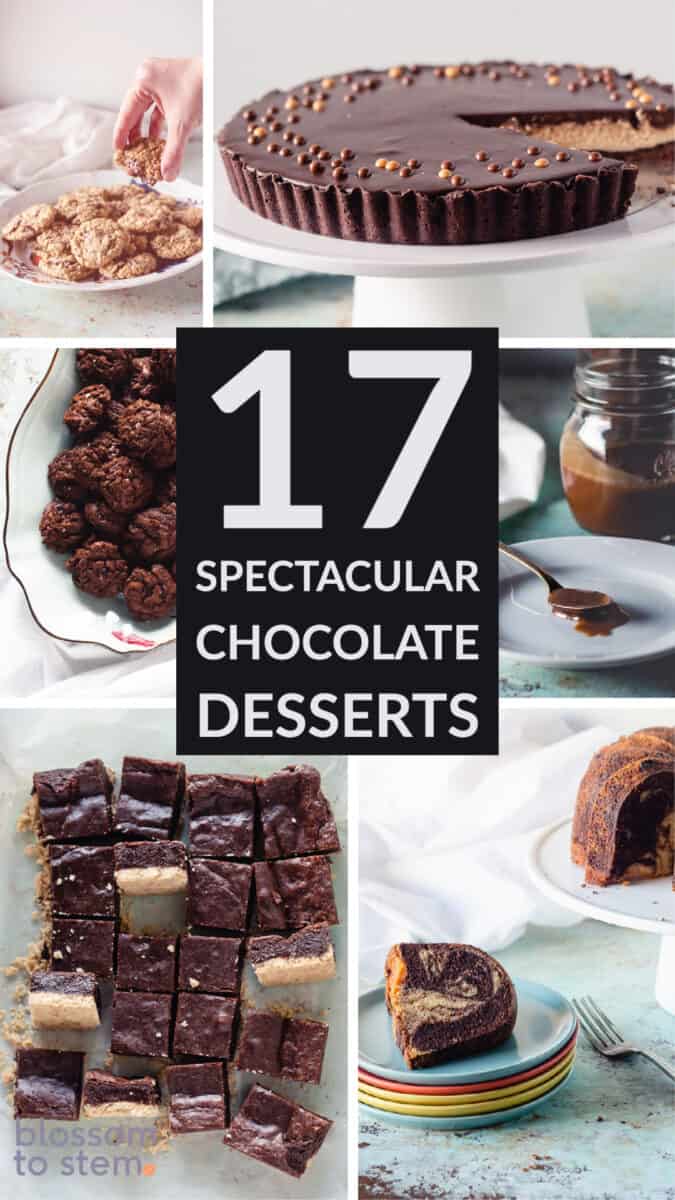
Chocolate Recipes
It's tough to be chocolate for a rich and satisfying dessert. Here's a selection of some of my favorite chocolate desserts. They include cookies, brownies, tarts, frozen treats, and some pastry-chef worthy mousse cakes (those are worth it if you're up for a challenge).
The brownies, blondies, cookies, and semifreddo are great places to start if you want something easier.
There's something for every chocolate fan here!
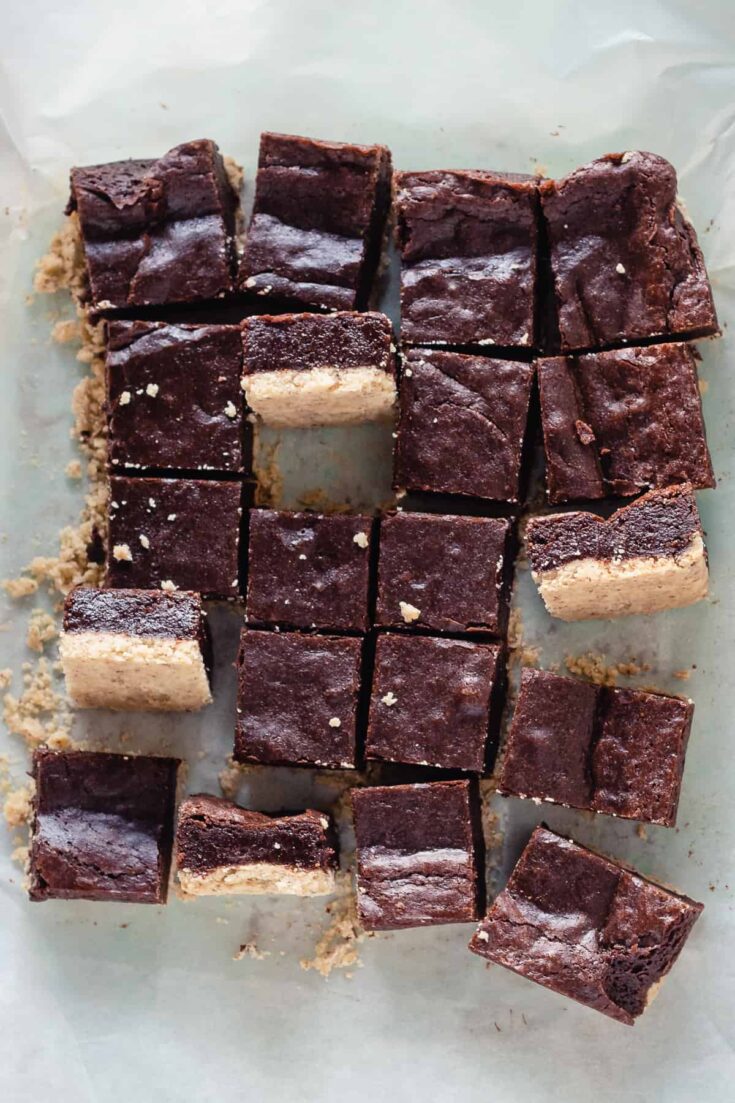
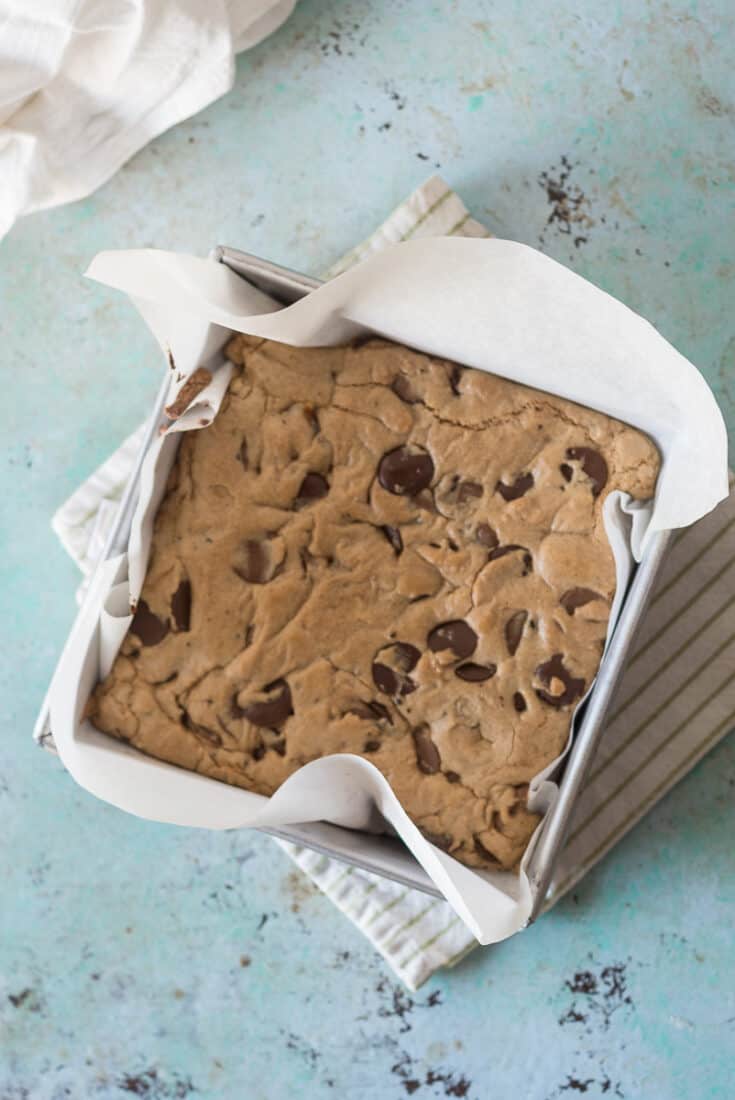
These brownies are one of my favorite easy-to-make desserts. They manage to combine the decadent pleasure of a fudgy brownie with the crisp, buttery, nutty texture of almond shortbread. You can pulse almonds in a food processor to make almond meal if you don’t want to buy it separately. Or you can omit the almond meal completely if you want to avoid nuts. These are quite rich, so cut them small. You can always have a second one.
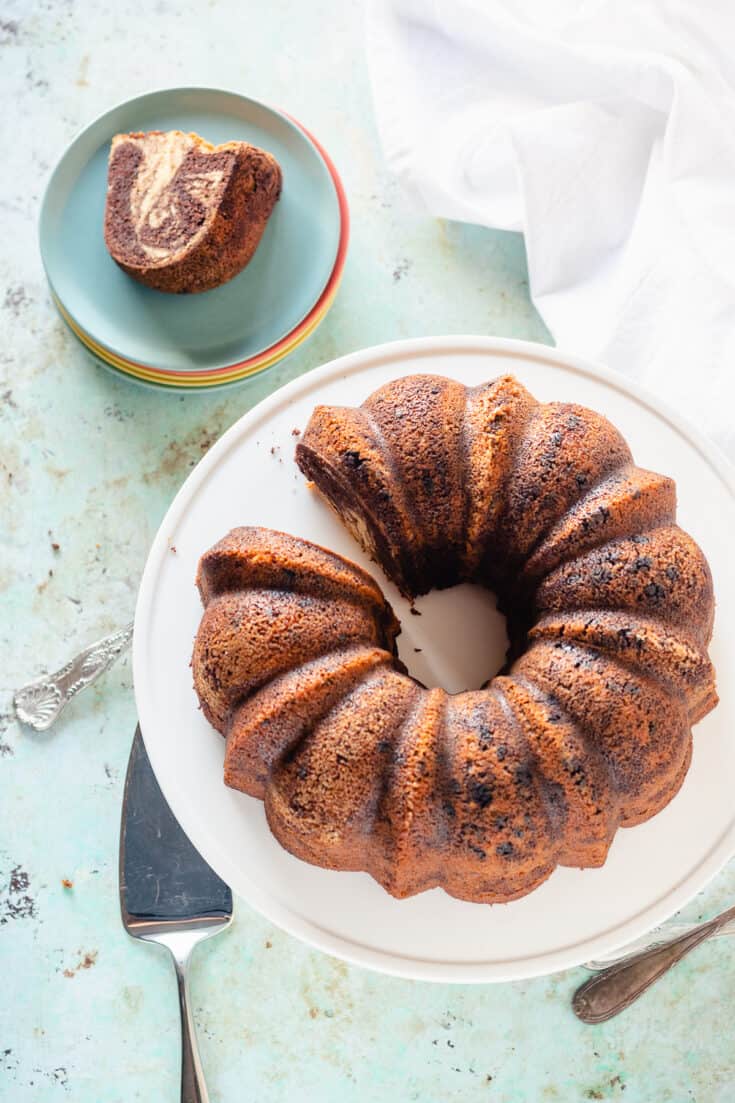
This marbled chocolate orange olive oil Bundt cake has bright citrus flavor from the zest of two oranges.
There's some almond meal for bit of nutty richness, and espresso powder deepens the chocolate flavor. You can use either natural or Dutch process cocoa powder here. It's worth it to splurge on the cocoa powder if you have the budget—it makes a difference.
Use an olive oil that's on the milder side for this.
If you don't have Bundt pan you can bake this in two standard loaf pans.
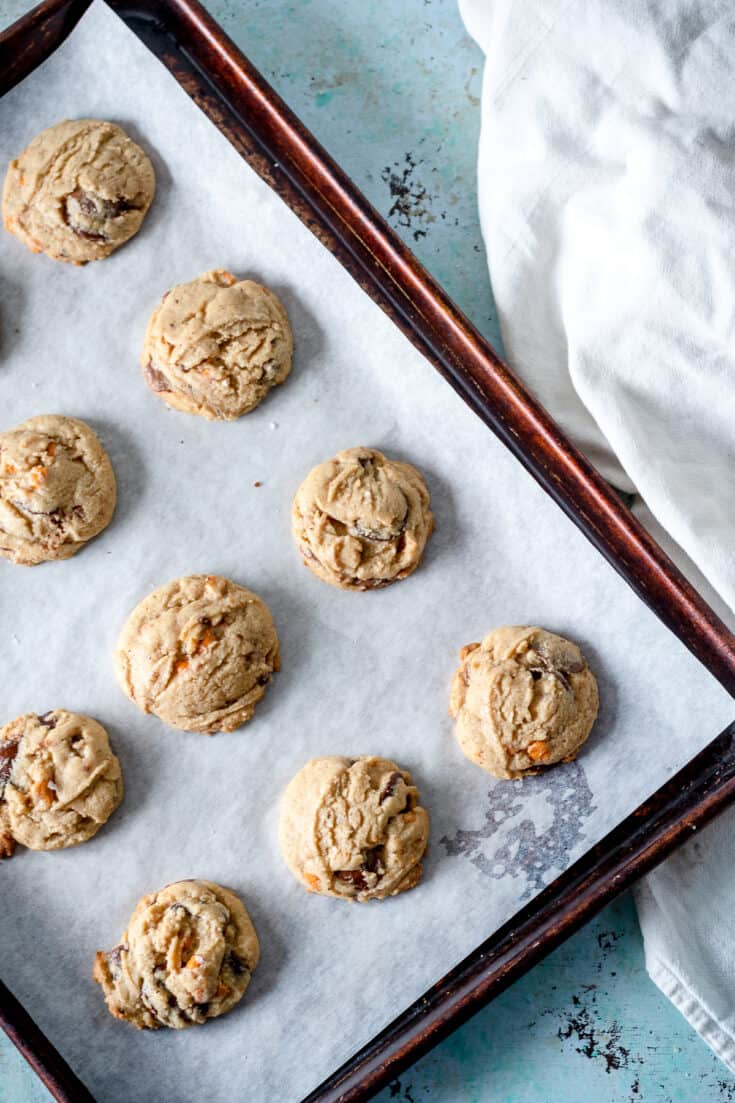
I love these cookies. They call for three kinds of sugar: light brown sugar, turbinado, and granulated sugar, but you can skip the turbinado if you don't have it and just use more brown sugar in its place. I love the toasty oat flavor that oat flour brings, but you can use all all-purpose if you don't want to bother. You can make these with all chocolate chips or any mix of chocolate and butterscotch chips you like, just use a pound total (I recommend looking for good quality chocolate chips like Guittard or Ghirardelli, but use whatever you like). So I'm saying these are incredibly flexible. They get even better if you let the dough rest overnight, but if you want cookies right now (and who doesn't) you can go ahead and scoop them and bake them right away. They really benefit from a generous sprinkle of flaky sea salt on top before they go into the oven (I'm partial to Maldon). Also, your life will be easier and your cookies will all be the same size (and pair up easily for ice cream sandwiches) if you use a medium cookie scoop (aka #40 disher).
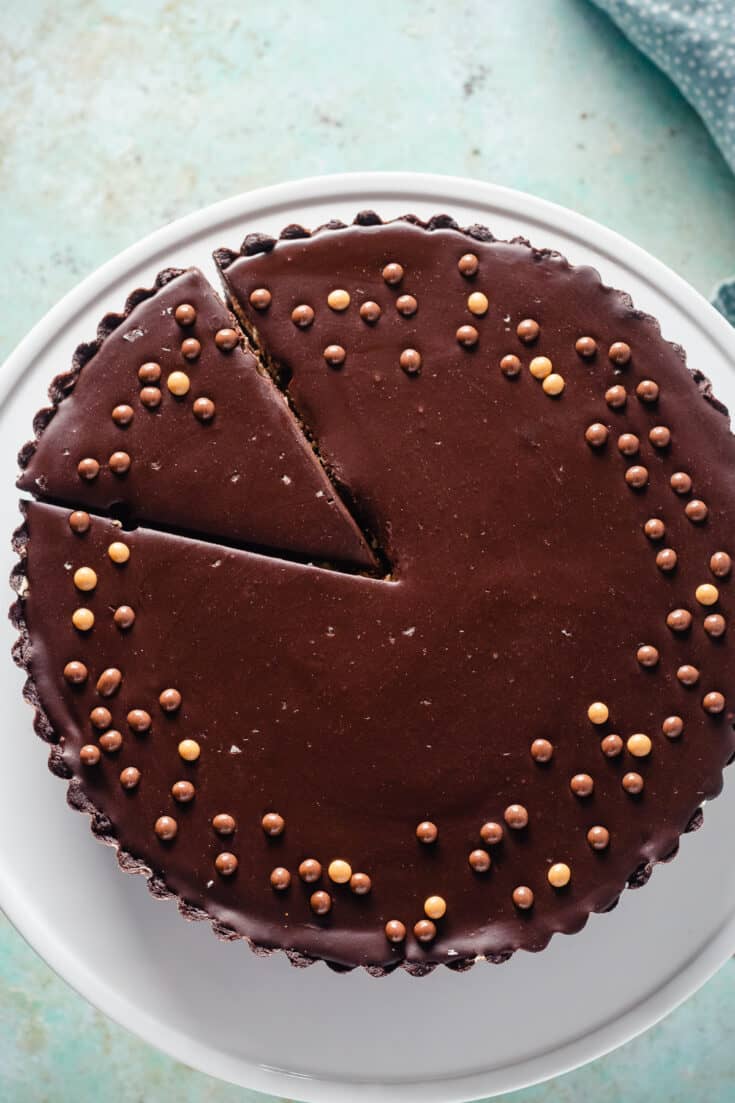
This chocolate peanut butter tart is like a giant peanut butter cup with a crisp chocolate shortbread crust, a light peanut butter mousse filling with whipped cream and crème fraîche (that I could eat with a spoon on it's own). I like to use Skippy (or a similar style) creamy peanut butter rather than an all natural peanut butter because I find it blends better. I recommend using a high quality cocoa powder in the crust like Valrhona or Droste rather than the really cheap stuff (it's a place where splurging a little makes a big difference). I go for a chocolate in the 60-60% cacao range in the ganache, but it will work with any percentage of milk or dark chocolate you like (but I'd avoid chocolate chips which are made with additives that prevent melting smoothly). This tart is rich, so I like to serve it in small slices (10-12 slices per tart) but you do you.
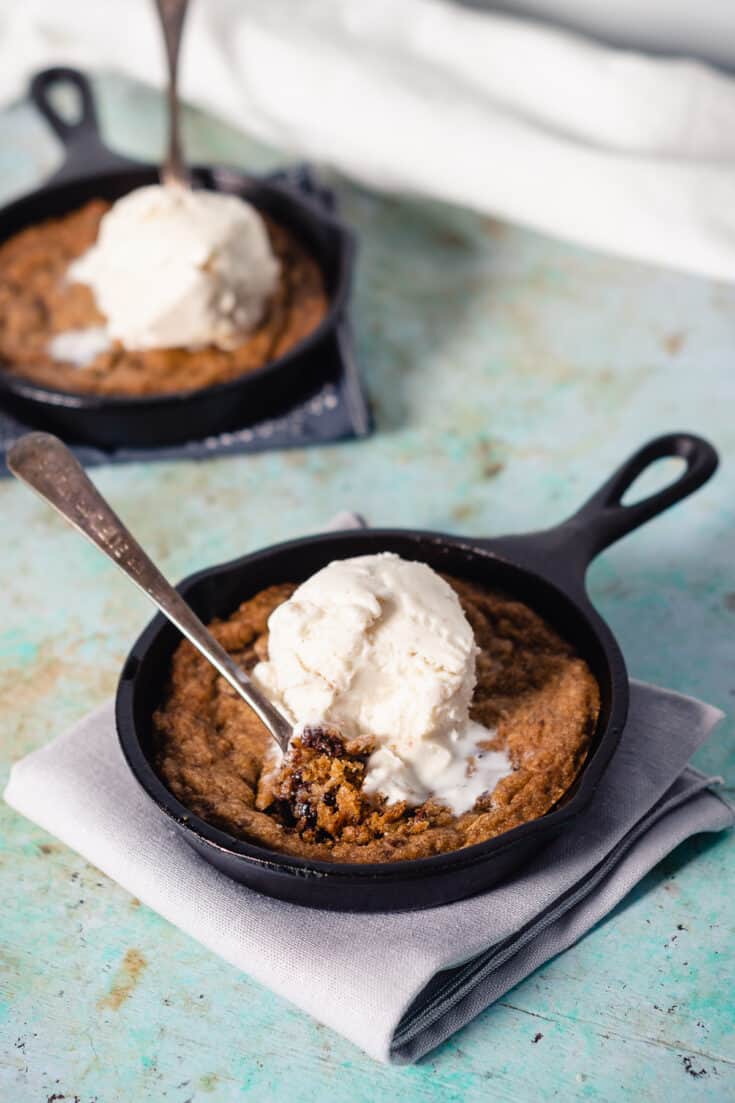
These skillet cookies are rich with brown sugar, an extra splash of vanilla, and studded with chunks of bittersweet chocolate. You can use chocolate chips or chop your own for little flecks of chocolate spread throughout the dough.
The tops are sprinkled with flaky sea salt before they go into the oven to give them a salty edge to cut through the sweetness.
It's worth noting that there are two common sizes of mini cast iron skillets. These are shown in 5-inch skillets. This makes six skillet cookies of that size.
You can also make them in 3.5-inch cast iron skillets. In that case, divide the dough into 8 portions and proceed as directed.
You can make these all at once if you have enough skillets, but you can also bake one or two of them and portion and freeze the dough to bake later.
To bake from frozen, add an additional 2 minutes to the bake time. (Don't thaw first.)
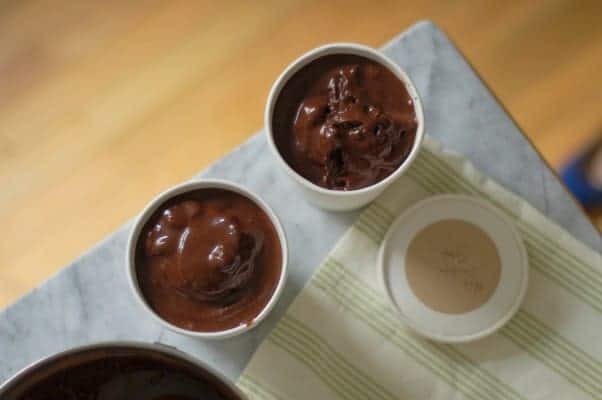
This mint chocolate sorbet made me come around on the mint chocolate flavor pairing. It’s dark and intensely chocolatey. The fresh mint keeps the flavor natural. You can use either semisweet or bittersweet chocolate. I usually use bittersweet, which is the darker of the two. If you like things on the sweeter side, go with semisweet chocolate here. I like to use glucose syrup in my sorbets to help keep them a bit softer and more scoopable. You can substitute corn syrup (I don’t think it’s evil when used in moderation in the occasional homemade dessert) or you can replace it with the same amount of sugar. Be sure to chill the mixture down until it’s very cold (it won’t freeze properly in the ice cream maker if it isn’t at or below 40ºF). If you don’t want to wait till the next day to have your sorbet, you can speed up the chilling process by pouring the mixture into a zip top bag and submerging it in an ice bath. It should be cold enough to process after about 30 minutes.
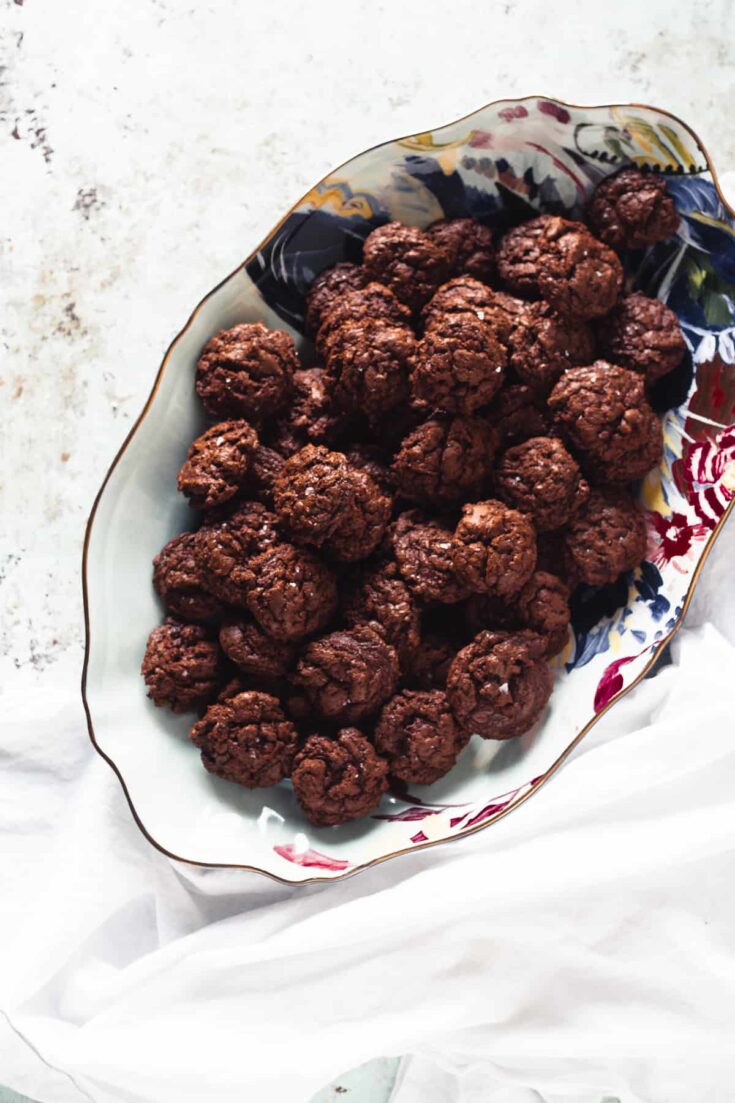
These cookies have a whole pound of bittersweet chocolate in them. The result is an intensely chocolatey, not-too-sweet cookie with a truffle-like texture. The rye flour here is subtle, but it brings in warm malty notes. Note that while these cookies are wheat free, they are not gluten free (rye contains gluten). Muscovado sugar is a dark unrefined cane sugar with complex molasses notes. It’s available at specialty grocery stores like Whole Foods and online. You can substitute dark brown sugar, which is similar, but not as complex. For the sea salt, go for something with big flakes that will be perceptible as little salty nuggets of flavor. My favorite brand is Maldon, but you can use any flaky salt you like. Robertson recommends Valrhona chocolate, I used Guittard, but you can use any bittersweet chocolate you like in the 68-72% range (don’t use chocolate chips, which have coatings that won’t let them melt properly here). This dough is quite sticky–your life will be easier if you use a disher/cookie scoop and parchment paper.
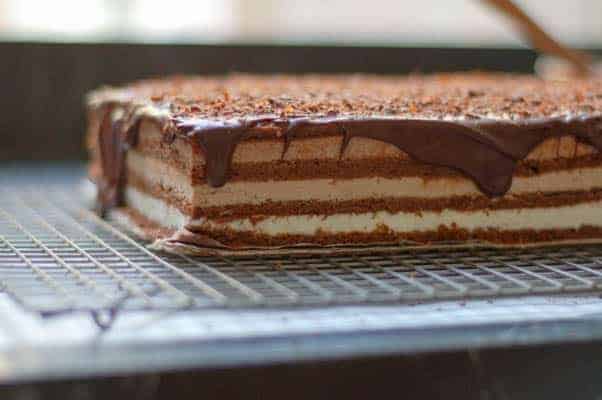
This cake sounds decadent, but when you eat it, it feels incredibly light. It’s a project. It needs to be started at least two days before you want to serve it. It’s totally worth all of the work. I think this is one of the best desserts I’ve ever made. It’s worth using good quality chocolate here. I used Guittard for the milk and dark chocolates because that’s what I had on hand and Ghiradelli for the white chocolate because that’s what I could find at the grocery store. The coffee flavor is very mild in the finished cake. It serves to deepen the chocolate flavor rather than stand out on its own. This makes a big cake. If you aren’t feeding a crowd, you can cut the frozen cake in two and store half of it, well wrapped, in the freezer for another time. I probably could have done that with this one. (Did I mention this cake happens to be gluten free and grain free, and I’m pretty sure it’s kosher for Passover for those having a dairy friendly meal?)
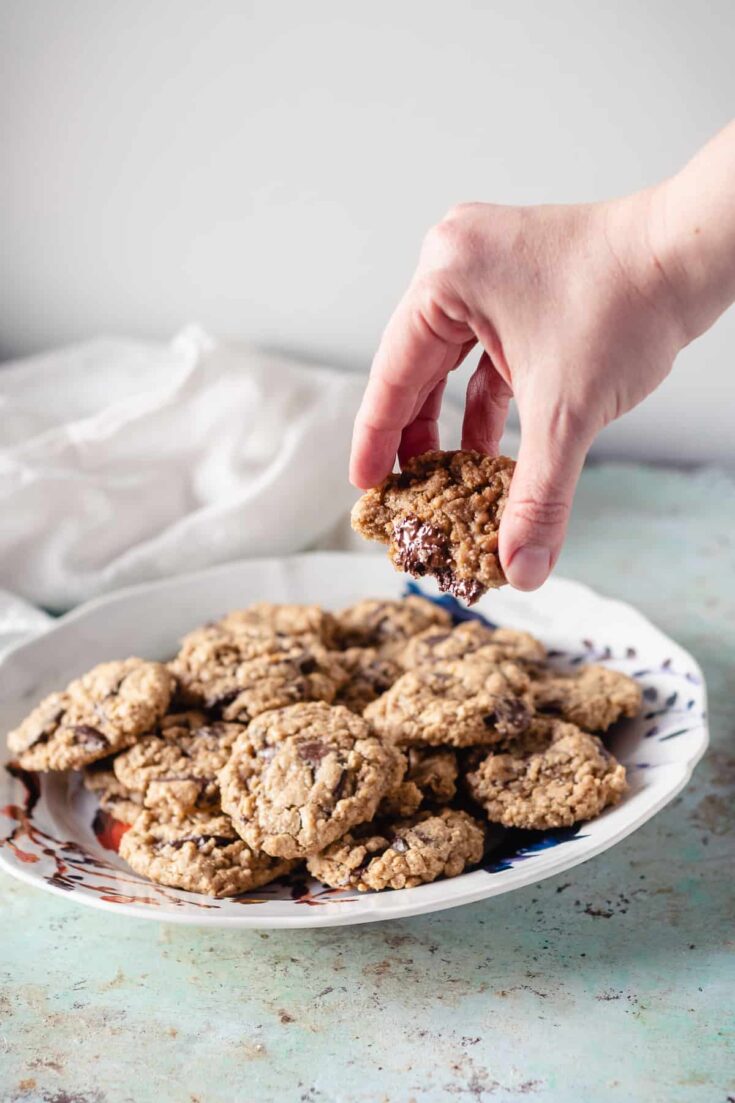
These oatmeal chocolate chip cookies are chewy, oaty, and so packed with chocolate the dough barely holds it together. I like to use dark brown sugar in these for its deeper flavor, but light brown sugar will absolutely work as well. You can either chop a chocolate bar or use chocolate chips for these, but whatever you do use a chocolate you like to eat on its own. It's worth splurging on the better grocery store chocolate chips like Ghirardelli or Guittard or chopping some Trader Joe's Pound Plus. I like to sprinkle the tops with a flaky sea salt like Maldon. If you don't want to buy that, you can skip it or sprinkle the tops very judiciously with kosher salt. You can scoop the dough ahead of time and freeze it if you want to bake them later.
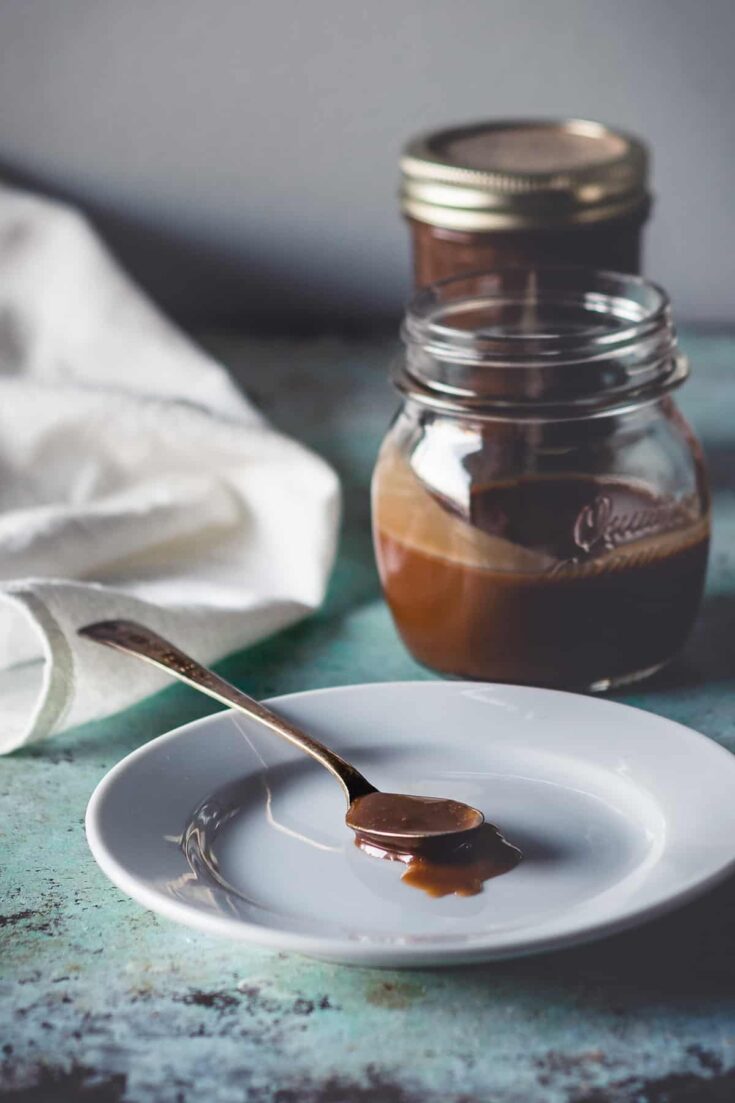
This sauce is a twist on classic hot fudge with halvah, which is a sweet sesame candy, and milk chocolate, and a hint of coffee in the background. It's sort of like the combination of chocolate and peanut butter, but more surprising. Use a good quality milk chocolate here. I used Guittard 38% cacao here, but I'm also a fan of Tcho milk chocolate baking discs and Ghirardelli milk chocolate baking bars, which can be found in most grocery stores. This sauce has a wonderful thick, gooey consistency. You will need to use golden syrup (or glucose or corn syrup) to get the texture right (sugar on its own won't do the trick here). The sauce keeps for at least 6 months in the refrigerator.

This cake is a big project and not for the faint of heart, but it’s worth it. It’s a rich, dark chocolatey stunner of a cake with layers of flourless chocolate soufflé cake, whipped caramelized white chocolate ganache with salty chocolate shards, and sturdy dark chocolate ganache, all covered in bittersweet chocolate mousse and topped with a shiny mirror glaze. It involves chocolate components rendered in different hues and textures and levels of sweetness which make it perhaps the most complex chocolate dessert I’ve ever made. When you take on a project like this, it helps to have a game plan. I’d suggest making the caramelized white chocolate three days before you want to serve the cake, making the flourless chocolate soufflé cake, the caramelized white chocolate ganache base and salted chocolate shards two days before you want to serve the cake, and making the soaking syrup, bittersweet chocolate mousse and dark chocolate ganache and assembling the cake the day before you want to serve it. The assembly day places the biggest demands on your time. The day of, all you need to do is top the cake with the final layer of dark chocolate ganache and make the mirror glaze and spread it over the cake. Finally, you can unmold it and garnish with fresh flowers. [Edit: in the time since I first made this, caramelized white chocolate has become commercially available, so you can start with something like Valrhona Dulcey and skip the caramelization step.]
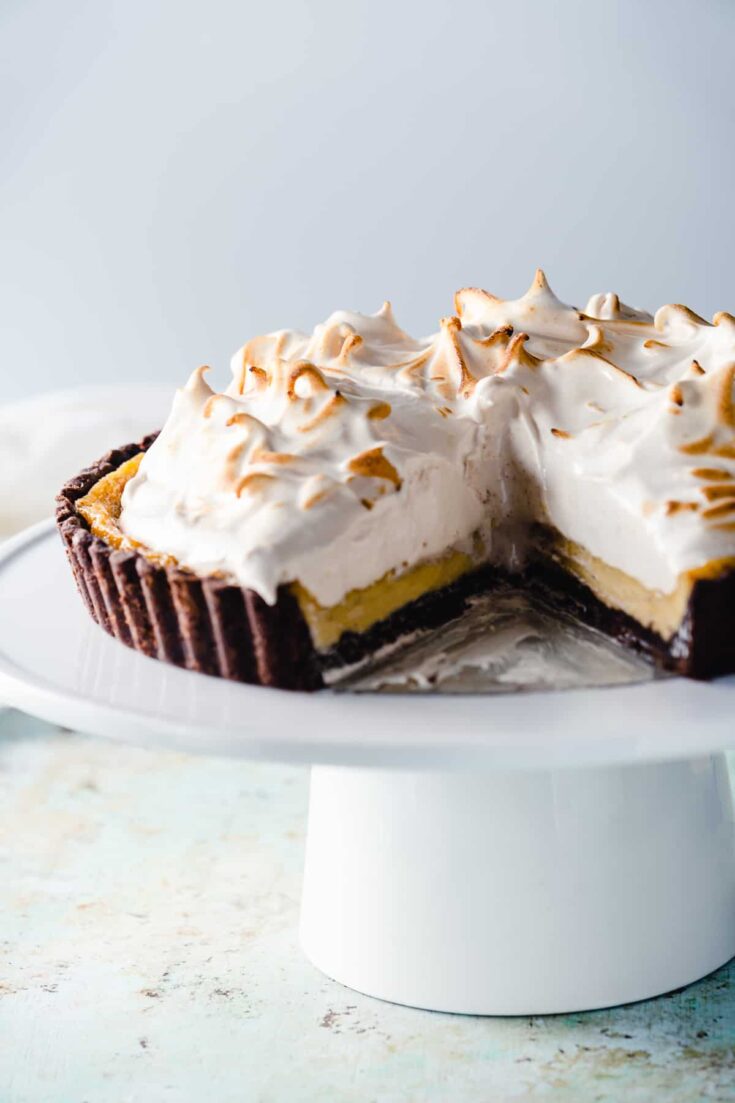
In this banana custard tart, bananas are steeped in a cream and sugar mixture to infuse the banana flavor, and then the bananas are strained out to make a silky smooth custard.
This tart uses my favorite easy chocolate shortbread crust, which is a cinch to make.
It also gets topped with brown sugar Italian meringue, which conveniently uses up the egg whites left over from the custard filling. It's easier to separate eggs when they are cold, so separate these straight out of the refrigerator.
I like to use dark brown sugar here for the extra molasses flavor. The nutmeg helps bring out the banana flavor. Freshly grated nutmeg is worth the trouble if you have a microplane.
You can make the crust up to a day ahead of time. You can make the meringue while the tart is chilling.
This works with a 9- or 9.5-inch tart pan.
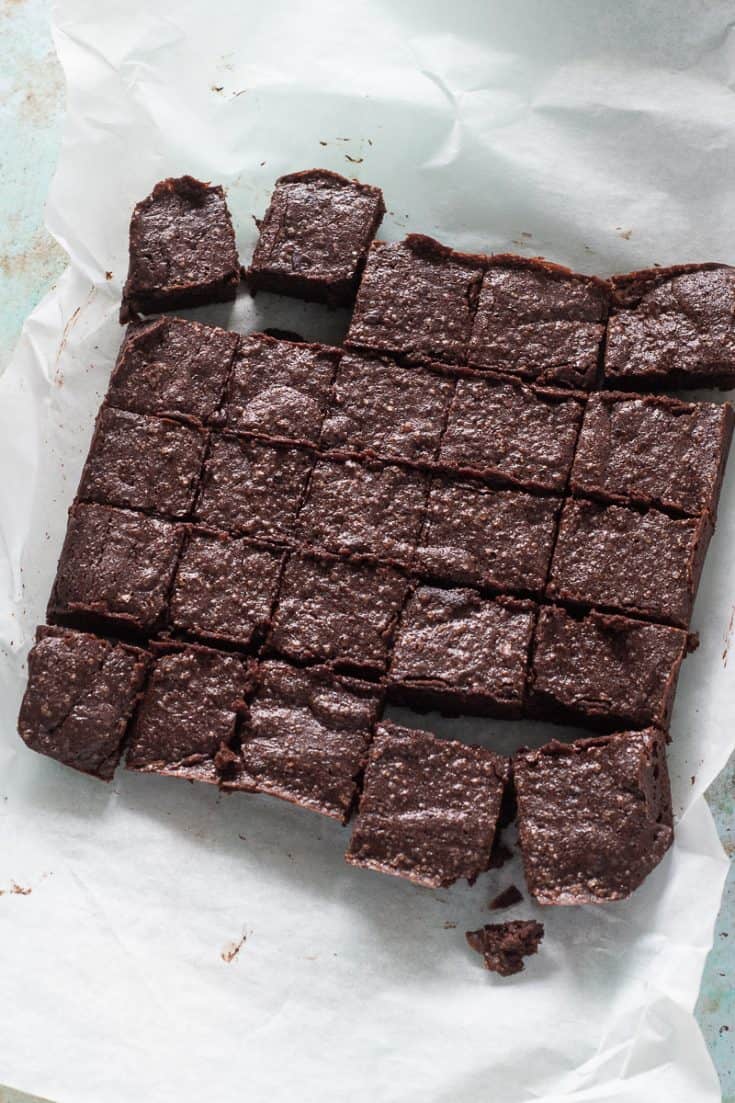
These brownies are rich and fudgy. They get their chocolate flavor from a combination of chopped bittersweet chocolate and cocoa powder. These are quite rich, so cut them small. You can always have a second one.
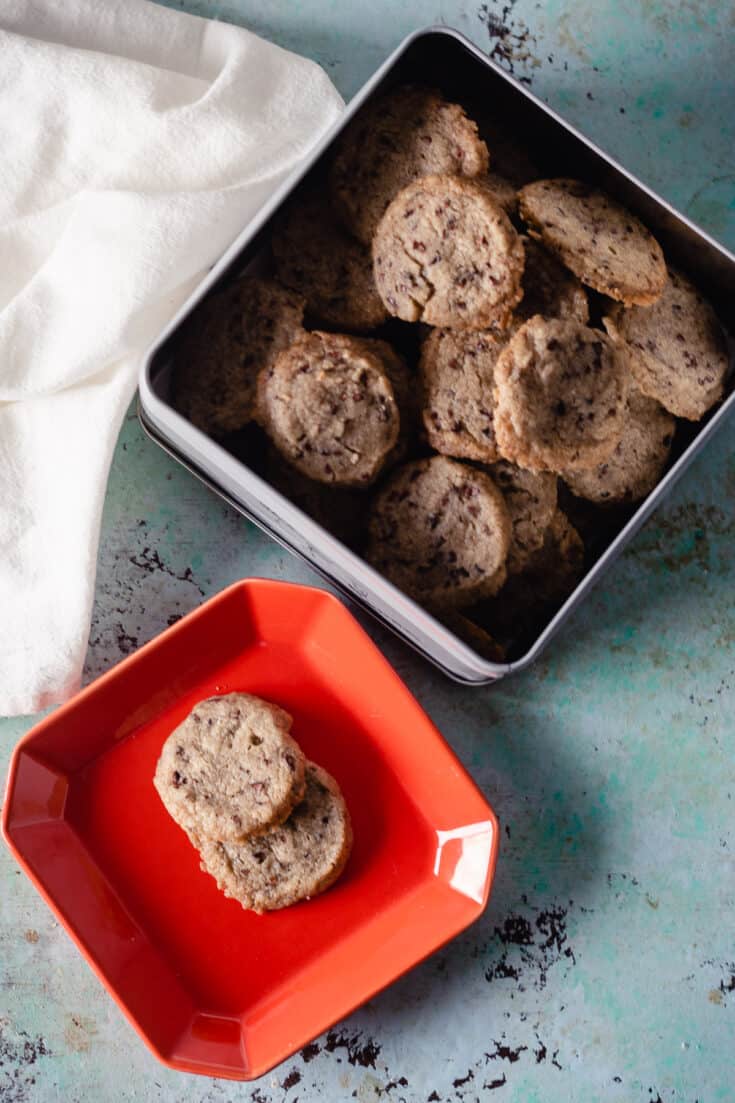
These crisp, buttery cookies get a sandy texture from the buckwheat flour, which is increasingly available at regular grocery stores from brands like Bob's Red Mill and Arrowhead Mills. Cocoa nibs (bits of roasted cocoa beans, sometimes called cacao nibs) can be a little trickier to find, but are available online and from specialty food stores. Valrhona cocoa nibs are my favorite, but I also like Sharffen Berger and there are plenty of other brands available that I haven't tried. These cookies get better with age. I like to let the dough rest overnight (though a few hours is fine) and I like to bake the cookies at least a day before I plan to eat them. The flavor and texture improve as they sit.
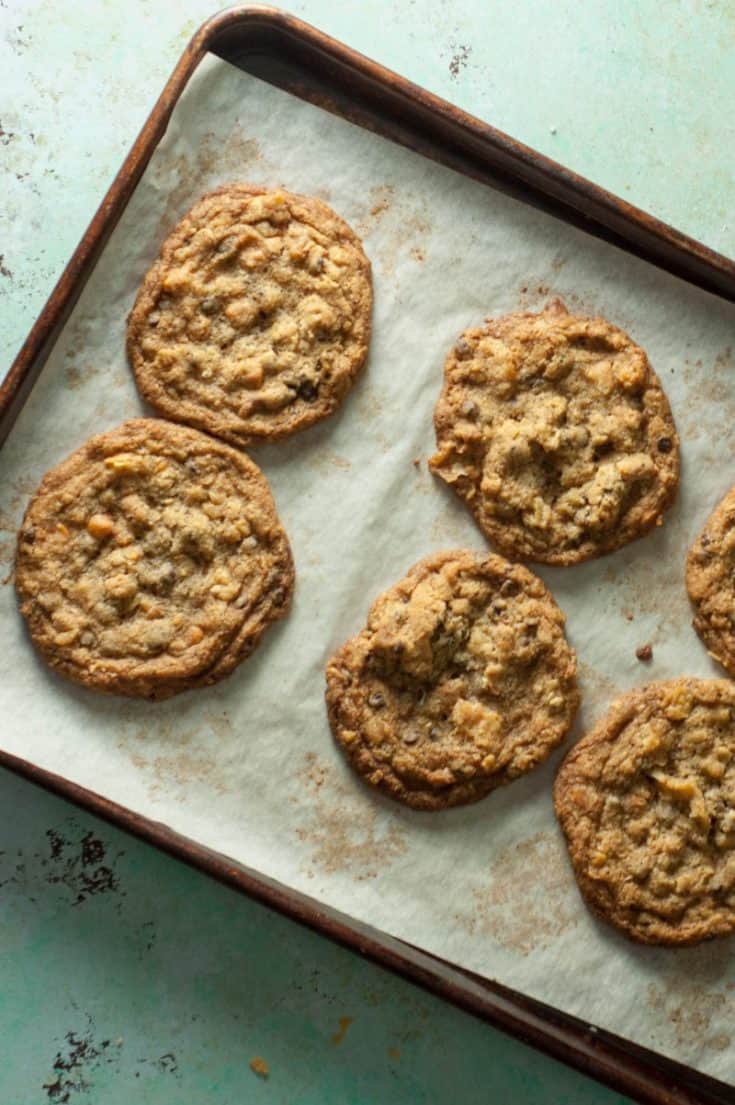
These are a worthy entry into the broad category of cookies with a hodge podge of add-ins sometimes called “kitchen sink cookies” or “garbage cookies.” The add-ins are flexible and can be adjusted to suit your tastes. These cookies need to chill at least an hour before baking, so plan ahead. I prefer to chill them overnight. These are big cookies, more along the lines of the size of cookies you often find at bakeries than those that usually come out of home ovens. Be sure to give them plenty of room to spread in the oven–only 6 cookies fit on a half sheet pan. These make amazing ice cream sandwiches.
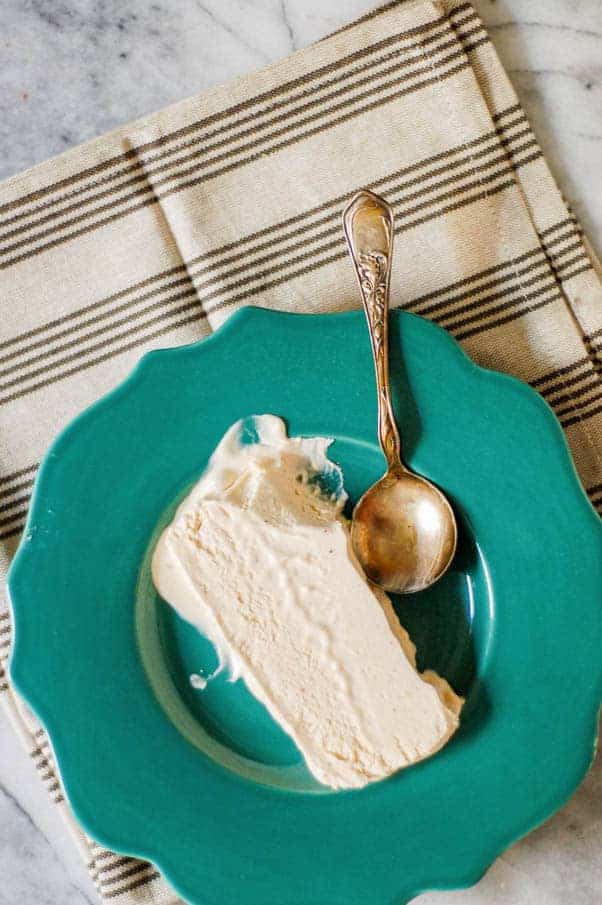
This semifreddo is made from just three ingredients: cocoa nibs, white chocolate, and heavy cream (plus a pinch of salt). I think of the combination of the cocoa nibs and the white chocolate and cream as a sort of deconstructed-reconstructed milk chocolate. This semifreddo is my own creation, but I credit Alice Medrich’s excellent chocolate book Bittersweet with inspiring me to play around with ingredients like cocoa nibs in the first place. Medrich got me thinking about using the nibs to infuse whipped cream and got me thinking about a new approach to chocolate in general. (Medrich is my chocolate guru, and I’d recommend any of her books, including Sinfully Easy Delicious Desserts for anyone looking for new dessert ideas.) Cocoa nibs, sometimes called cacao nibs, are available at higher end grocery stores like Whole Foods. They’re also available online. Semifreddo is a sort of frozen mousse, like ice cream with a lighter texture. Unlike ice cream, it’s whipped before it is frozen, and it doesn’t require any churning in an ice cream maker. I used a stand mixer to make this, but a hand mixer will definitely work here. You could even whip it by hand with a whisk for a little upper body workout. Just be sure to transfer it into a large bowl before whipping to allow for the increase in volume.