
The best pizza dough, chewy thin crust with a puffy rim
I may earn from purchases through links in this post.




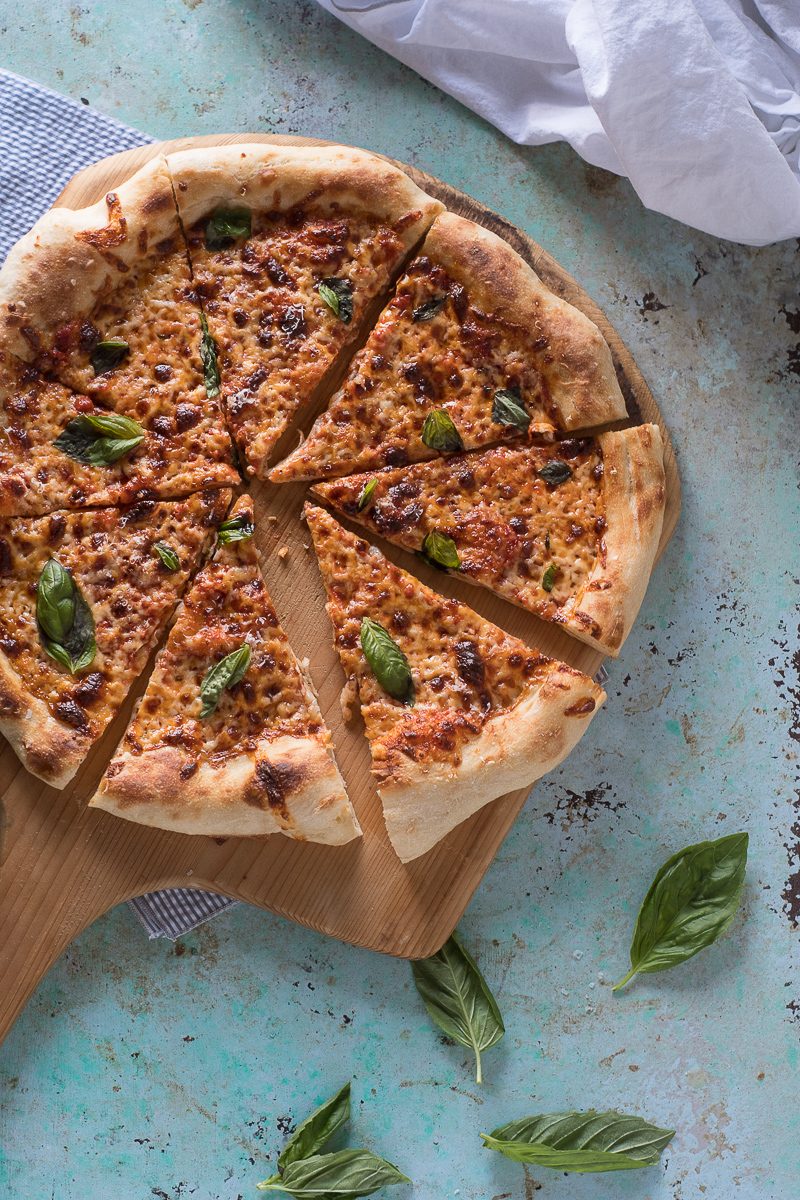
The best pizza dough is a bold claim. I know.
And it's obviously highly subjective.
At any given time there is a heated argument on the Internet on the relative merits of New York style pizza versus Chicago style pizza, with some arguing the latter isn't pizza at all.
So, I'm here to say I get it. I will never please everyone. Nevertheless, my opinion here is absolutely correct.
This is, as of now, the best pizza you can make at home without installing a special high temperature oven or disabling the self-cleaning cycle lock on your oven.
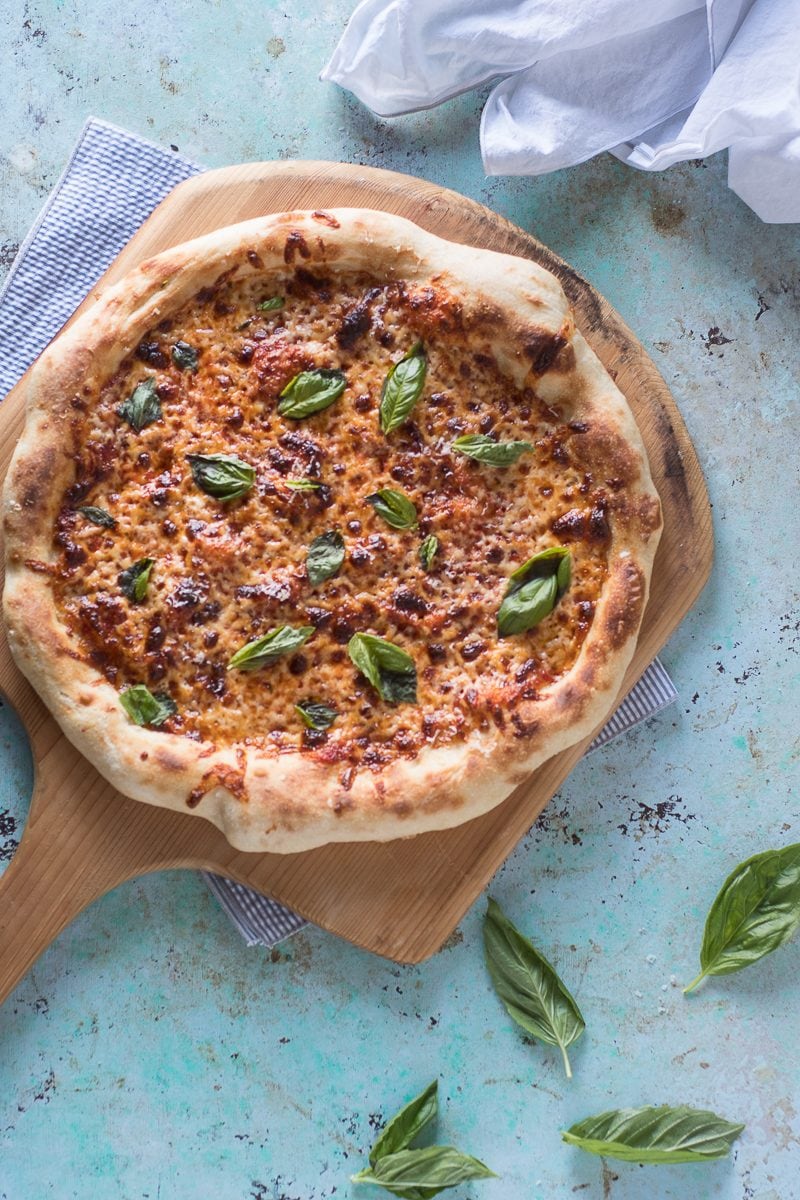
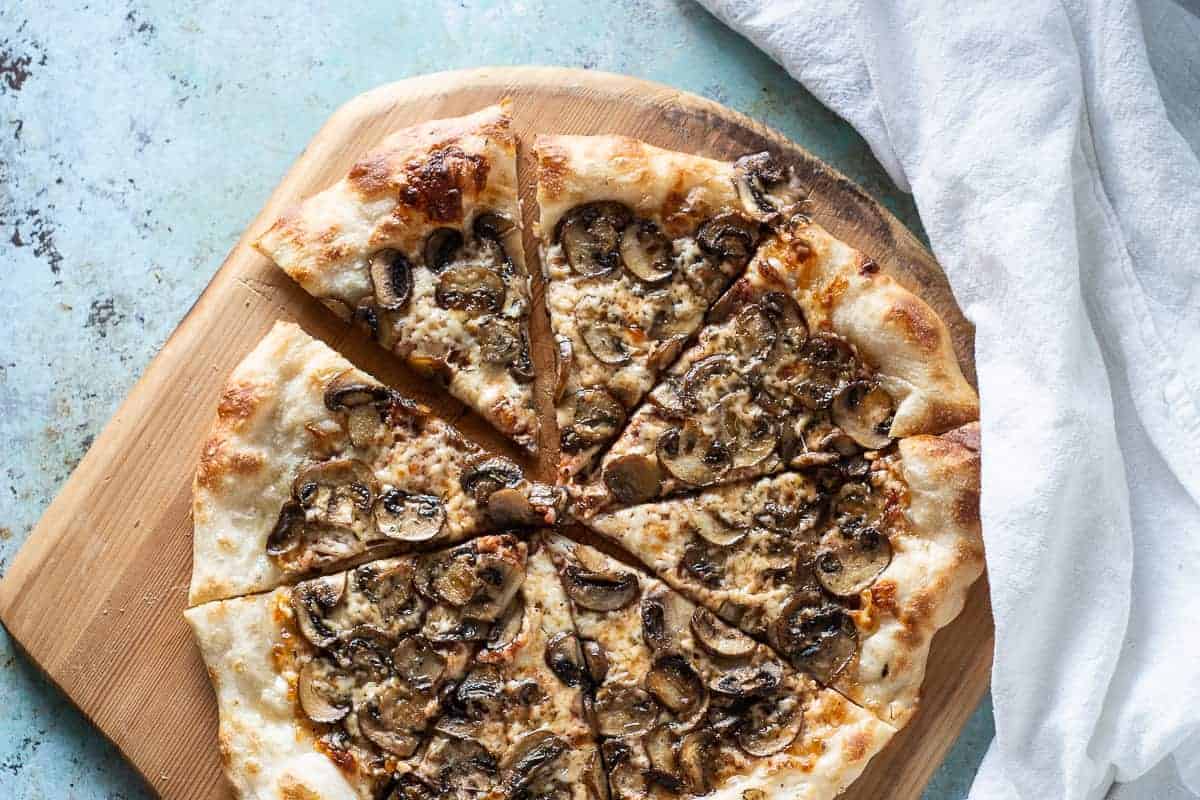
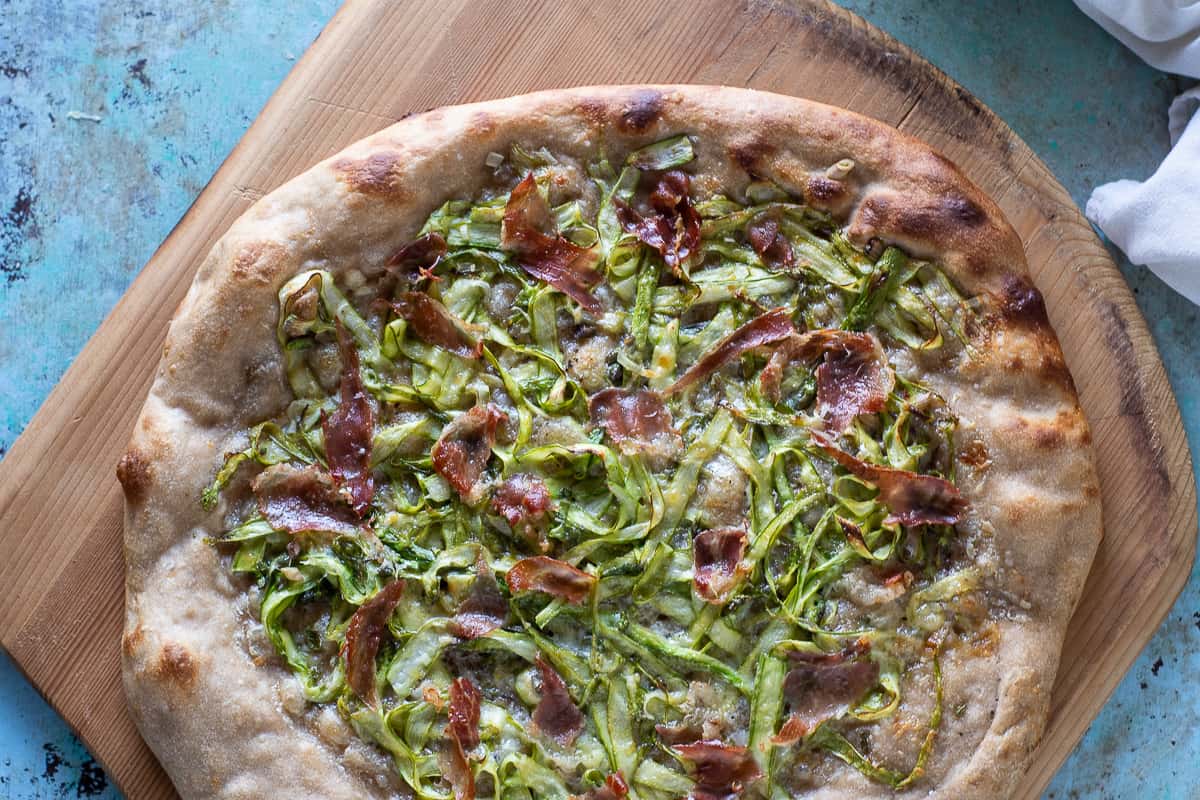
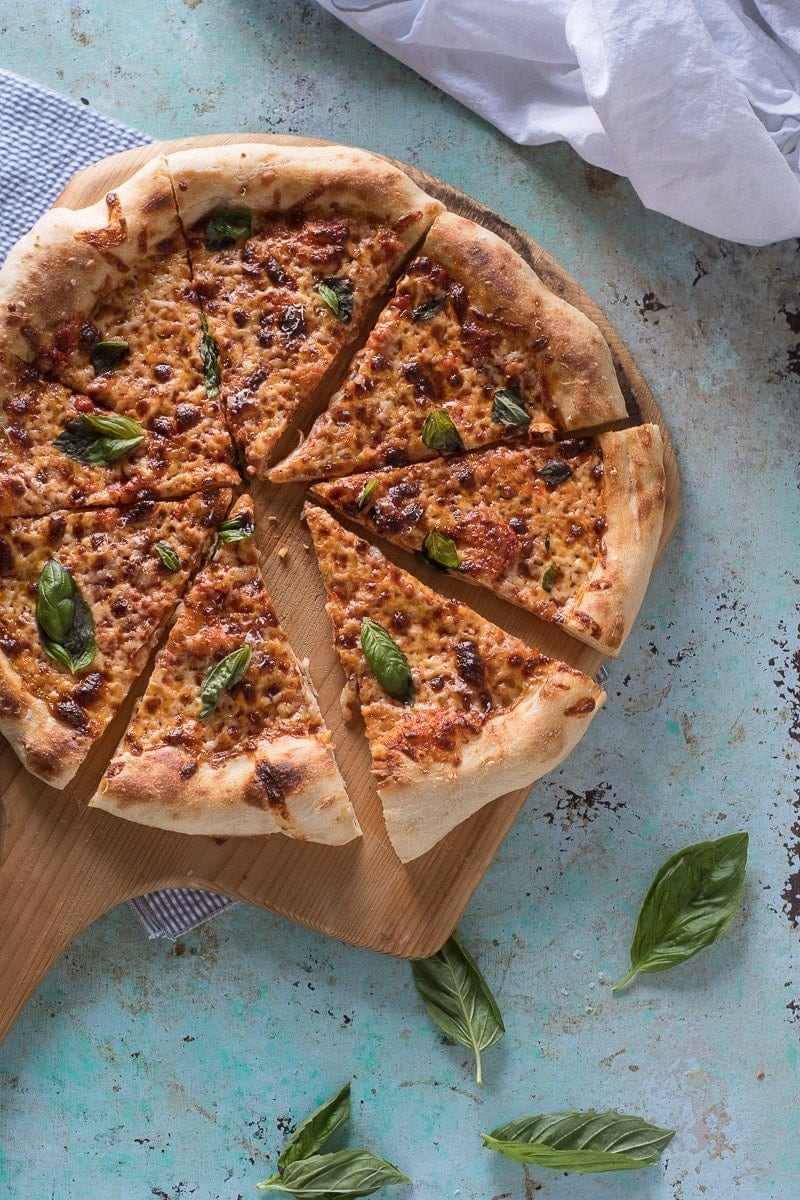
This dough results in a pizza with a thin crust and a puffy, chewy cornicione (which is the fancy Italian term for the edge of crust around the rim).
It's simple to make. It's just flour, water, salt, and yeast.
But there are a few tricks to getting it right.
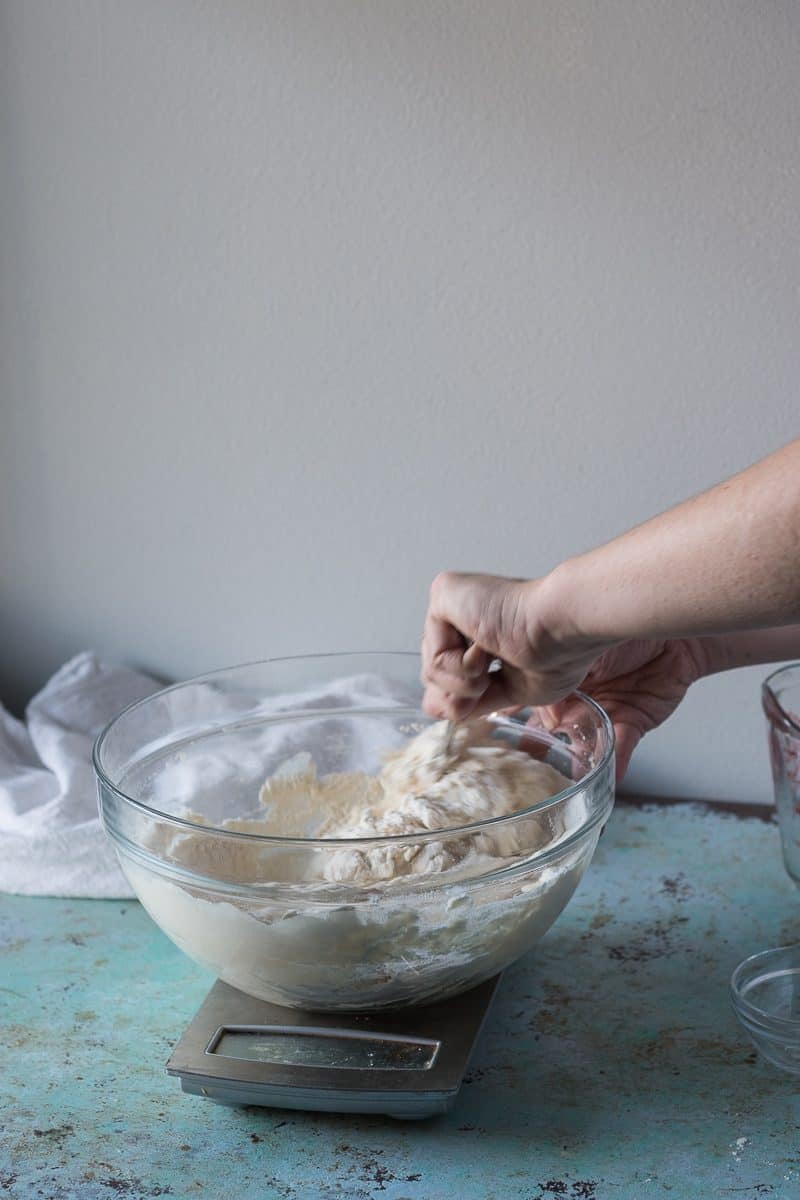
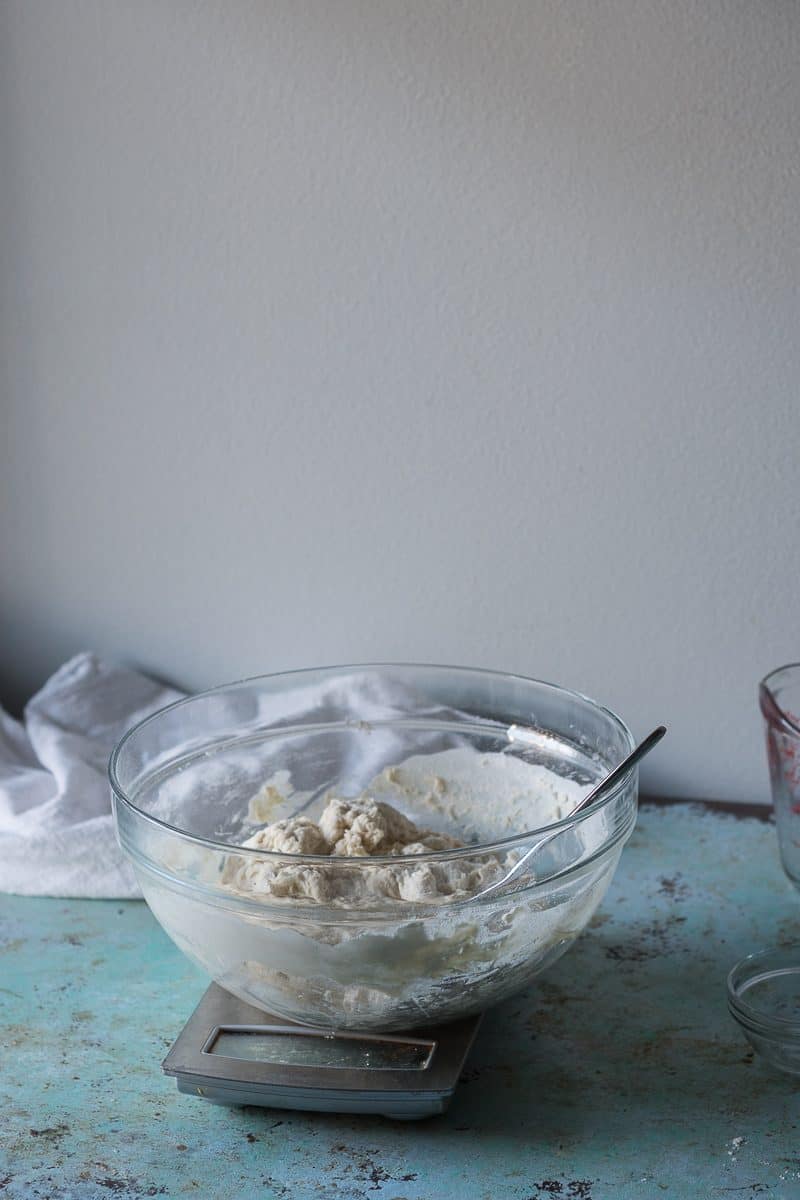
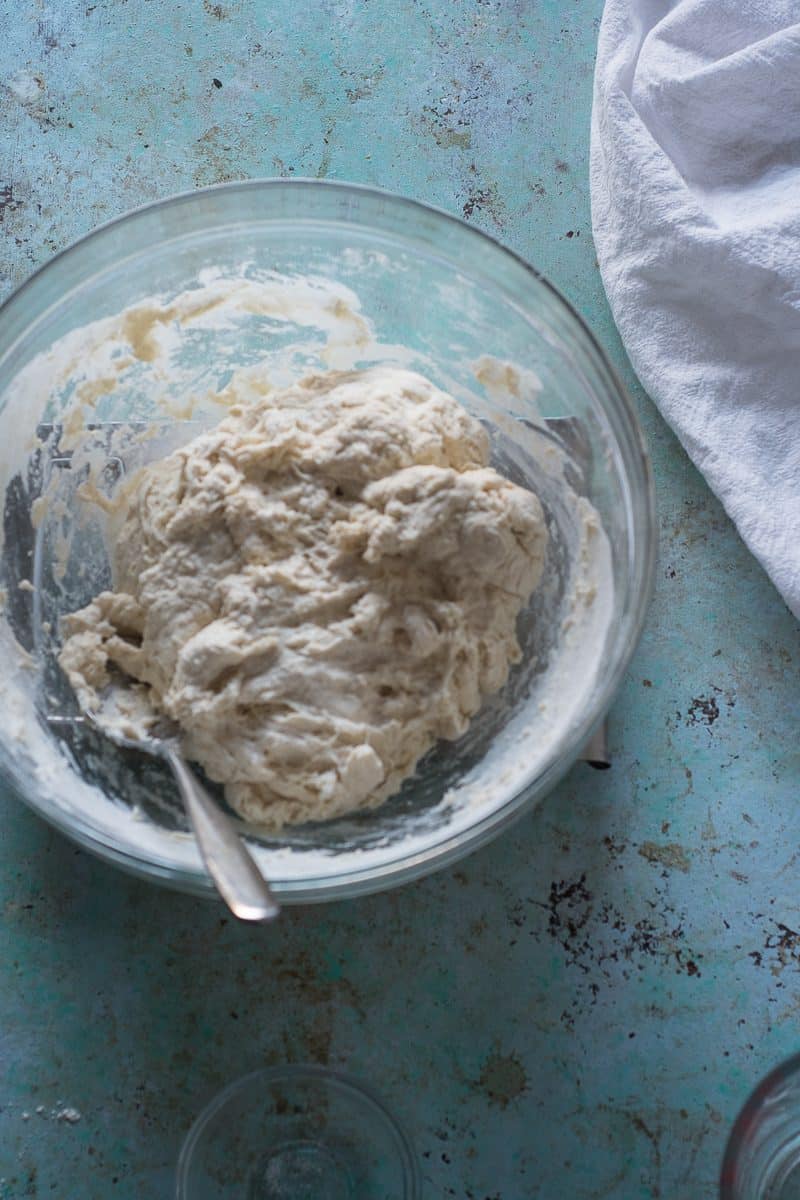
One is a long fermentation. The dough should rest overnight, and I think it gets even better after two or three days of resting in the refrigerator.
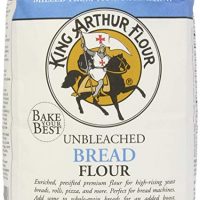
Another is using bread flour for the extra gluten formation, which is so helpful for developing that pleasing chew. (I usually use King Arthur which has a protein content of 12.7%)
The other is using more salt than you think. Salt inhibits yeast, and it helps prevent the dough from over-rising during its long rest in the refrigerator. It also makes everything taste better.
And while you can use active dry yeast, your life will be easier and results more reliable if you use instant yeast, which you don't have to proof in water and can just mix in with the flour.
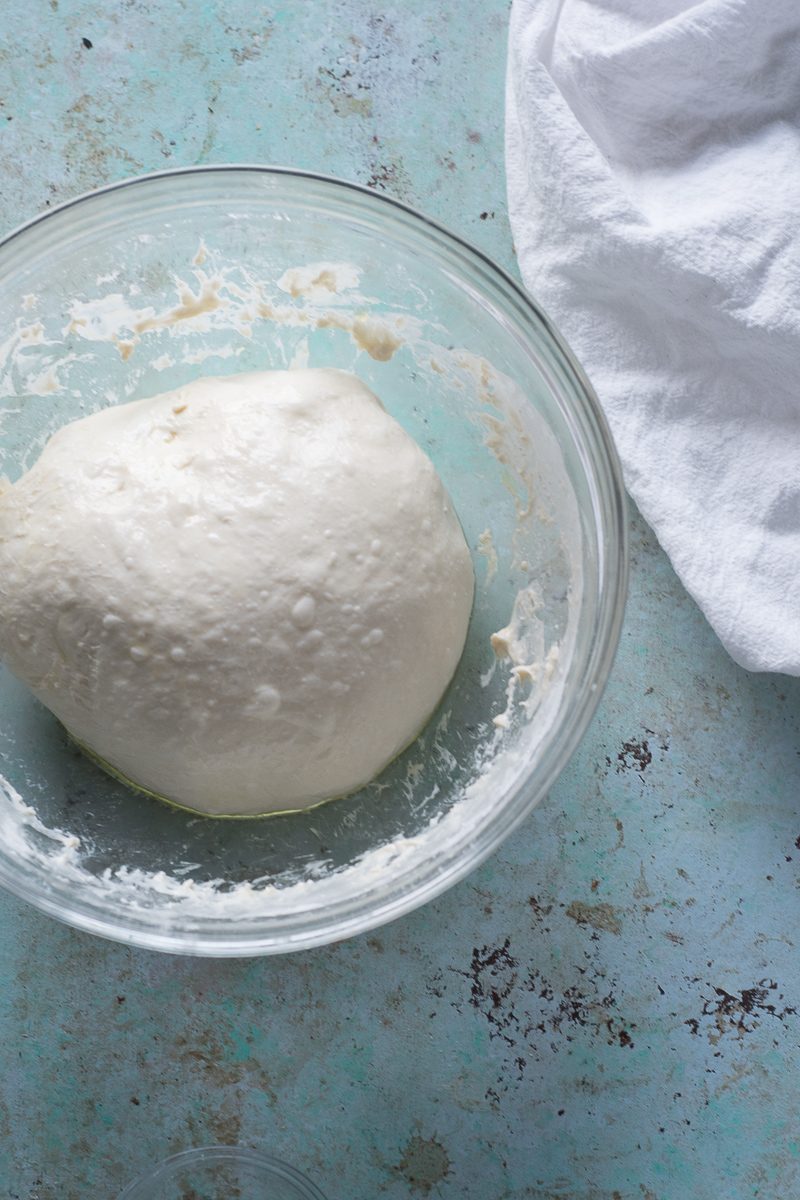
The other tricks are not ingredient-based, they're in the handling and cooking.
Step away from the rolling pin and gently stretch your dough into place.
This makes a very wet, sticky, slack dough that can take some practice to handle.
One trick to make handling easier is to wet your hands before touching the dough. Damp hands won't stick to it so much.
When people ask me what temperature to cook pizza at, my answer is always as high as your oven will go. For most of us, that's 500-550°F.
And preheat the oven with the pizza steel or pizza stone inside for a half-hour before you put your pizza in the oven.
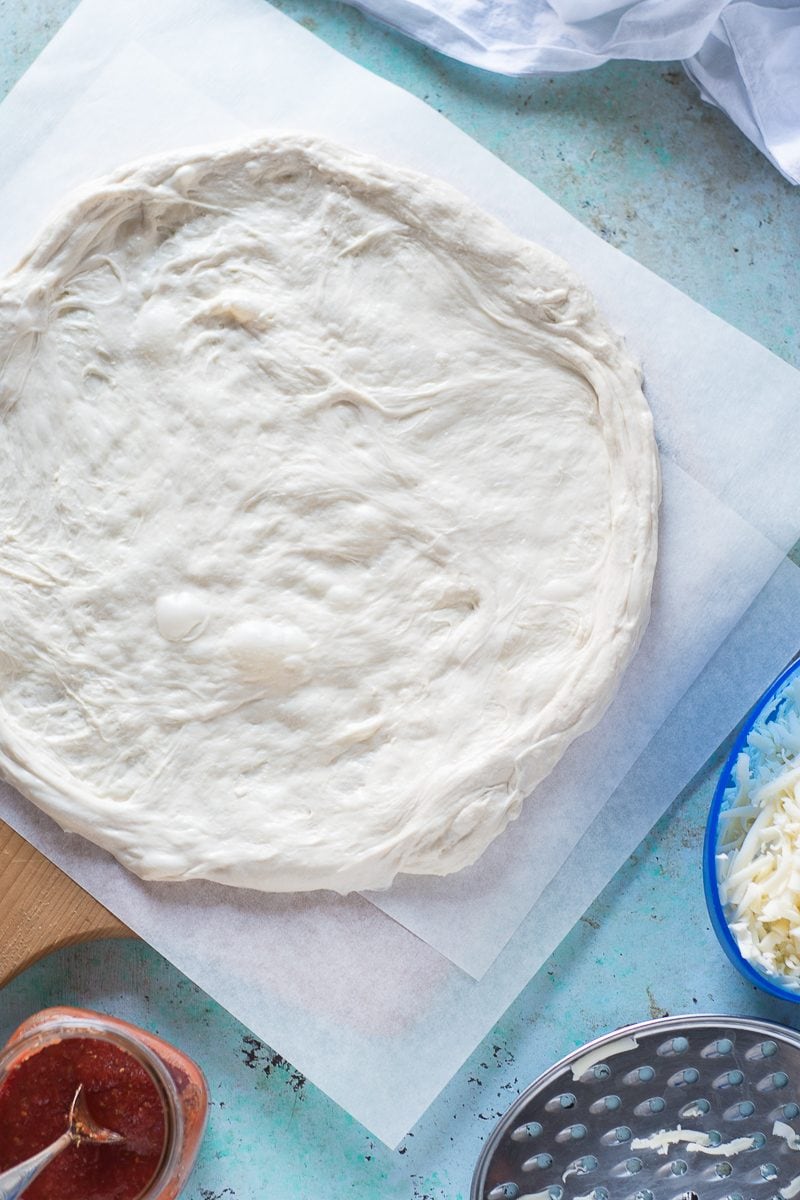
You can use a peel if you want. Or just build your pizza on a piece of parchment paper and slide it into the oven from the back of a baking sheet.
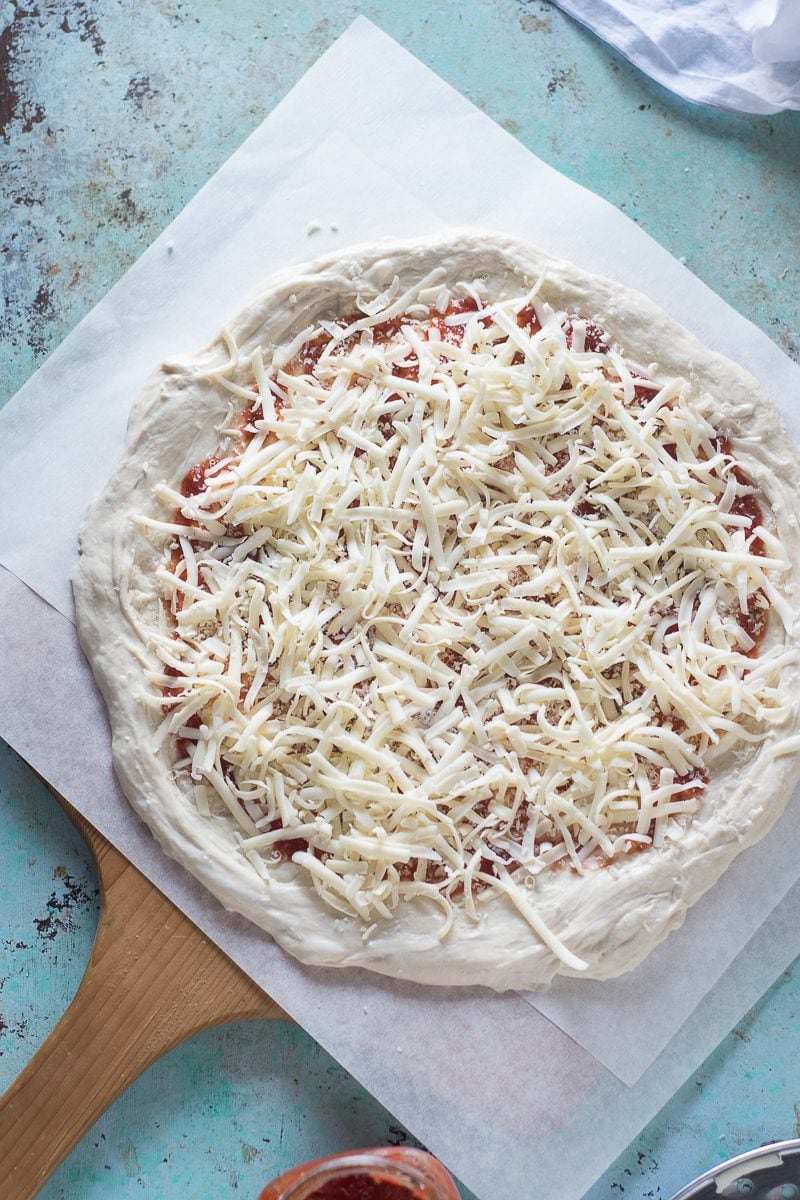
Also, don't overtop your pizza.
Apply a very thin layer of simple sauce. Go easy on a layer of grated dry aged mozzarella and parmigiano reggiano. And apply your other toppings sparingly or you're apt to wind up with a soggy mess.
But keep this one bookmarked. Or print it out and laminate it.
You'll be making it again and again.

[Edit 6/5/2019: I think I figured out where a few folks have run into trouble. This recipe is not designed for Italian-style 00 pizza flour, which is generally only available from specialty suppliers in the US and why I've opted for the much more widely available bread flour.
The tipo "00" (doppio zero) refers to the fineness of the milling and has nothing to do with the protein content of the flour.
It is much finer than American all-purpose or bread flours. Tipo "00" is less absorbent than bread flour, which means if you use the amount of water called for here, it will be too runny.
If you are using 00 flour, try reducing the water to 275 g or a 1 cup plus 2 tablespoons to get the hydration right. And note that the texture will be more delicate and crisp and less chewy than the bread flour version I've described.
I've tested this dough with bread flour hundreds of times and that's still what I recommend for this recipe.
It also works pretty well with all-purpose flour (especially if you have a higher protein all-purpose flour like King Arthur). You can reduce the water to 350 g or 1 ½ cups for an easier to handle dough.]
Best Pizza Dough (for thin crust pizza with a chewy, puffy rim)
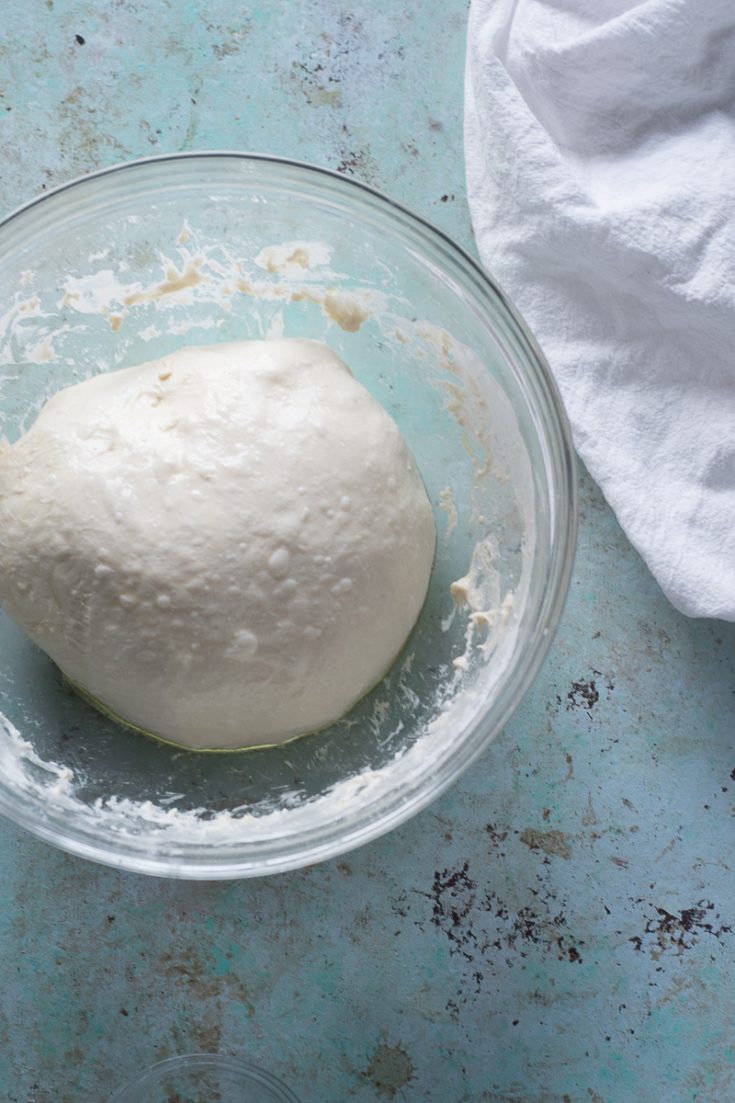
This dough needs to be made a day ahead of time (though it can hang out in the refrigerator for another four days and in the freezer for a few months). The slow overnight rise in the refrigerator allows the dough to develop a complex flavor and improve its browning and crumb structure. Bread flour helps to give pizza that pleasing chewy texture, and instant yeast lets you skip the step you find in many recipes for proofing the yeast in water ahead of time. I strongly recommend applying your toppings with a light hand. I like baking pizzas on a baking steel, which is totally worth the investment, but you can also bake it on a baking sheet. This makes enough dough for two pizzas, which means you can have pizza again later in the week or you can tuck the extra dough in the freezer and let it thaw in the refrigerator overnight the next time you want pizza.
Ingredients
- 500 grams (3 ¾ cups) bread flour
- 10 grams (2 teaspoons) Diamond Crystal kosher salt
- 1.5 grams (½ teaspoon) instant yeast
- 390 grams (1 ⅔ cups) cool water
- olive oil, for coating the balls of dough
Instructions
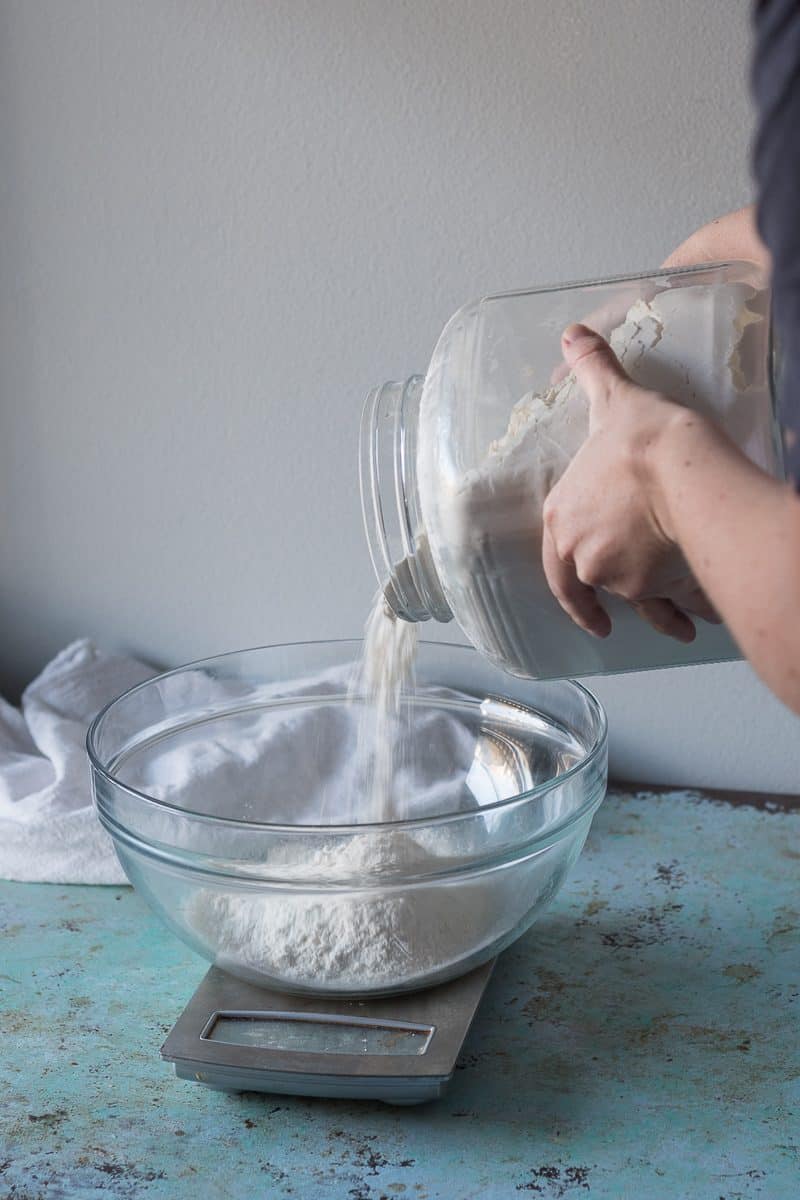
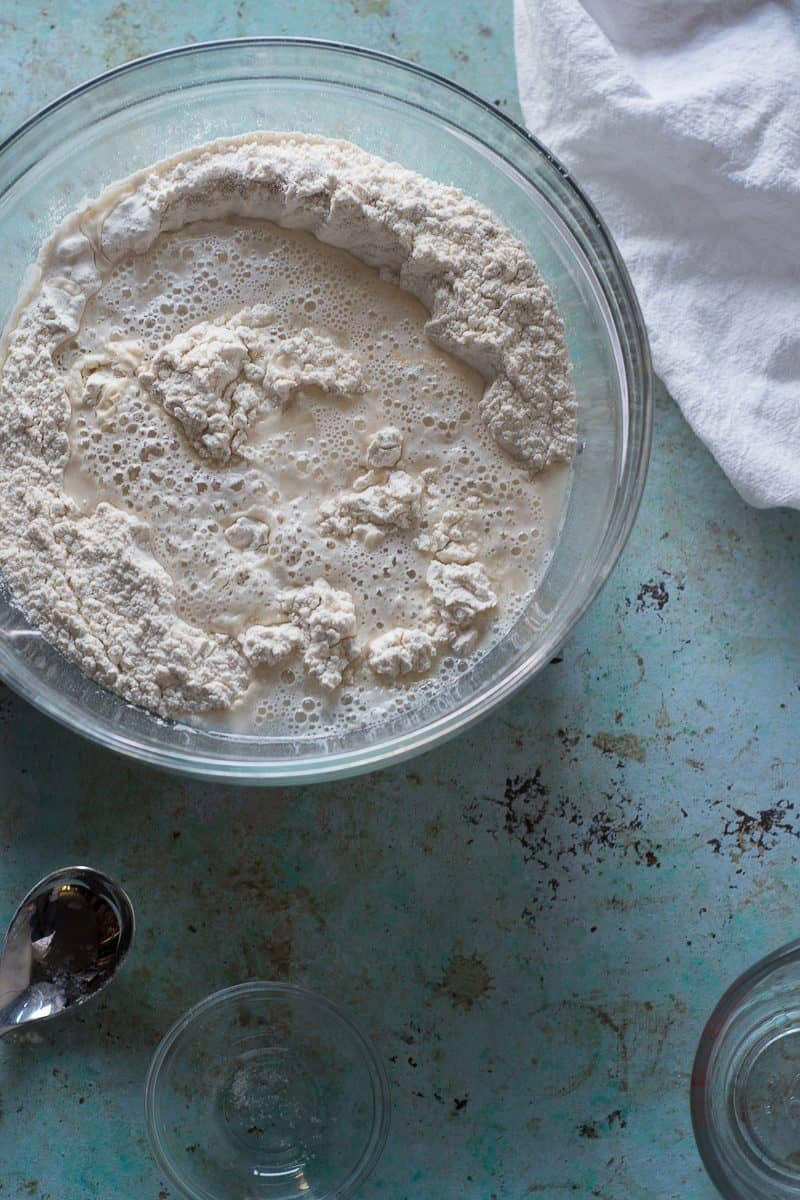
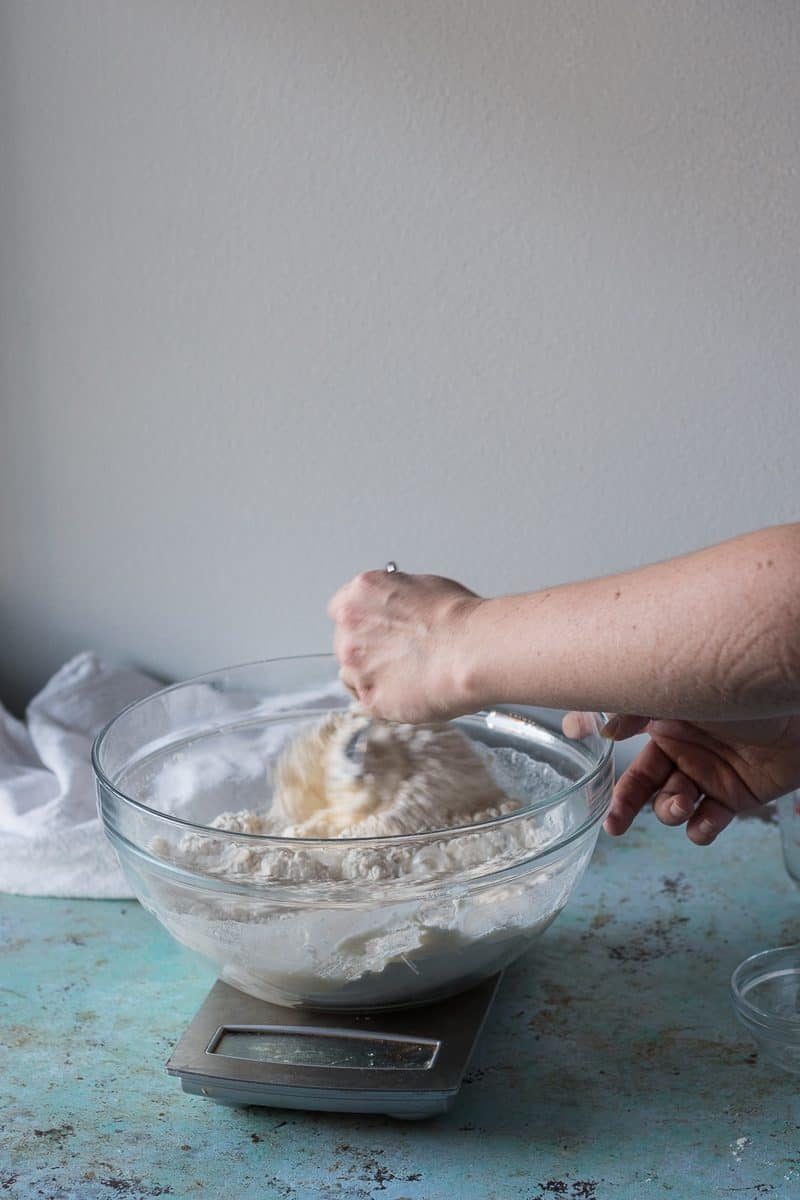
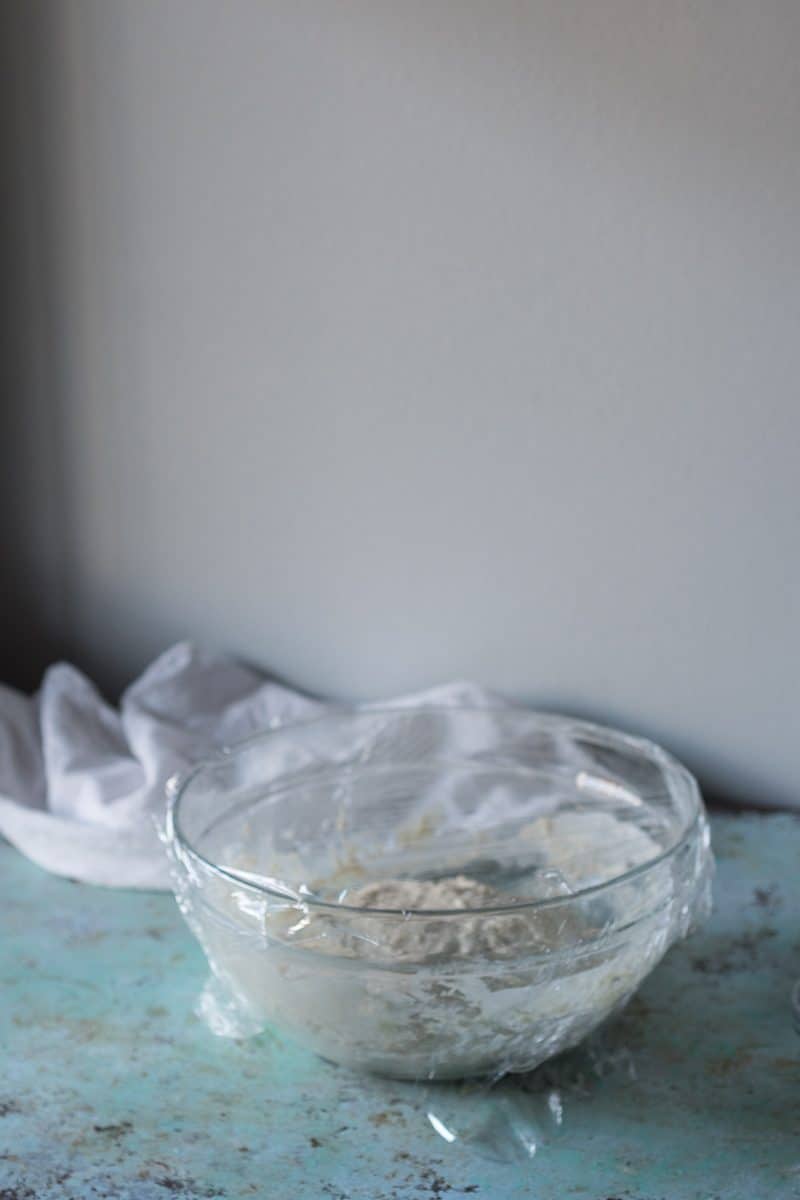
- Add the flour, salt, and yeast to a large mixing bowl and stir. Add the water and stir until you don't see any dry flour. Then stir with a metal or wooden spoon for about 50 strokes (your arm should be getting tired and the dough should be shaggy but starting to pull away from the sides of the bowl as you stir). Cover the bowl with plastic wrap and set aside.
- After about a 30 minutes of rising, gently stretch and fold the dough over itself a few times. The dough should start to feel stretchier and sturdier. Cover again and let rise for another 30 minutes. Stretch and fold the dough over itself two or three more times. The dough should no longer look shaggy, but have a smooth appearance when pulled into a taut ball. Divide the dough in half and stretch each half into a ball. Coat lightly in olive oil and place each dough ball into a quart-sized zip top bag and refrigerate overnight or for up to 4 days. (If there is any dough you don't plan to use in 4 days, put it in the freezer now. When ready to use, let thaw in the refrigerator overnight and continue as directed.)
- On the day you plan to make the pizza, pull the dough out of the refrigerator about an hour before you want to eat. If you have a baking steel or baking stone, make sure it's in the oven on the top rack. Preheat the oven as high as your oven will go (500°F or 550°F) about a half hour before you want to eat.
- After the dough has been at room temperature for about an hour, gently stretch the dough into a circle about 14-inches in diameter and place on a sheet of parchment paper set on the back of a baking sheet (if you feel comfortable using a peel you can, of course skip the parchment paper and build your pizza on a floured peel). Top the pizza lightly with whatever toppings you want. Slide the parchment paper and pizza onto your baking steel or stone (or if you don't have either of those, slide the whole inverted baking sheet into the oven on the top rack).
- Bake for 7-8 minutes or until the dough is deeply browned in spots. Slide the pizza onto a wire cooling rack and let cool for a few minutes before transferring to a cutting board and slicing.
Recommended Products
As an Amazon Associate and member of other affiliate programs, I earn from qualifying purchases.
Nutrition Information:
Yield:
8Serving Size:
1Amount Per Serving: Calories: 190Total Fat: 9gSaturated Fat: 3gTrans Fat: 0gUnsaturated Fat: 5gCholesterol: 0mgSodium: 602mgCarbohydrates: 24gFiber: 1gSugar: 0gProtein: 3g


Why do you use cool water instead of 105 to 110 water?
Cool water slows down the rise which is helpful for a long fermentation like the one here.
Warm water is better if you're using active dry yeast and need to proof it or in doughs designed to be baked the same day.
This dough is easy and delicious. We have made pizza using it several times. I just made a bunch to freeze so I always have it on hand. I really appreciate the tips with the explanation of why it works. It has helped me to be a better Baker. Thanks
I'm so thrilled!
Second pizza dough I ever made, I stopped looking for recipes. Pizzeria dough is what this is! I didn't have instant yeast, so I used active dry, put it in the water with half the salt, same quantity of water and a quarter cup of the flour (added a pinch of sugar), used bread flour and the recipe turned out absolutely perfect. I'm lucky that my oven goes up to insanely temperatures too 🙂 Thank you so much for sharing your recipe!
how many pizzas did u make out of one recipe?
Didn't work for me. Dough came out way too springy, couldn't shape it without using a rolling pin and lost faith before cooking, Best pizza dough, should tame that hyperbole.
I'm not sure what you mean by "springy" in this case. It's a wet dough that can take some practice to handle and shape.
I note above that "best" is a bit tongue-in-cheek because best is a moving target. The vast majority of folks who've made this report good results. Simmer down, fella.
@Mary Kasprzak,
My dough is really dry... Not wet at all
measurements accurate
Help,!!!
I'm not sure what's going on—if you follow the measurements the dough should be wet. It can take a bit of stirring to fully moisten the flour, but otherwise, my best guess is there was measuring mistake (it happens!).
Hello! I am wondering how many pizzas this recipe will make! im hoping to make it woth my boyfriend for valentines day and we want like 3 pizzas.
I really hope it turns out!!!
Diandra,
This makes 2 14-inch pizzas.
This is hands down the best dough recipe! I've tried so many, searching for the perfect one and this is it!! Thin and crisp with a bubbly and chewy crust. Thank you for posting this! I will probably use it forever. I never write reviews and came back to this just to thank you!
Thanks so much!
Hmm... this dough doesn’t appear to be rising at all. I’ve done everything the way specified, and I’m using instant yeast which I know is alive and kicking (tested a few days prior, and have kept refrigerated since). But the dough doesn’t appear to be rising at all, even after leaving it at room temp for 2 hours. Is it supposed to? It also remains very sticky to the touch.
So what might I be doing wrong? Could my water be too cold? I used room temp bottled water, but you said to use cool, so I added a bit of ice until it felt cool to the touch, before adding it to the mixture. Or maybe the yeast need to sit at room temp for a while after removal from the fridge, prior to using? Any other possibilities?
It's a very sticky dough, so that part sounds right.
It should rise in that time, but because it continues to proof overnight in the refrigerator it uses less yeast than many other doughs and doesn't rise as dramatically for the first rise as you may be used to.
I use cool tap water when making this, but ice may have slowed down the rise a little. It should all work itself out if you divide it and let it rise overnight. Good luck!
(P.S. Use wet hands when handling the sticky dough!)
Ah, thanks for your response, that makes me feel a bit better. I’ll wait it out the full 3 days, and see how it turns out. I’ll also try a second batch and use room temp water to see if that helps. I’ll report back with any findings.
One other thing that occurs to me is that I recently tried a same-day dough recipe that involved much more yeast and also sugar, and proofing in water prior to mixing with flour. The recipe stated that it should only take a couple minutes for the yeast to activate, but in reality it took 20 mins. A quick Google search revealed that the dryness of Canadian Prairie provinces (or perhaps the elevation) necessitates longer proofing times. So maybe in this part of the world yeast just needs a little more help getting started
I cooked both batches today. Verdict: the one I was initially worried about, turned out the best! It was wetter/stickier and almost unmanageable, and didn’t appear to rise much (it had a droopy/soupy appearance compared to the other). But in the end, it was the most slack and easy to stretch, and came out PERFECTLY. It had a thin crust that was sturdy yet foldable, with a light crispy bubbly chewy cornice. It even had some nice leopard spotting. It was far better than anything I can get at restaurants in Calgary — much closer to what I’ve had in Montreal or New York! My family was very impressed.
So I would say to anyone worried about dough that’s initially stickier and less active, to wait it out. You really won’t see much rise at all initially, and I’d almost say the shaggier/wetter the better! If you’re worried about how much of it remains stuck to your hands after working with it, then you’re actually doing it right.
Ok, I tried a second batch, this time attempting to first bloom the yeast in room temp water with a pinch of sugar. I confirmed that the yeast is alive (yet slow, as desired).
Anyway I added it to the flour/salt mixture, and after mixing, it was sticky/shaggy but this time workable enough that I COULD shape it with wet hands without a large portion of it sticking to my hands. Whereas with the previous batch, I’d have to keep re-wetting my hands throughout and even still it never formed a smooth ball, so think that means I must have used a tad too much water last time.
As for rising, this new batch indeed does seem to be rising the appropriate amount, and I was able to shape it perfectly. I checked up on the previous batch that’s been in the fridge for a couple days, and it’s still flat as a pancake. So it would seem that indeed, room temp water may be more appropriate for some situations, since the cool water method caused my yeast not to activate at all. Or maybe it was the act of pre-blooming with sugar, then adding to the salt/flour mixture afterwards. Heh... I guess it’s not what you’d call a controlled experiment, but at least I’m happy now that I’m getting the expected results so far.
(Sorry, the above two messages somehow got switched in sequence. Weird.)
Hi from Bermuda!
Have made this dough at least 25-30 times, and having tried countless other recipes to perfect my NYC-style dough - in my opinion, the author's bold claim is warranted. My wife refuses to allow me to experiment with any other new recipe, and she's right.
I use a stand-mixer and a pizza steel, which I can't praise enough as essential (but yes, expensive) tools. I can say the stand-mixer is definitely a plus for this recipe in particular, as I had made this before using wooden spoons and my hands and the wetness was very difficult to get used to.
My oven goes to 550F. I've played around with rack height and found middle and top work best. Takes anywhere from 6-8 mins total. I like to broil on high for 30-35 seconds at the end to really brown the crust and cheese. (I know this recipe is just for dough, but once I was able to track down whole milk mozza, this was a game changer as well, FYI.)
I generally try to keep toppings light as suggested, but I've definitely tried overloading the toppings out of temptation and this crust will hold it up if done just as instructed. If your crust is floppy and you need a second hand to hold it up, you are doing something wrong. And I cut big slices.
Unbleached bread flour is also a must - I definitely noticed the difference between all-purpose and bread, the latter resulting in a chewier product, no question about it.
As stated many times above - yep - this is a super wet dough. Be patient and learn to love it and not over flour during the process, especially during the mixing stage, as I find it can result in a harder and less chewy dough once baked (and harder to stretch). The wet hands trick works (but I do use generous flour sprinklings, but only after the first proof to avoid sticking to my wooden cutting board and hands - though always end up sacrificing a little amount that inevitably clumps to my fingers.
I use Fleischmann's Instant Dry Yeast packets (each a 1/4 oz or 7.09 g). My scale (use a scale!) doesn't show fractions and I find the tsp conversion is not precise enough. I also like to make 1.5x the posted recipe (which gives me 4 nice sized pizzas) and lets me use almost all of the yeast packet in one go. But as I can't get 0.5 measurements, and until I get a micro-scale, is best that my estimates veer towards the lower end or the higher end of the yeast measurements. I've read elsewhere to use just enough yeast as needed and never more, so I tend to veer to the lower guesstimate range but wanted to check your thoughts? Also, how do you feel about cake yeast? Sometimes we get it out here but I've never tried. Just wondering if you think it's worth the hassle vs. instant in terms of flavor.
Apologies for the lengthy comments, but had to share as this is one great recipe. Thank you!
- how do you feel
My husband and I loved this pizza! We have joined the national trend for baking bread while we are in self quarantine, and we have tried several pizza recipes. This one is by far our favorite and we want to thank you for posting it and providing us with some wholesome entertainment during these unprecedented times.
I do have some questions. When I followed the recipe, I used the weight and not the measurements. 390 grams of water was significantly more than 1&2/3 cups water, probably more like 2 cups. Did I do the right thing? As you mentioned in your post, our dough was very sticky.
Also, our pizza was not crisp on the bottom. I assume this is because we do not have a pizza stone and because our oven is inconsistent in maintaining temperature. Also, I may have put too much stuff on top, even though I tried to be light handed.
Either way, it was really delicious and we’re looking forward to making it again. In addition to making more pizzas, I plan to try to make a plain focaccia with this recipe. Thanks for a great post!
The weight and volume of water should be consistent. If you have a liquid measuring cup that has milliliters on one side, you could double check it that way. (1 ml of water weighs 1 gram.)
A pizza stone or steel definitely makes a difference on how the bottom of the crust cooks. If you find yourself making pizza more often, it's definitely worth investing in one of those tools (the steel is my favorite for the best bottom crust, but stones are less expensive and lighter weight and still make a big difference).
You're right. This is THE BEST pizza dough, hands down. I've been on a several-year search for a good homemade pizza dough recipe, and my quest is now over. My husband is on a low sodium diet, so I have to reduce the salt, but it still works beautifully. Thank you for sharing!!! If you have more delicious bread recipes to share, the world (or at least my family) would be very grateful!
Also - I always use a stand mixer and double the recipe for 3 large pizzas.
I think there’s a discrepancy between the weight and volume measurements for instant dry yeast. The recipe calls for “3 grams (1/2 teaspoon)”, but in fact 1/2 tsp of instant yeast weighs ~1.5 g — and by extension, 3g of instant yeast is
~1 tsp. So one measurement is correct, and the other is either half or double, depending on which one is the correct measurement. 🙂
Note that IDY weight/volume seems to be universal, regardless of the brand.
BTW I used to use volumes but recently switched to using baker’s weights (highly recommended) so I’ve tried this recipe with both quantities of yeast. TBH I couldn’t tell you which one was better, but both were amazing!
Thanks, Brian. Looks like you're right. Should be 1.5 grams yeast and I'll fix it. The recipe is flexible enough that, as you've seen, it will work either way.
Thanks @Mary Kasprzak!
BTW have you tried any tweaks or improvements to this recipe since initially posting it? I’ve found that adding a bit of olive oil (not much, maybe 7 grams) enhances the flavor and tenderness. Neapolitan pizza purists might object, but it’s a good little workaround for the longer more drying baking time required by a conventional oven, even when using a stone or steel.
YMMV, but I tried it once and now my family won’t let me go back.:-)
Uh oh, I just experienced my first fail using this recipe. I made it almost exactly the same as the last time, but went with 3% salt (instead of 2%) and tried to give it 75% hydration instead of the normal 78%, thinking this would make it easier to work with. I also used the 1.5g of IDY, instead of 3g.
Strangely, this time it seemed even MORE sticky, but I soldiered on, thinking it was only my imagination. I went through all the normal steps, letting it sit for an hour after mixing (and folding it over a few times as usual), then I sealed it in the fridge for 3 days. On baking day I took it out 4 hrs before bake time as I normally do to get it to room temp and relax a bit more, and I noticed it felt slacker than usual.
Then 4 hrs later when I went to shape it, it instantly fell apart in my hands, as though no gluten had formed at all. It actually just disintegrated the second I picked up, and the bits fell to the counter.
This has never happened to me before, and TBH I can’t see how any of the tweaks I made this time could have caused it. One thing that did go sort of wrong this time though, is the lid of the Tupperware container I used, apparently popped off in the fridge. My wife found it that way and resealed it, but who knows how long it was like that. I’ve since purchased a new container, but I wonder if that was the cause. Or maybe it somehow over-proofed? Although I was vigilant to use cool water and even less IDY than last time. I’m not as bothered about the meal being ruined, as I am about the fact that I’m not sure what I did wrong, and won’t know how to avoid it next time. 🙁
If the dough is falling apart it's a sign of low gluten development which can be because either the flour has a lower protein/gluten content, the dough was under mixed, or there was a measuring error somewhere (it happens to all of us sometimes).
Lowering the hydration should make the dough easier to handle, so if it was stickier from the beginning my guess is there was too much water. If there's any difference in the flour (either the protein content, the fineness of the milling, the whole bran content) that could be the difference here.
If it's the same flour you always use, my best guess is good old fashioned measuring error, which can happen if your scale got off balance or somehow tared accidentally or needs its batteries replaced. My guess is it's a one off and the next time everything will be fine.
Thanks @Mary Kasprzak, I've come around to a similar conclusion. I know that variances in mixing and proofing time can cause minor differences, but this was hilarious -- when I picked up the dough to stretch it out, my kids couldn't contain their laughter as they watched the dough instantly part like curtains, revealing my confused sad face on the other side of it. 🙂
Later that night as I begrudgingly ate lousy takeout pizza, a plausible theory occurred to me. Maybe I was fixating on the flour weight while I was portioning the water, and thus made a 100% hydrated dough. Can you imagine what kind of pizza that would have been if I'd been able to pull off 100% hydration? (Also it hadn't occurred to me that low batteries could affect the scale accuracy, so I'll be sure to change them for next time as well).
I grew up in a little Central California town called Coalinga. They have a pizza place there called Fatte Albert's that is filled with so many fun memories for me: After sports dinners, walking there for lunch in High School, birthday parties and the like. I now live as far across the country as you can get in Washington DC, but long to go back to that special place. I have looked for YEARS for a duplicate recipe: Thin botton with a thick chewy "bread dough" crust, greasy delicious moz cheese, crispy thin-sliced pepperoni...
THIS is that recipe!!! A complete clone. I am soooooo happy!
Hello from Western Maine!!! Truly amazing pizza dough recipe! Followed it exactly and it was nothing short of AMAZING!! Thank you Mary! Its my forever pizza crust recipe!
Cindy
You're welcome!!!
I’m so excited to try this! I’m curious, have you ever tried using the dough for bagels?
This dough is way too wet for bagels—they wouldn't hold their shape. I have a favorite bagel recipe here.
@Mary Kasprzak, I tried this tonight, and I think I had everything right based on your description of the wet dough. With wet hands, I could get a nice smooth ball, but I had a REALLY hard time trying to stretch it out. In the end, I had an odd shaped pizza that wasn’t as thin as I think it should be. I could only get it to about 8-10 inches because it kept shrinking back on itself and sticking to the parchment and my hands. I was a mess. 😉 I know you said it takes practice, but do you have any other tips for the final step of stretching out the crust into a thin 14” circle? Thanks so much!
It's a tricky thing to do! If the dough is shrinking back on itself, let it sit for 10 minutes to let the gluten relax and come at it again.
If the wet hands trick isn't working for you, there's a sort of opposite approach you could try: dust the parchment paper with flour before putting down the dough and add more flour to the top and try stretching it that way. You'll end up with a dusting of flour on the finished pizza, which is actually kind of pretty.
Good luck!
I made this dough for the second time today because i really liked it the first time! i cant remember exactly what it was like last time but its really wet this time. i did everything by weight and double checked so i dont think i messed up the recipe. i can still pull it with my hands but once i put it in the bag it didnt stay in a ball at all... is this okay or should i try mixing in some more flour? maybe my yeast was bad. my question is can i still use this dough lol im hoping its still fine.
It's a very wet dough! You're probably fine!
Went back and read it again. It clearly states 2 14inch pizzas. Sorry! : )
This is the crust we crave.Thank you for the many helpful tips too.
Question: Are we putting the parchment paper in 500-550 oven?
I hesitate to exceed the paper’s recommended 400 max.
Yes to the parchment (unless you're comfortable with a pizza peel). I use King Arthur parchment paper, and they say it's safe to use at higher temperatures, and they only give 450°F as an upper limit for reusing the parchment. (You can't reuse the parchment after being in a 550°F oven, it gets brittle.) I can't guarantee all manufacturers are the same, but would guess the general principles apply.
I've done this many times and never had a problem. Good luck!