I may earn from purchases through links in this post.


The best pizza dough is a bold claim. I know.
And it’s obviously highly subjective.
At any given time there is a heated argument on the Internet on the relative merits of New York style pizza versus Chicago style pizza, with some arguing the latter isn’t pizza at all.
So, I’m here to say I get it. I will never please everyone. Nevertheless, my opinion here is absolutely correct.
This is, as of now, the best pizza you can make at home without installing a special high temperature oven or disabling the self-cleaning cycle lock on your oven.
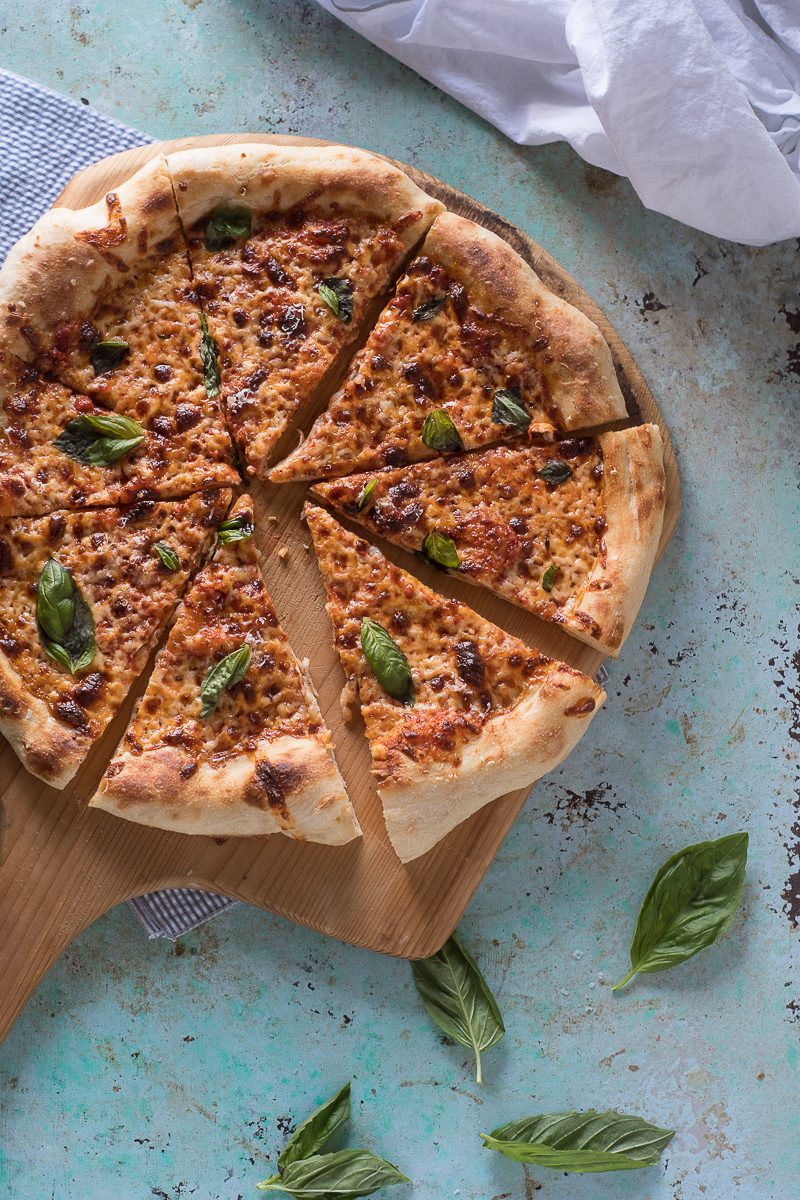
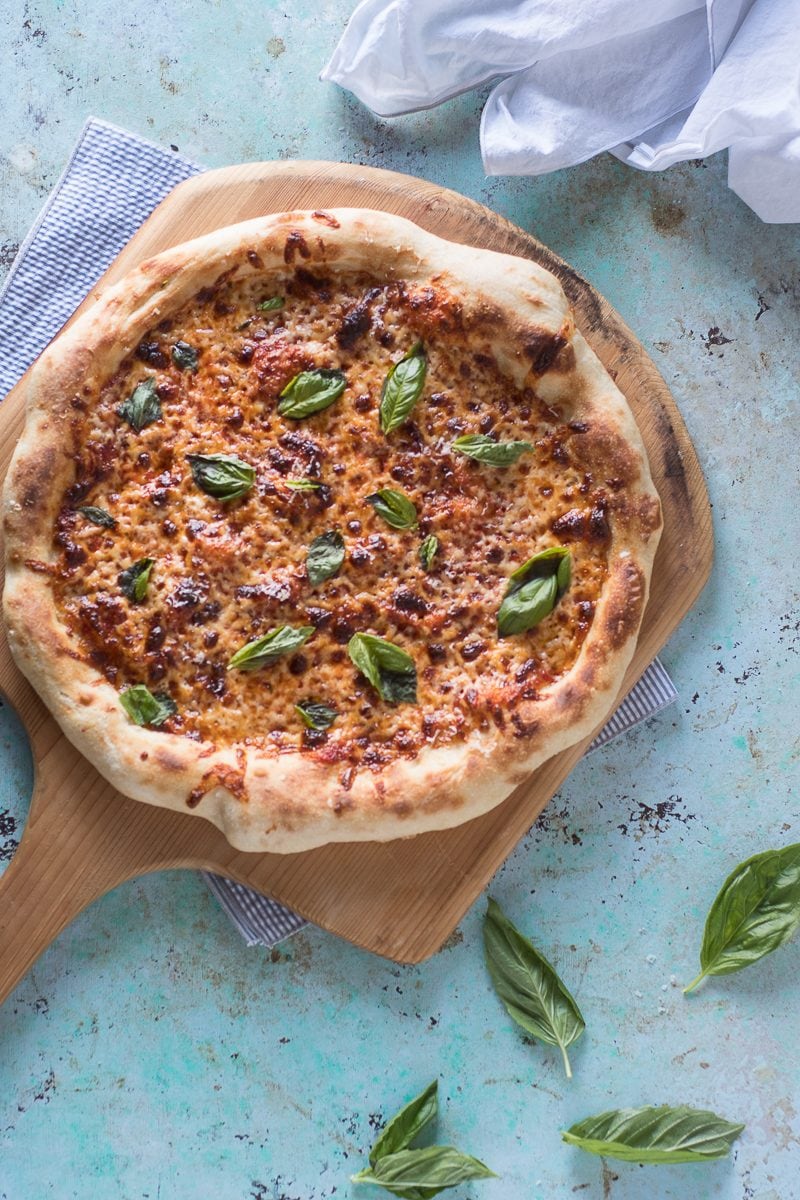
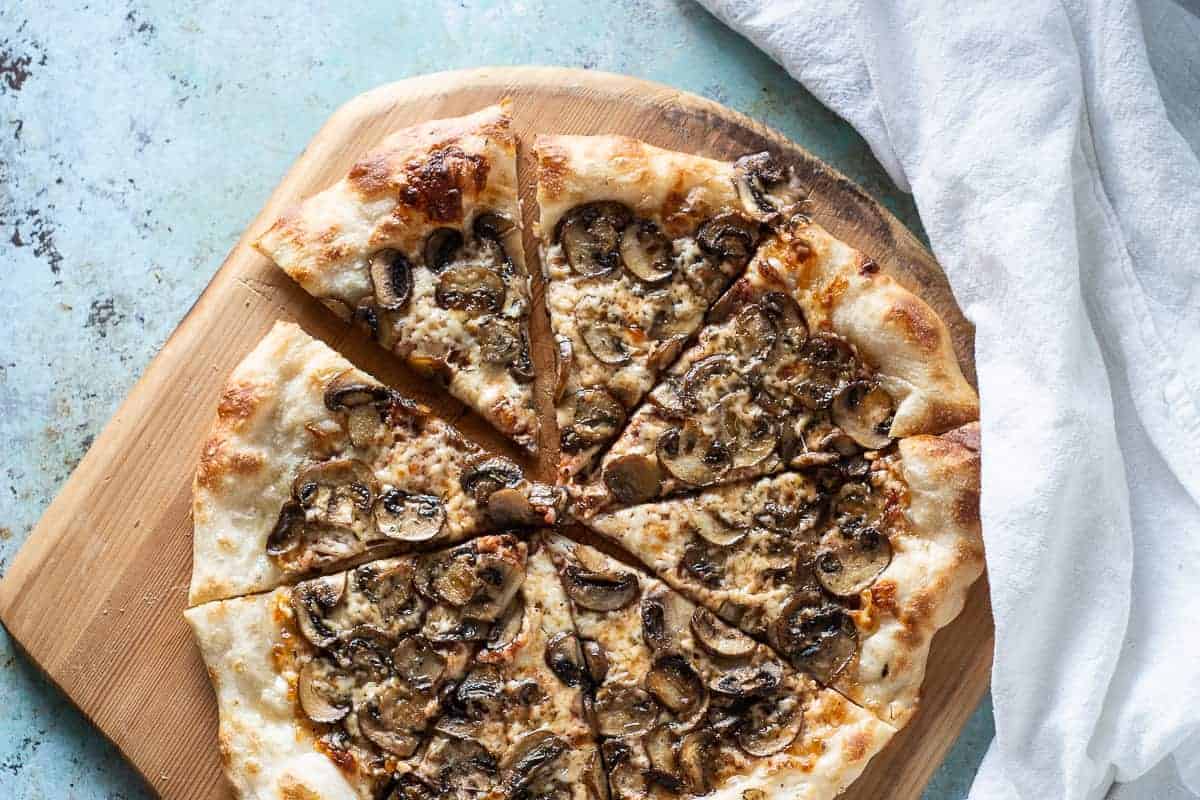
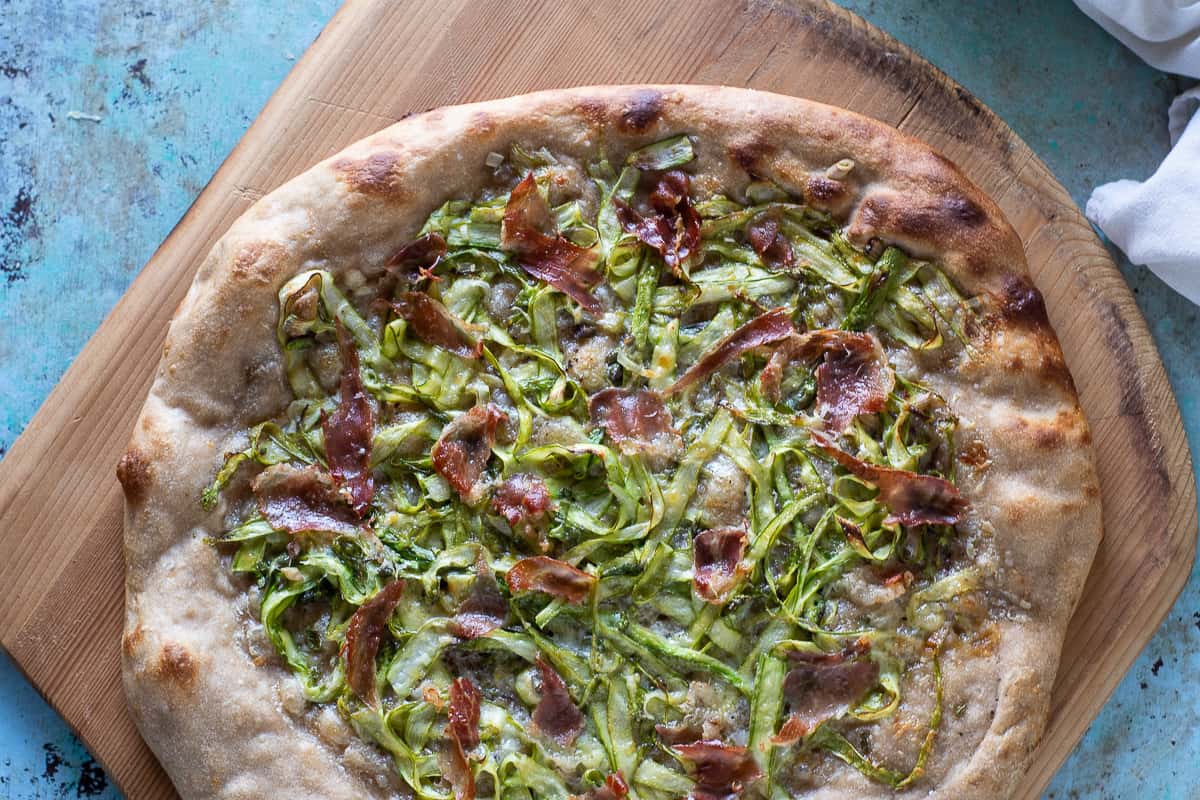
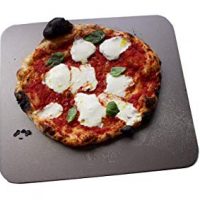
This dough results in a pizza with a thin crust and a puffy, chewy cornicione (which is the fancy Italian term for the edge of crust around the rim).
It’s simple to make. It’s just flour, water, salt, and yeast.
But there are a few tricks to getting it right.
One is a long fermentation. The dough should rest overnight, and I think it gets even better after two or three days of resting in the refrigerator.
Another is using bread flour for the extra gluten formation, which is so helpful for developing that pleasing chew. (I usually use King Arthur which has a protein content of 12.7%)

The other is using more salt than you think. Salt inhibits yeast, and it helps prevent the dough from over-rising during its long rest in the refrigerator. It also makes everything taste better.
And while you can use active dry yeast, your life will be easier and results more reliable if you use instant yeast, which you don’t have to proof in water and can just mix in with the flour.
The other tricks are not ingredient-based, they’re in the handling and cooking.
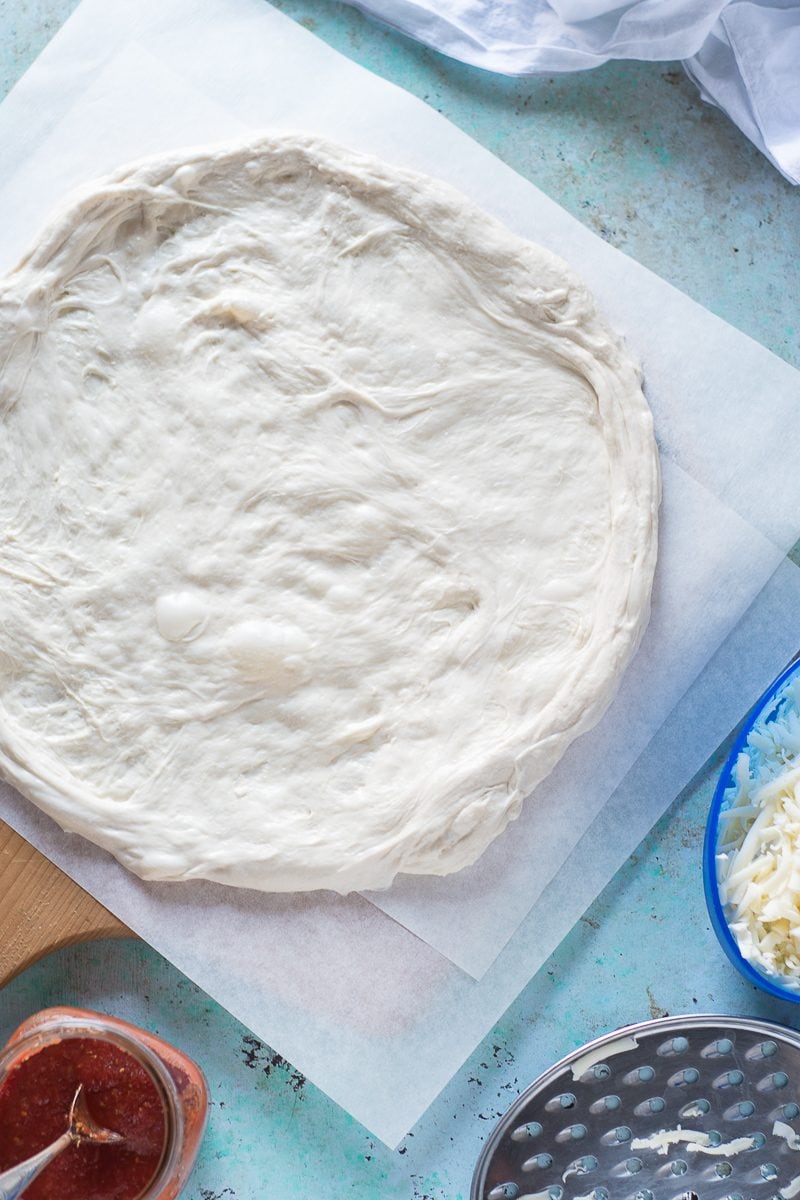
Step away from the rolling pin and gently stretch your dough into place.
This makes a very wet, sticky, slack dough that can take some practice to handle.
One trick to make handling easier is to wet your hands before touching the dough. Damp hands won’t stick to it so much.
When people ask me what temperature to cook pizza at, my answer is always as high as your oven will go. For most of us, that’s 500-550°F.
And preheat the oven with the pizza steel or pizza stone inside for a half-hour before you put your pizza in the oven.
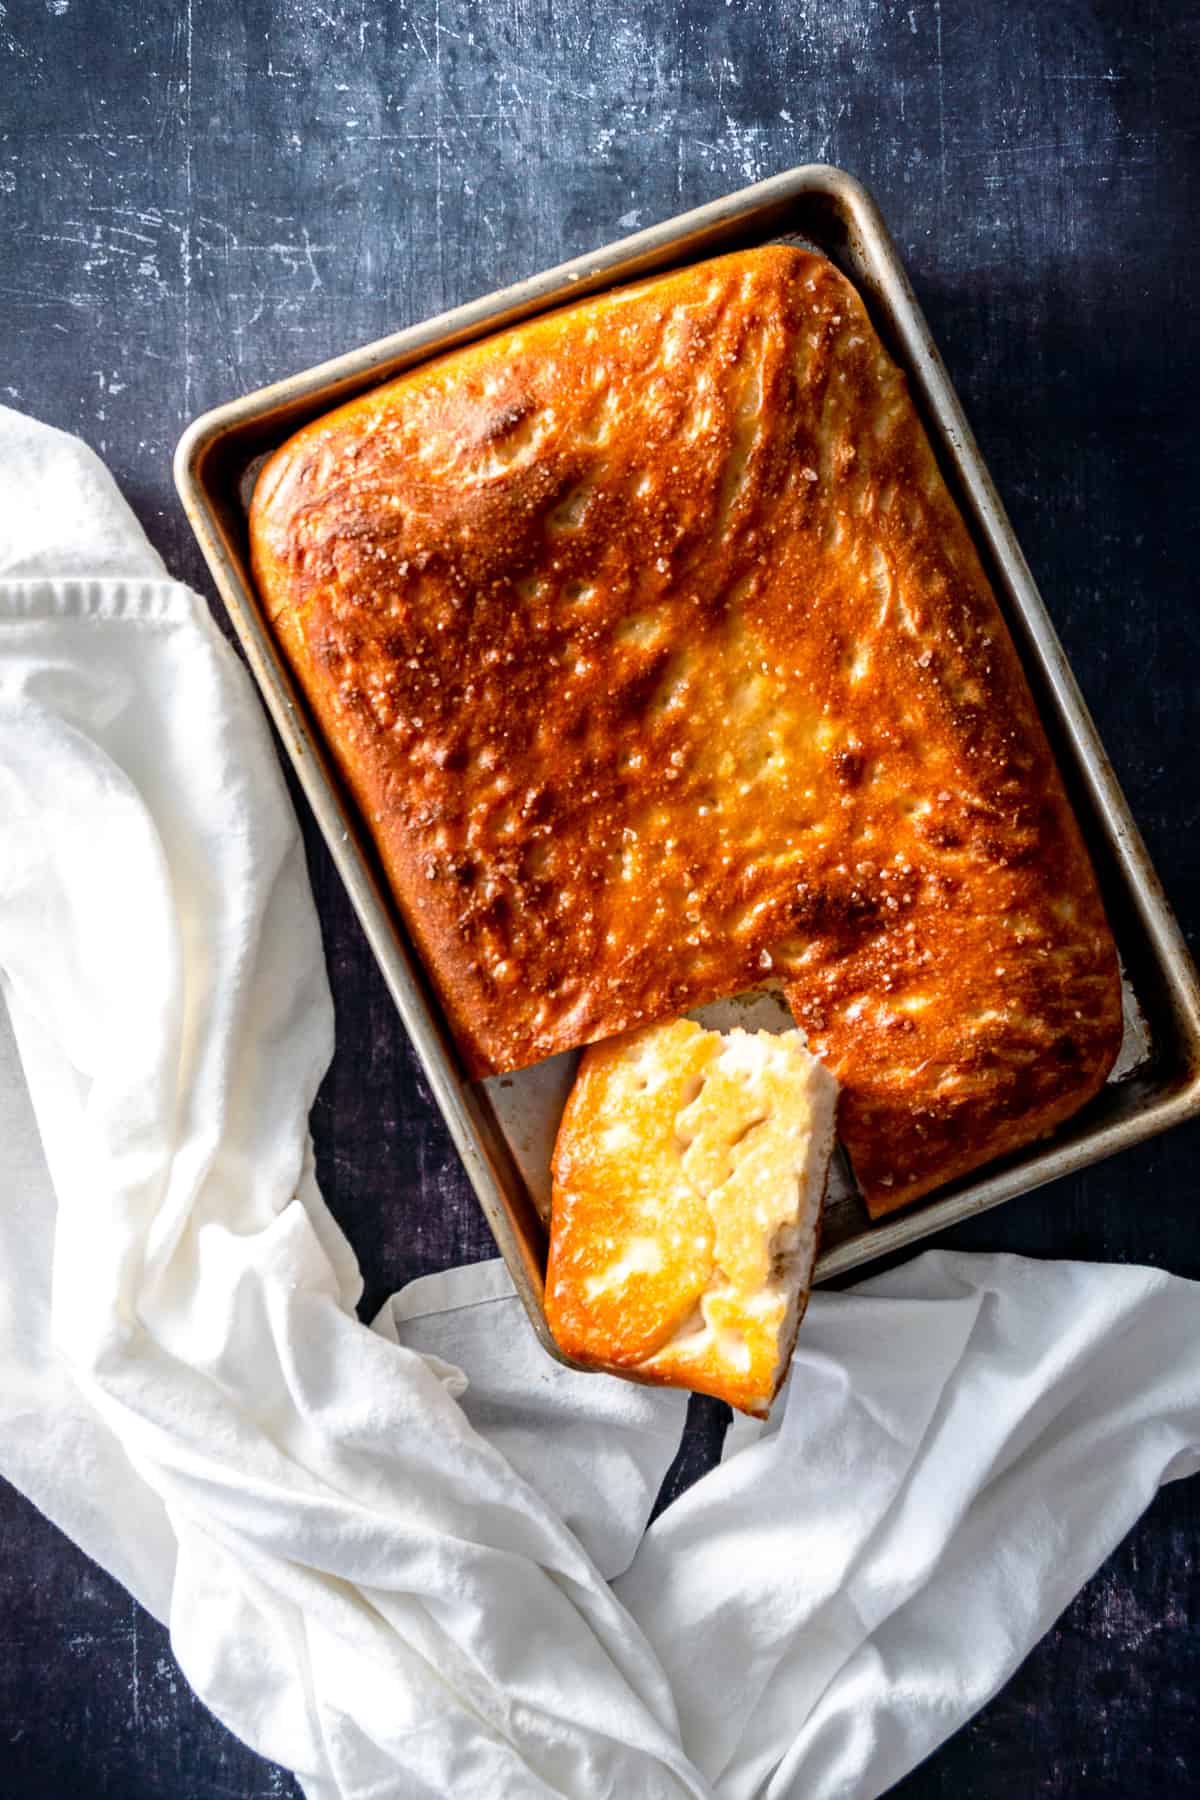
You can use a peel if you want. Or just build your pizza on a piece of parchment paper and slide it into the oven from the back of a baking sheet.
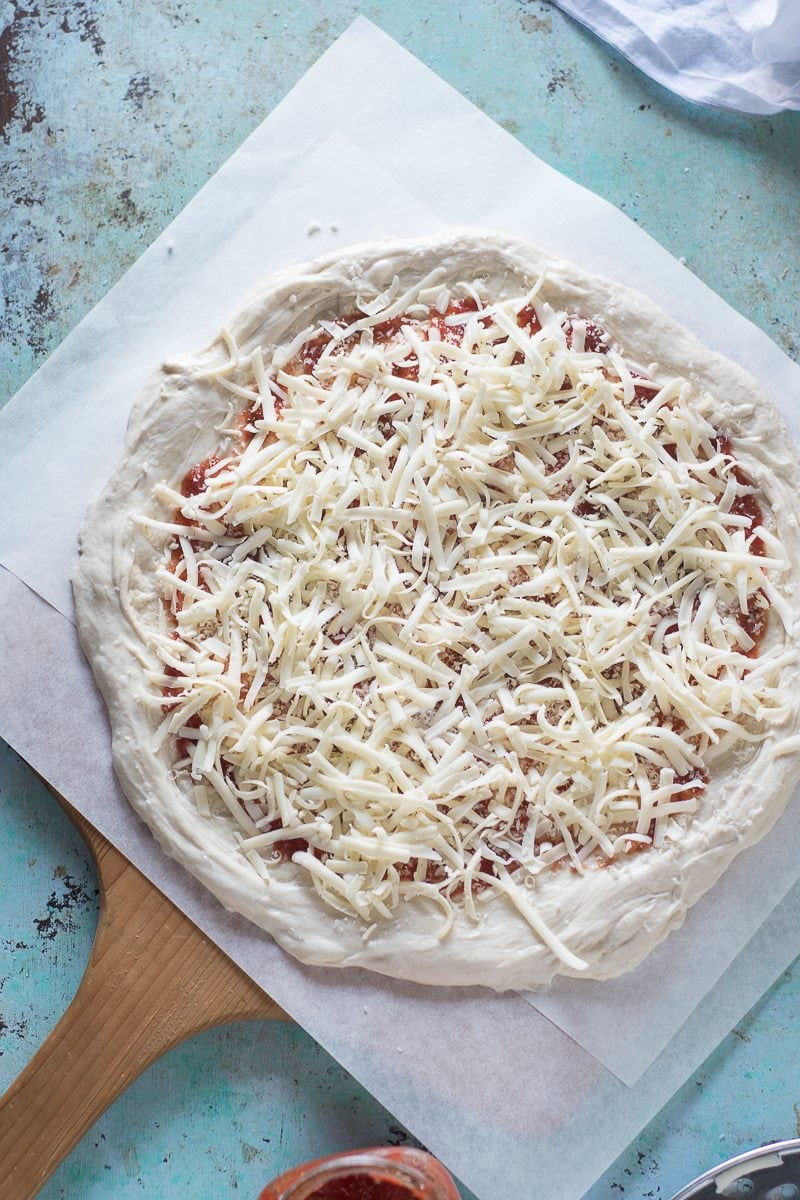
Also, don’t overtop your pizza.
Apply a very thin layer of simple sauce. Go easy on a layer of grated dry aged mozzarella and parmigiano reggiano. And apply your other toppings sparingly or you’re apt to wind up with a soggy mess.
But keep this one bookmarked. Or print it out and laminate it.
You’ll be making it again and again.


[Edit 6/5/2019: I think I figured out where a few folks have run into trouble. This recipe is not designed for Italian-style 00 pizza flour, which is generally only available from specialty suppliers in the US and why I’ve opted for the much more widely available bread flour.
The tipo “00” (doppio zero) refers to the fineness of the milling and has nothing to do with the protein content of the flour.
It is much finer than American all-purpose or bread flours. Tipo “00” is less absorbent than bread flour, which means if you use the amount of water called for here, it will be too runny.
If you are using 00 flour, try reducing the water to 275 g or a 1 cup plus 2 tablespoons to get the hydration right. And note that the texture will be more delicate and crisp and less chewy than the bread flour version I’ve described.
I’ve tested this dough with bread flour hundreds of times and that’s still what I recommend for this recipe.
It also works pretty well with all-purpose flour (especially if you have a higher protein all-purpose flour like King Arthur). You can reduce the water to 350 g or 1 1/2 cups for an easier to handle dough.]
Best Pizza Dough (for thin crust pizza with a chewy, puffy rim)
This dough needs to be made a day ahead of time (though it can hang out in the refrigerator for another four days and in the freezer for a few months). The slow overnight rise in the refrigerator allows the dough to develop a complex flavor and improve its browning and crumb structure. Bread flour helps to give pizza that pleasing chewy texture, and instant yeast lets you skip the step you find in many recipes for proofing the yeast in water ahead of time. I strongly recommend applying your toppings with a light hand. I like baking pizzas on a baking steel, which is totally worth the investment, but you can also bake it on a baking sheet. This makes enough dough for two pizzas, which means you can have pizza again later in the week or you can tuck the extra dough in the freezer and let it thaw in the refrigerator overnight the next time you want pizza.
Ingredients
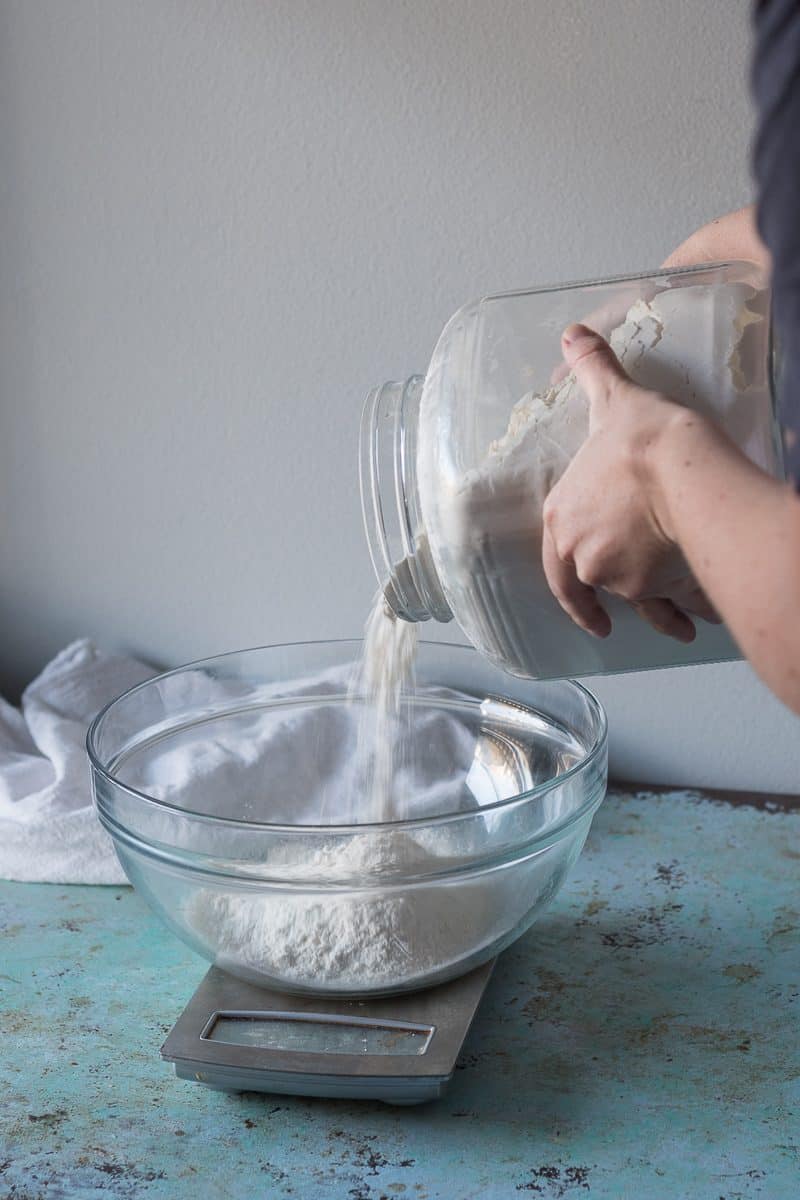
- 500 grams (3 3/4 cups) bread flour
- 10 grams (2 teaspoons) Diamond Crystal kosher salt
- 1.5 grams (1/2 teaspoon) instant yeast
- 390 grams (1 2/3 cups) cool water
- olive oil, for coating the balls of dough
Instructions
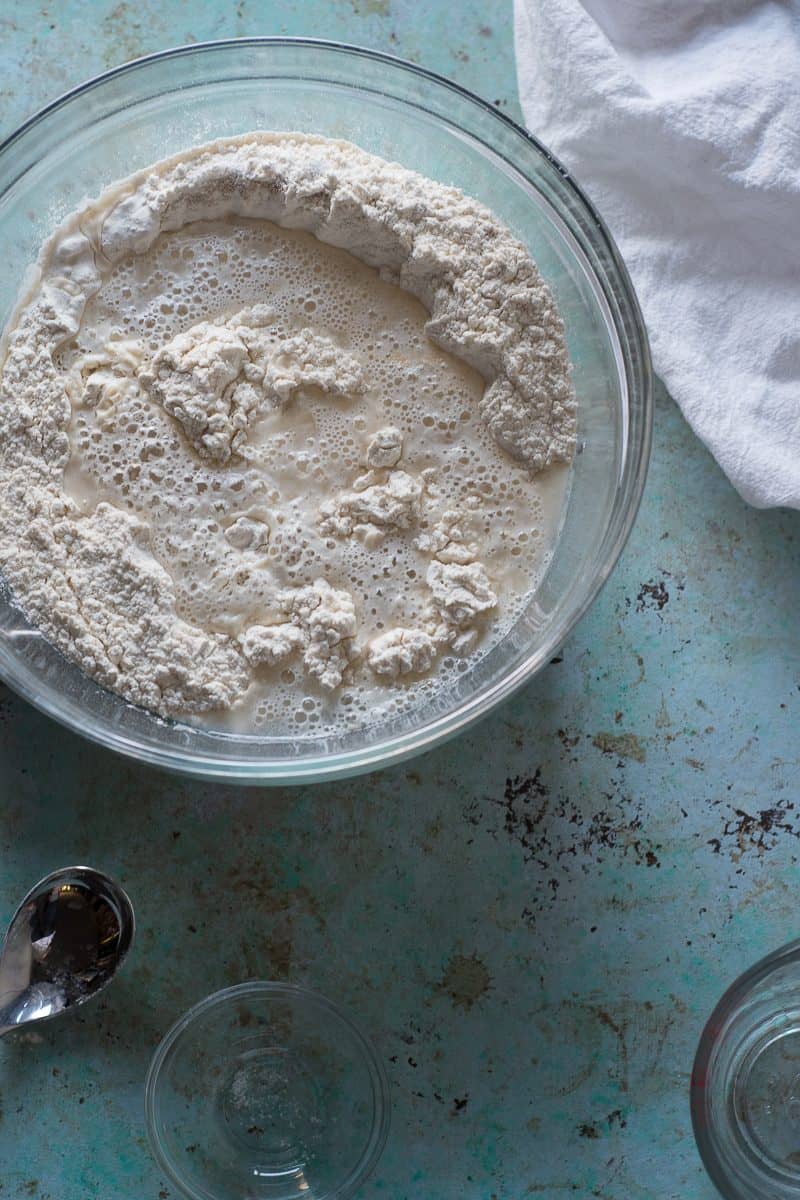
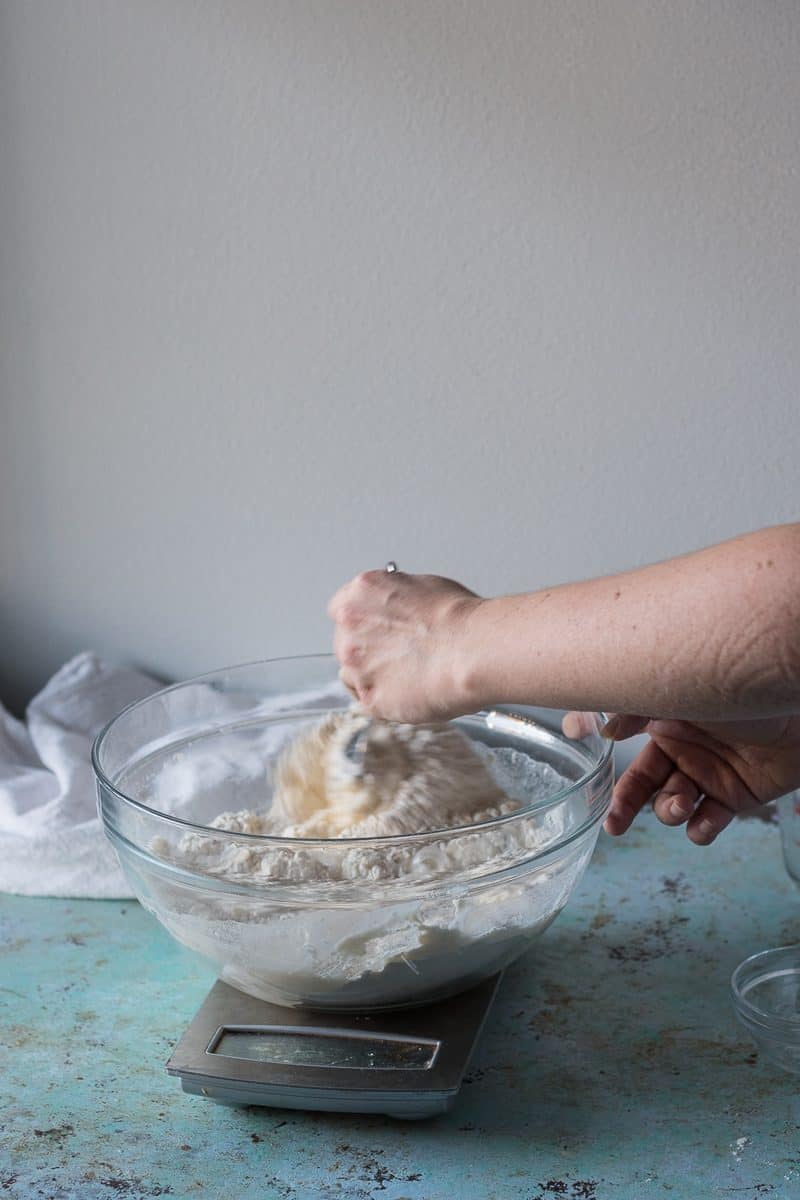
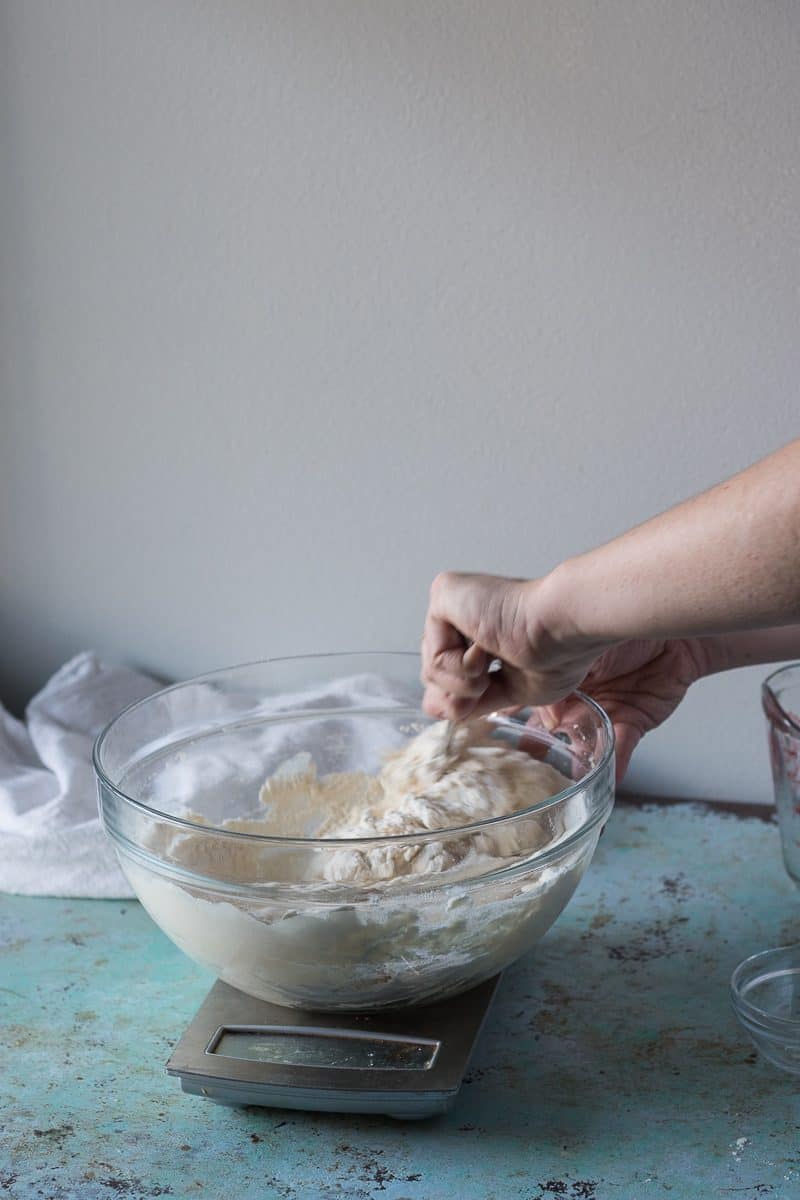
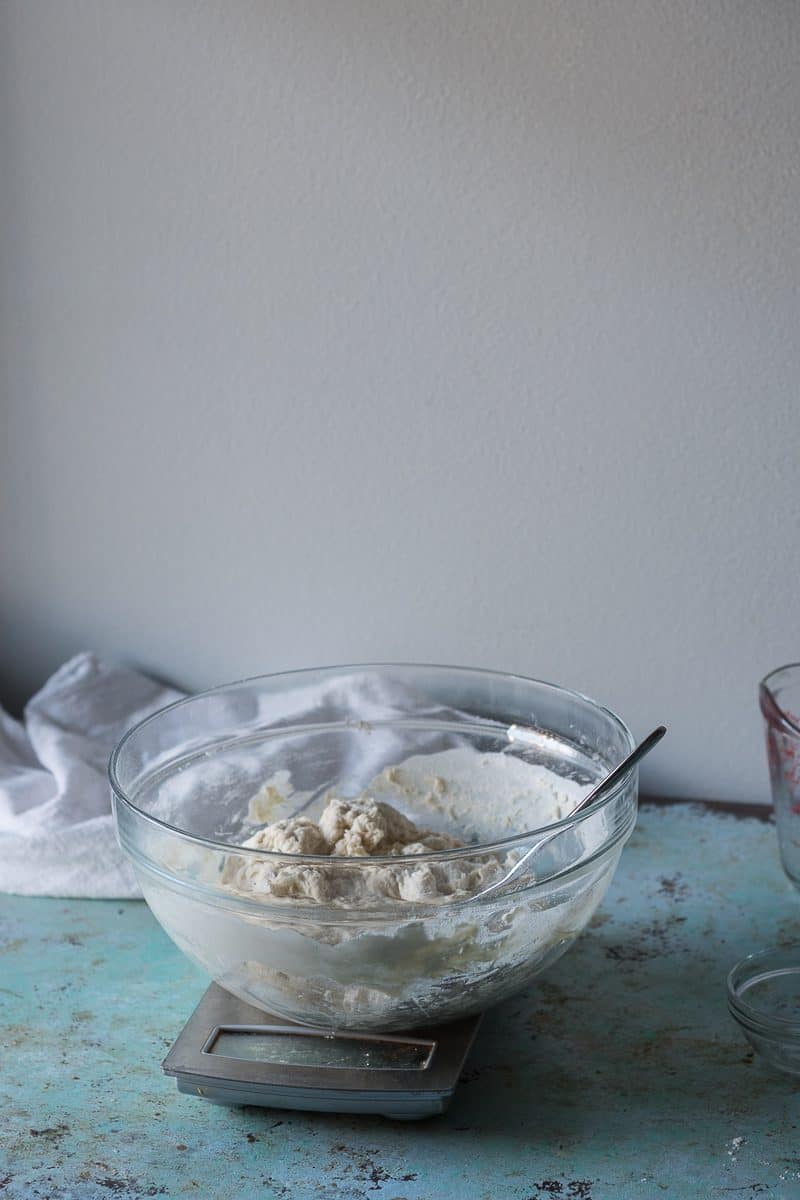
- Add the flour, salt, and yeast to a large mixing bowl and stir. Add the water and stir until you don't see any dry flour. Then stir with a metal or wooden spoon for about 50 strokes (your arm should be getting tired and the dough should be shaggy but starting to pull away from the sides of the bowl as you stir). Cover the bowl with plastic wrap and set aside.
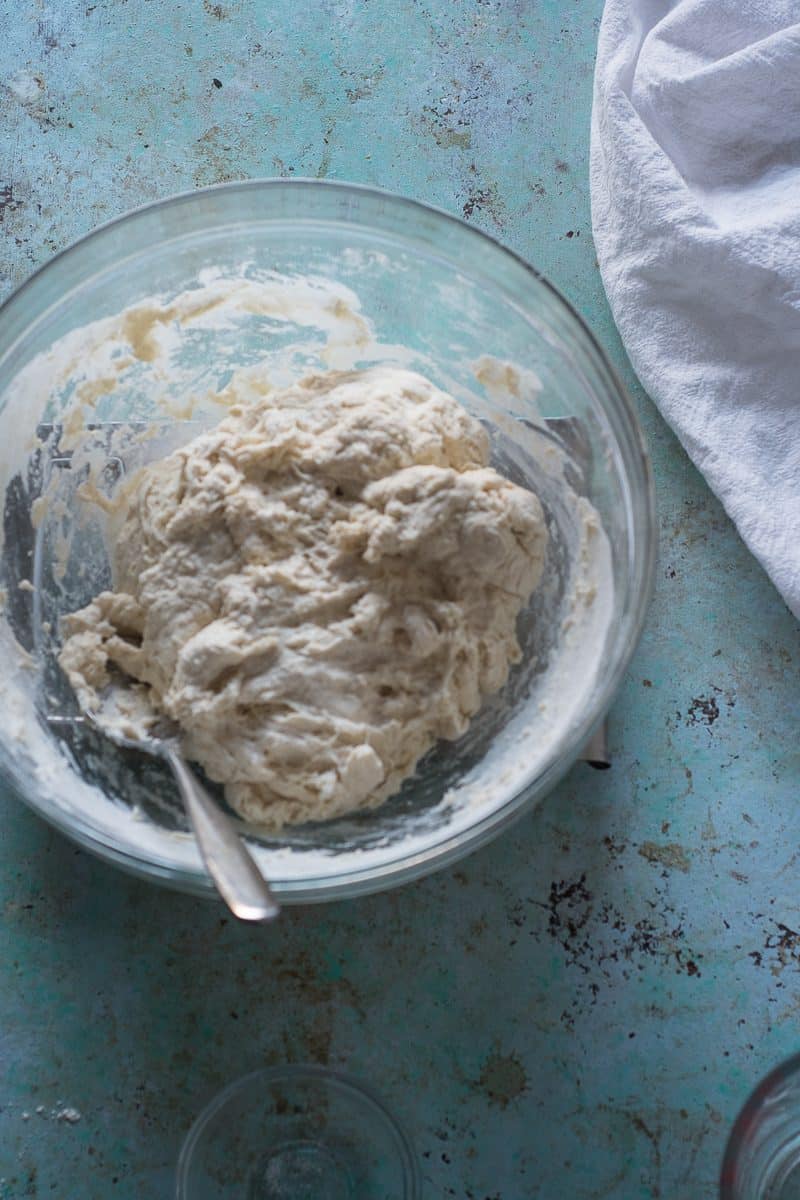
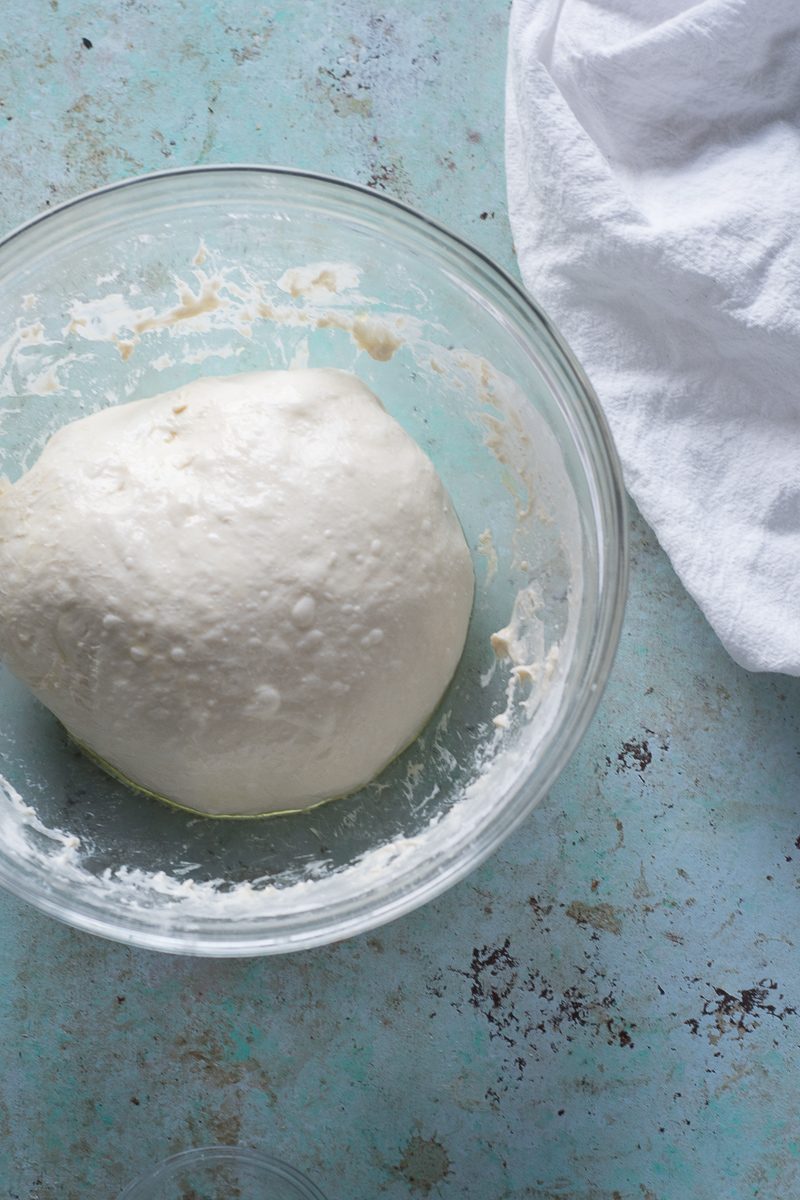
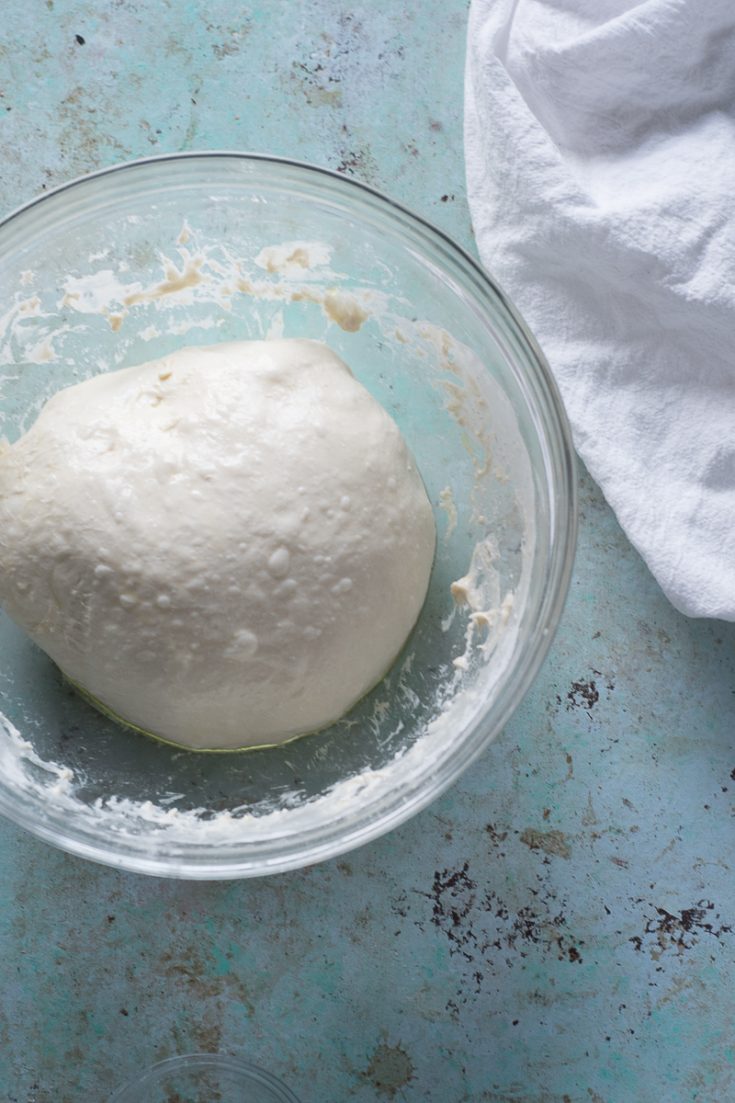
- After about a 30 minutes of rising, gently stretch and fold the dough over itself a few times. The dough should start to feel stretchier and sturdier. Cover again and let rise for another 30 minutes. Stretch and fold the dough over itself two or three more times. The dough should no longer look shaggy, but have a smooth appearance when pulled into a taut ball. Divide the dough in half and stretch each half into a ball. Coat lightly in olive oil and place each dough ball into a quart-sized zip top bag and refrigerate overnight or for up to 4 days. (If there is any dough you don't plan to use in 4 days, put it in the freezer now. When ready to use, let thaw in the refrigerator overnight and continue as directed.)
- On the day you plan to make the pizza, pull the dough out of the refrigerator about an hour before you want to eat. If you have a baking steel or baking stone, make sure it's in the oven on the top rack. Preheat the oven as high as your oven will go (500°F or 550°F) about a half hour before you want to eat.
- After the dough has been at room temperature for about an hour, gently stretch the dough into a circle about 14-inches in diameter and place on a sheet of parchment paper set on the back of a baking sheet (if you feel comfortable using a peel you can, of course skip the parchment paper and build your pizza on a floured peel). Top the pizza lightly with whatever toppings you want. Slide the parchment paper and pizza onto your baking steel or stone (or if you don't have either of those, slide the whole inverted baking sheet into the oven on the top rack).
- Bake for 7-8 minutes or until the dough is deeply browned in spots. Slide the pizza onto a wire cooling rack and let cool for a few minutes before transferring to a cutting board and slicing.
Recommended Products
As an Amazon Associate and member of other affiliate programs, I earn from qualifying purchases.
Nutrition Information:
Yield:
8Serving Size:
1Amount Per Serving: Calories: 190Total Fat: 9gSaturated Fat: 3gTrans Fat: 0gUnsaturated Fat: 5gCholesterol: 0mgSodium: 602mgCarbohydrates: 24gFiber: 1gSugar: 0gProtein: 3g
Amy
Wednesday 28th of January 2026
do you have refrigerate overnight? Or is it ready to use after the second rise and rolled into a ball?
Fletch
Tuesday 19th of November 2024
Is there any problem with making the dough and pizza on the same day or does it have to slow rise overnight?
Veronica
Thursday 3rd of August 2023
Yum!!! Made two pizzas yesterday with this dough using bread flour and they were delicious. My husband said this dough was the best and to just use this recipe from now on...lol. What a winner. It bubbled up perfectly along the edges, and had perfect little pockets. Thank you!
Zoe
Saturday 29th of January 2022
Is it possible to use the dough on the same day, or is the overnight rest critical? Thanks!
Mary Kasprzak
Saturday 29th of January 2022
It's definitely far better after an overnight rest. You could make it in the morning and use it in the evening if it had at least 8 hours of rest.
Liz
Wednesday 24th of March 2021
My pizza dough is not wet at all... Do you have any thoughts on that?