I may earn from purchases through links in this post.
2020 has been a year of bread baking for so many people.
It makes sense. If you’re at home much more than you used to be, the scheduling demands of yeast seem much more doable. The tasks of kneading, letting dough rise for an hour or two, finding a few minutes of work to shape a loaf and preheat the oven, slip easily into a work from home schedule when you can step away from your desk and into the kitchen.
And you don’t need a sourdough starter or any particular bread-baking expertise for this focaccia.
It’s adapted from Claire Saffitz’s new book, Dessert Person, a book that looks lovely and has lots of appealing sweets (I have my eye on her coffee coffee cake) as well as a chapter of savory baking that includes this focaccia.
Saffitz recently parted ways with Bon Appetit’s test kitchen and has since released this book and started her own YouTube channel.
She says this focaccia is among her favorite recipes she’s developed, and I can see why.
It’s a simple bread that’s a great way to get acquainted with yeast baking.
And unlike lots of my favorite yeasted-baking (like this pizza dough or this no-knead brioche), it doesn’t require an overnight rise, although Saffitz says the dough can wait a day in the refrigerator after the panning step if you want to let it develop more flavor.
The olive oil here gives the focaccia plenty of flavor. And it absolutely satisfies that need for the wonderful smell of freshly baked bread wafting through the kitchen on the same day you crave it.
I cut this recipe in half to make a quarter-sheet pan’s worth, because the amount seems more manageable for most small-ish households than a half sheet pan. (If you’re feeding a crowd, the larger size is great.)
I also think everyone should have an excuse to buy a quarter sheet pan, because they’re incredibly handy. But this will work in any old metal 9″x13″ baking pan that you may have lying around.
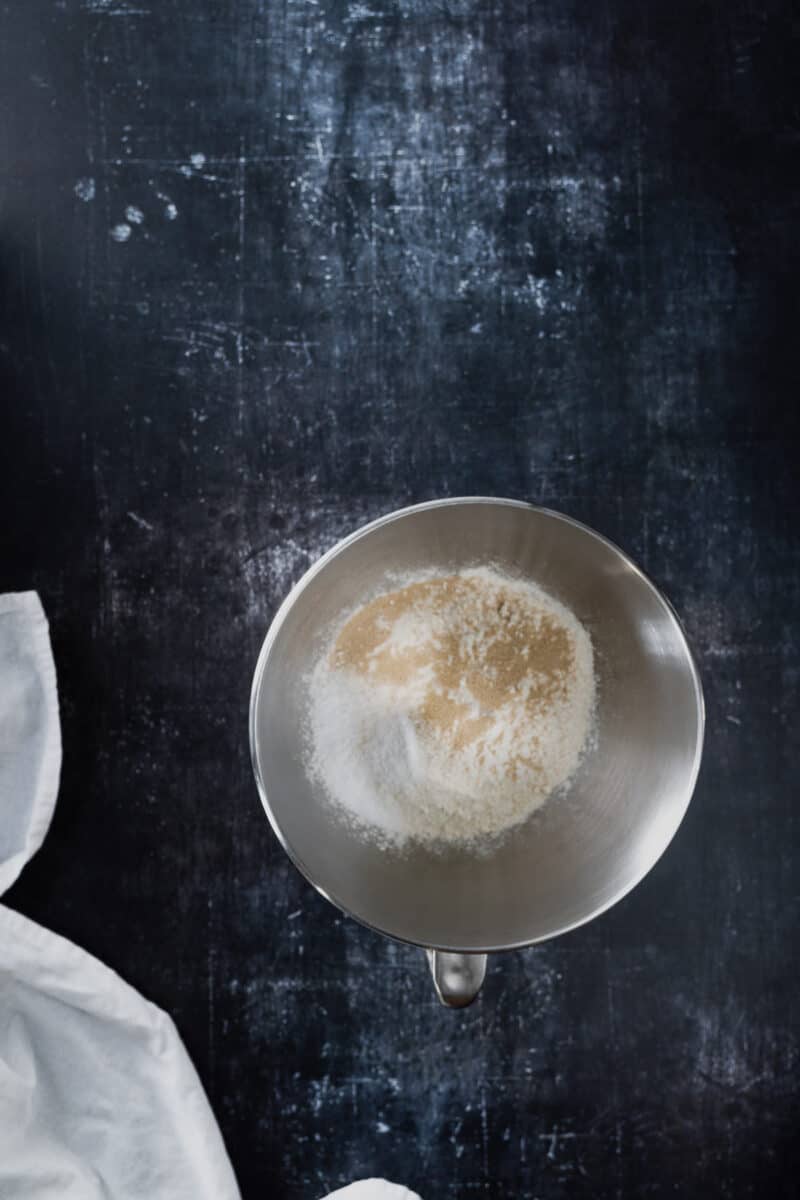
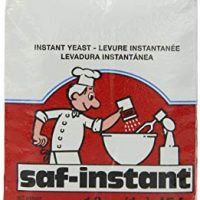
I also swap in instant yeast for the active dry yeast, because it lets you skip the yeast-proofing step, is more reliable than active dry yeast, and you can buy a package of it and keep it for years in the freezer.
The wet dough gets a first mix in a stand mixer just to let the ingredients get to know each other, and then you cover it and step away for 10 minutes to allow for more hydration and gluten development before mixing again on high speed for another 10-15 minutes.
It will give your stand mixer a workout, and you’ll want to give your mixer a few breaks and also keep an eye on it to make sure it doesn’t shimmy right off the counter.
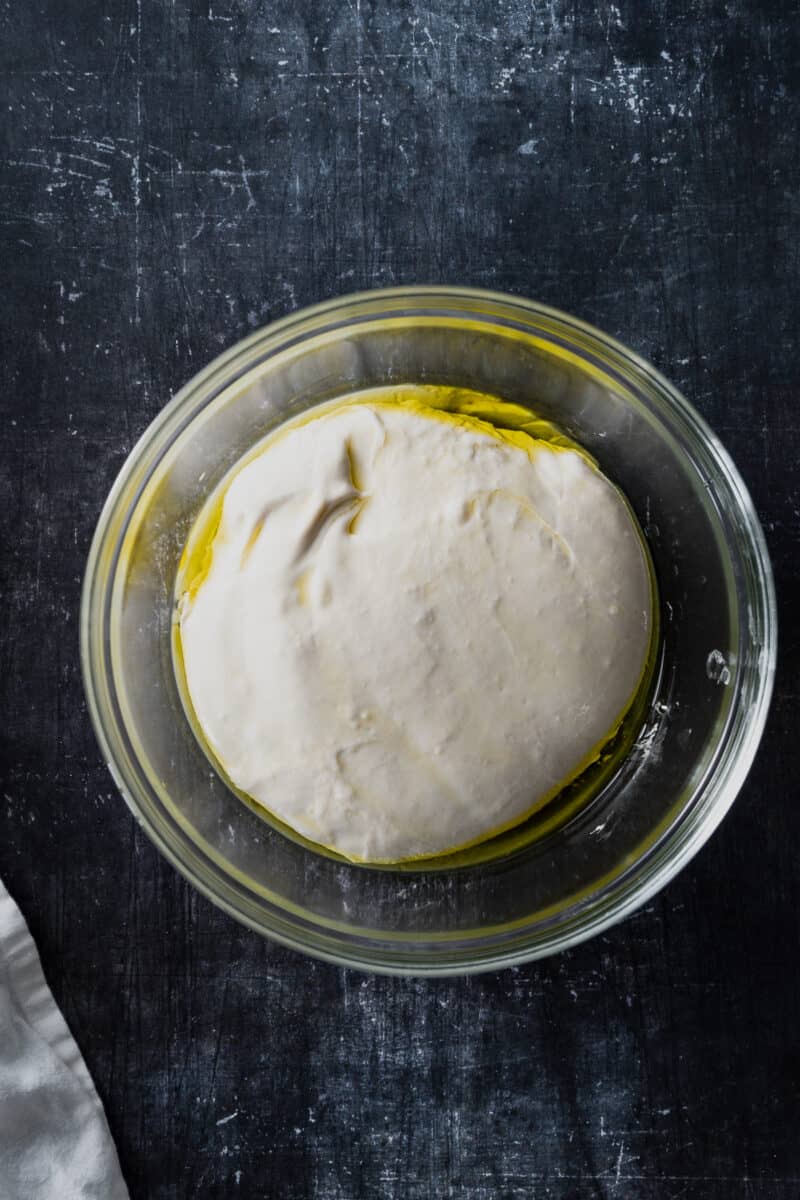
The dough is wet, but it will turn smooth and satiny by the time you’re done mixing it. Then you’ll let it rise in a bowl generously coated with olive oil.
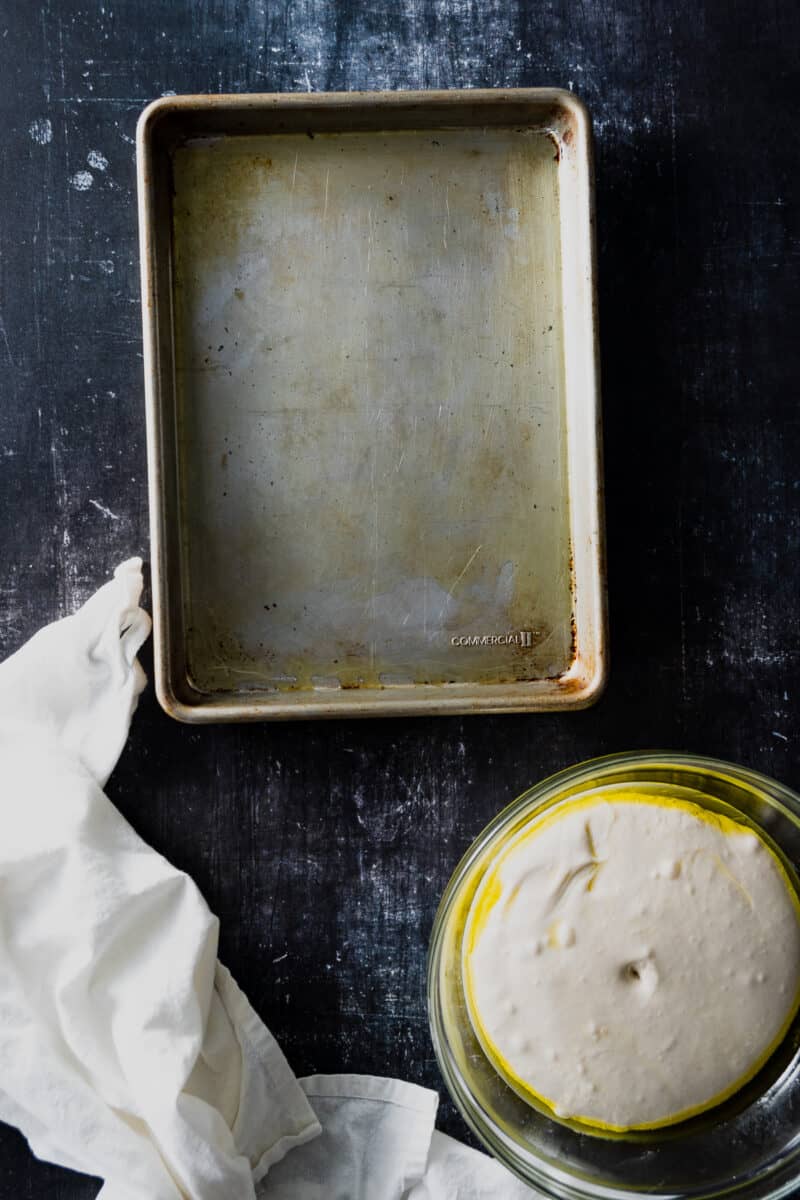
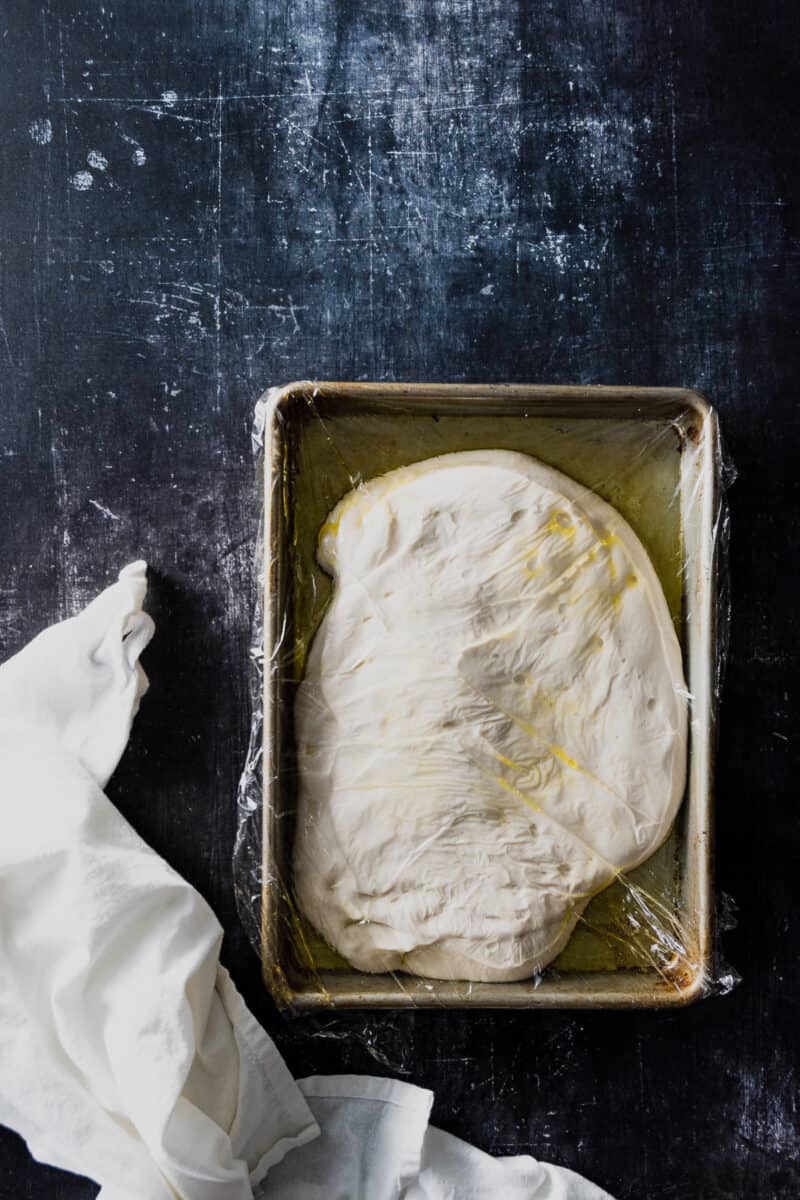
When the dough has doubled in size you preheat the oven and coat your pan with more olive oil and let the dough slump in and stretch it into more or less the shape of the pan. Then you cover it and let it hang out until it’s slack and bubbly and fills the pan.
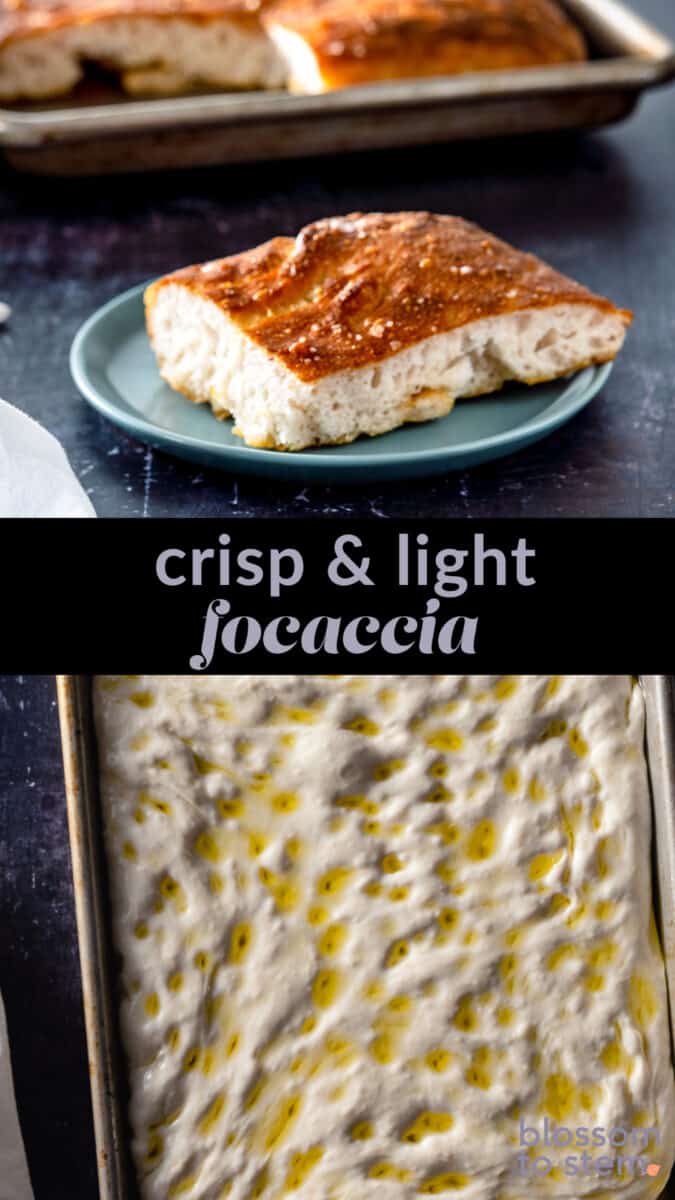
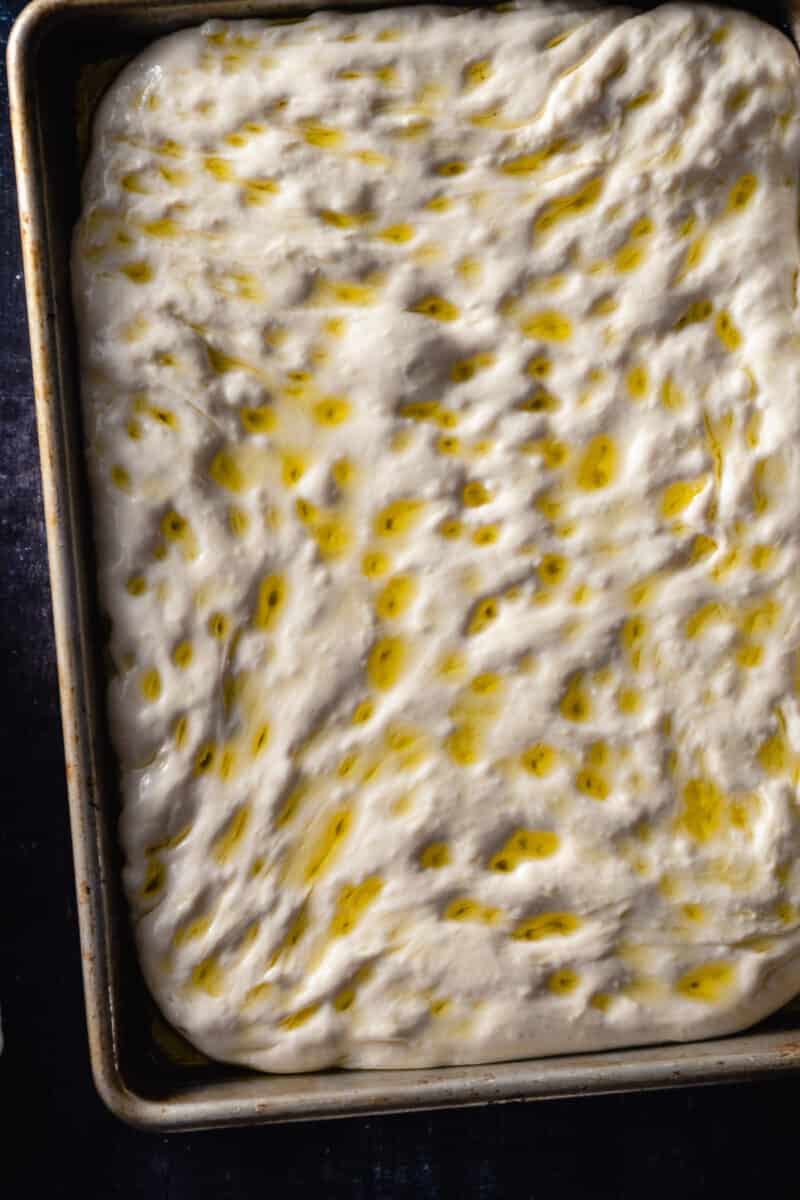
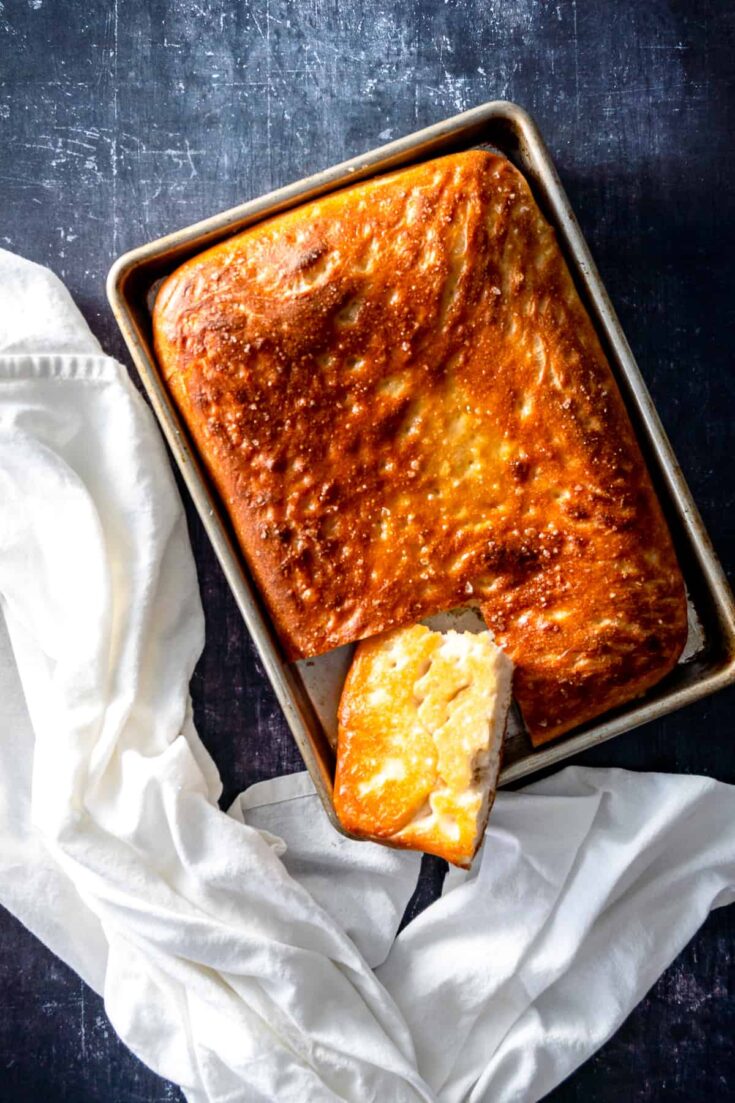
You stretch it to fill the corners of the pan, dimple the dough with your fingers, and add more olive oil and a generous sprinkle of flaky sea salt.
(You have Maldon in your pantry, right? If not, get some. You won’t regret it.)

You can add other toppings like sliced garlic and rosemary or whatever you like. I think there’s something glorious about the simple salted version, but it can be gussied up in many ways with herbs or potatoes or cherry tomatoes if you’re in the mood for that.
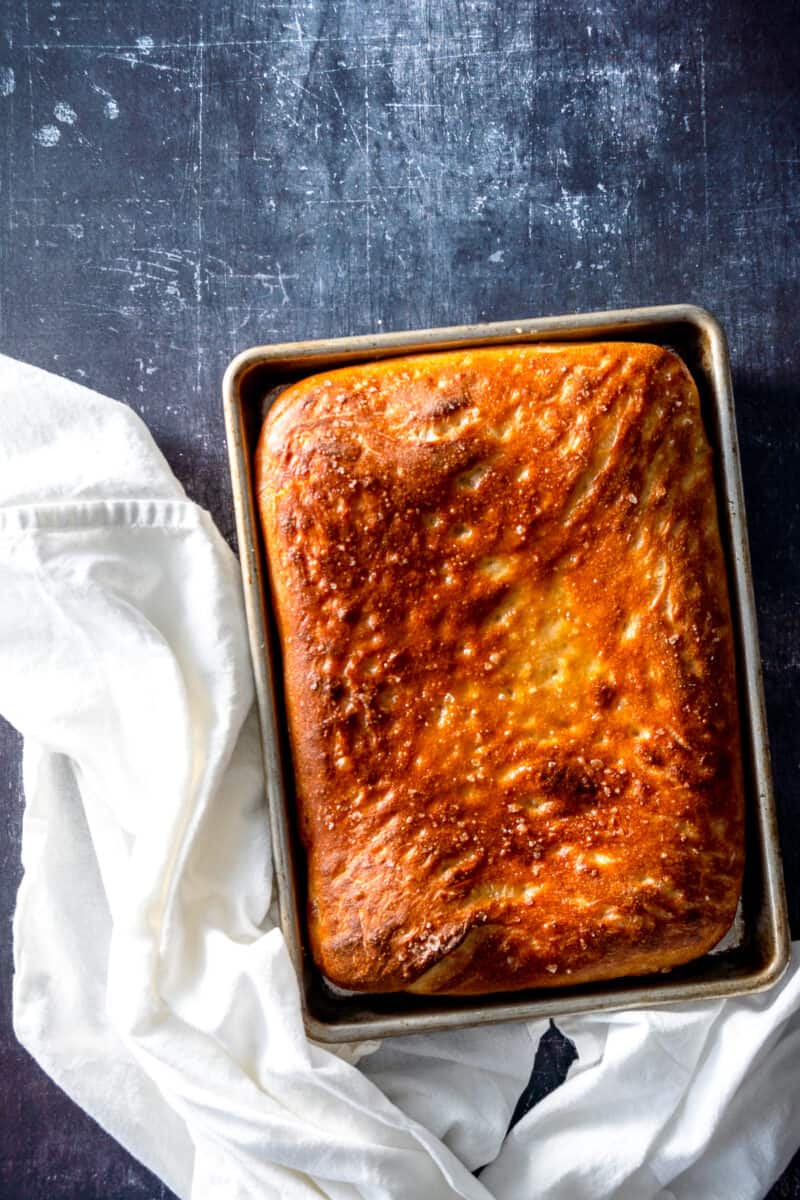
Then you bake it on the bottom rack of the oven until the underside gets golden and crisp, and then you move it up to the top rack for some extra browning on top.
Since every oven seems to have its own personality, you may find the shifting unnecessary or may want to fiddle with the timing a little.
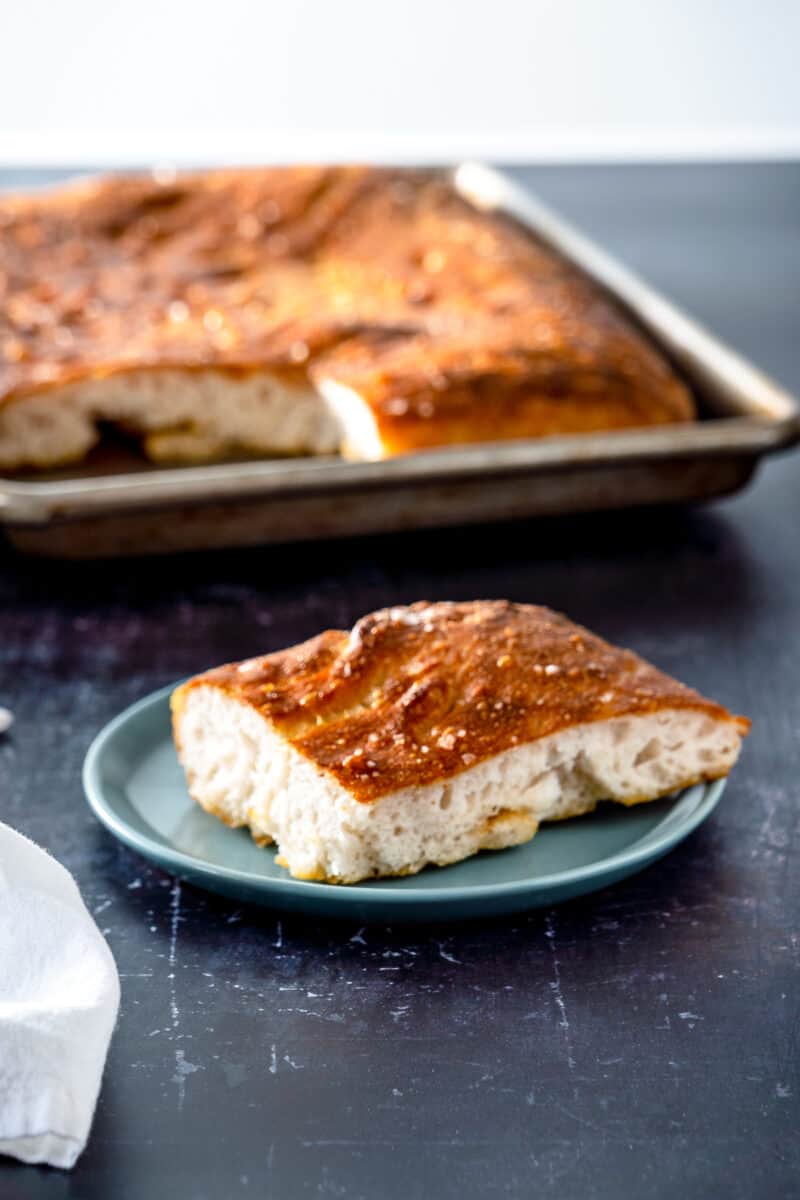
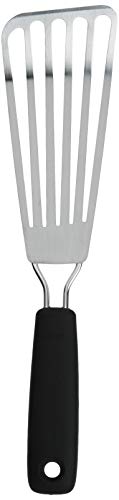
Then you ease it out of the pan with a flexible metal spatula. There may be a little stickage, which is no cause for concern. Then you let it cool, slice (it’s nice to cut with kitchen shears if you have some).
And then you eat. And maybe wish you made a bigger pan of it.
Focaccia
This focaccia is crisp, light, and full of olive oil flavor. Be sure to use extra virgin olive oil here, as it's essential to the flavor.
This is made in a quarter sheet pan or any metal 9"x13" baking pan. You can double it and bake it in a half sheet pan if you'd like to scale it up.
I use instant yeast, which can be mixed directly with the flour. If you want to use active dry yeast, proof it in 1/2 cup of lukewarm water first to make sure it bubbles and is alive. Then add only 1 cup of additional water when you mix it with the dough.
You can top this with sliced garlic and a sprinkle of rosemary in addition to the sea salt if you'd like.
Ingredients
- 3 cups (375 grams) bread flour
- 1 teaspoon (3 grams) instant yeast
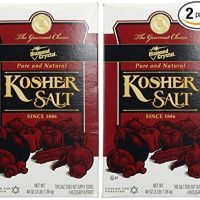
- 1 tablespoon (8 grams) Diamond Crystal kosher salt (1 1/2 teaspoons if using Morton's)
- 1 1/2 cups (355 grams) water, slightly warm to the touch
- 1/4 cup, plus 2 tablespoons extra virgin olive oil, divided
- flaky sea salt, such as Maldon, for topping
Instructions
- Add flour, yeast, and kosher salt to the bowl of a stand mixer fitted with a paddle attachment. Mix on low speed for about 10 seconds just to distribute the dry stuff. Add the water and mix on medium-high speed for about 5 minutes. Scrape down the sides of the bowl to make sure all the flour is incorporated. The dough will be shaggy. Cover with a damp towel or plastic wrap and let rest for 10 minutes.
- Mix again on medium-high speed until the dough looks smooth and pulls away from the bowl and makes a noticeable slapping sound as it hits the bowl. This will take 10-15 minutes. (Keep an eye on your mixer during this time, as many mixers develop a wobble and may move across the counter during the mixing process.)
- Add 2 tablespoons of olive oil to a large mixing bowl and add the dough to the bowl and toss to coat the dough in the oil. Cover with a damp towel or plastic wrap and leave in a warm place until the dough has doubled in volume, about 1 1/2 hours. When the dough has risen, if you poke it with your finger it will hold the impression instead of springing back.
- Add 2 tablespoons of olive oil to your quarter sheet pan and coat the inside of the pan with the oil. Add the dough to the pan and gently press into the pan. The dough will spring back and not quite fill the pan. Don't worry. Coat some plastic wrap with olive oil and cover the dough. Let rise until the dough is slack and bubbly and nearly reaches the top of the sheet pan (if using a taller pan, this last part won't be the case), about 45 minutes to 1 hour.
- Meanwhile, arrange your oven racks so one rack is on the lowest rung and the other is on the highest. Preheat the oven to 450°F.
- When the dough has risen a second time it should be easy to spread it to the corners of the pan. Dimple the dough with your finger tips, and pop any large bubbles that form (don't worry about it too much). Cover the top of the dough with the remaining 2 tablespoons of olive oil and sprinkle generously with flaky sea salt. Bake on the lower rack for 15-20 minutes to crisp the bottom, then if the top doesn't look as deep and golden as you'd like, transfer to the top rack and bake for an additional 5 minutes.
- Remove from the oven and gently ease a thin metal spatula (such as a fish spatula) around the edges of the dough and under it. The dough may stick a little, so be gentle with it, but don't worry too much about it. Let cool to room temperature. Slice and serve.
Notes
Keeps for several days, well wrapped, at room temperature.
Recommended Products
As an Amazon Associate and member of other affiliate programs, I earn from qualifying purchases.


Nutrition Information:
Yield:
8Serving Size:
1Amount Per Serving: Calories: 202Total Fat: 4gSaturated Fat: 1gTrans Fat: 0gUnsaturated Fat: 3gCholesterol: 0mgSodium: 147mgCarbohydrates: 36gFiber: 1gSugar: 0gProtein: 5g
Alex
Wednesday 3rd of March 2021
I followed this recipe perfectly and it came out amazing!!! Honestly I think this is the best thing I've ever made. I'm definitely adding this to my tried and true recipes. I'm thinking about trying more of a dessert version.
It took me about 4 hours start to finish with the 2 hours and then 30 min resting time. Started dinner at the beginning of the 2nd rest and it all came together at about the same time.
Shelley
Thursday 17th of December 2020
Oh, wow - this is just gorgeous! And I love the flexibility - that you can work ahead a bit and allow the dough to wait a day in the fridge - but you don't absolutely have to if you're in a hurry. Options! And hey - thanks for the tip on a great new cookbook, too! ;)
Zainab
Thursday 17th of December 2020
I love that the ingredients are so simple in this recipe! I can't wait to make this bread this week!
Andrea Metlika
Thursday 17th of December 2020
This focaccia look absolutely delicious! I can't wait to make this so I can grab some whenever I want.
Jessica
Thursday 17th of December 2020
I absolutely LOVE focaccia bread, but I've never made my own. This recipe looks amazing and I can't wait to try it out!
Edmond
Tuesday 19th of January 2021
Jessica, This recipe requires a mixer. Most people may not have one with the right attachment
Perhaps you could offer a handmade recipe. My immigrant Italian grandmother made the best focaccia ( all Italians say that) but she made it by hand.