I may earn from purchases through links in this post.
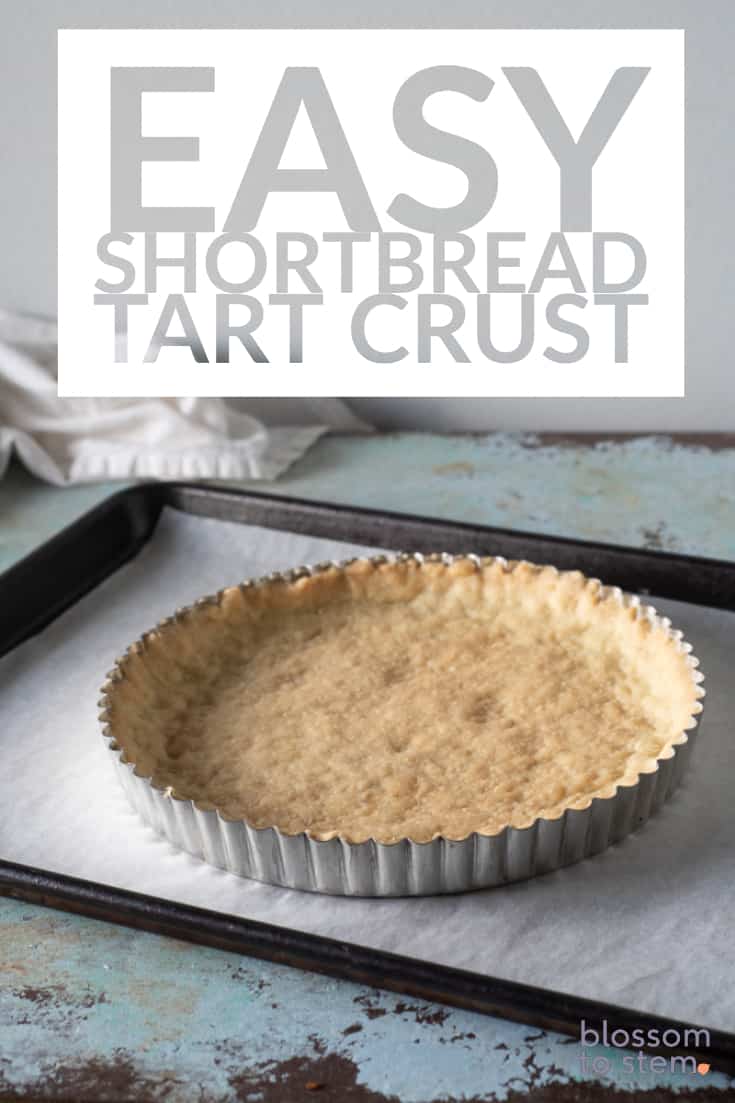
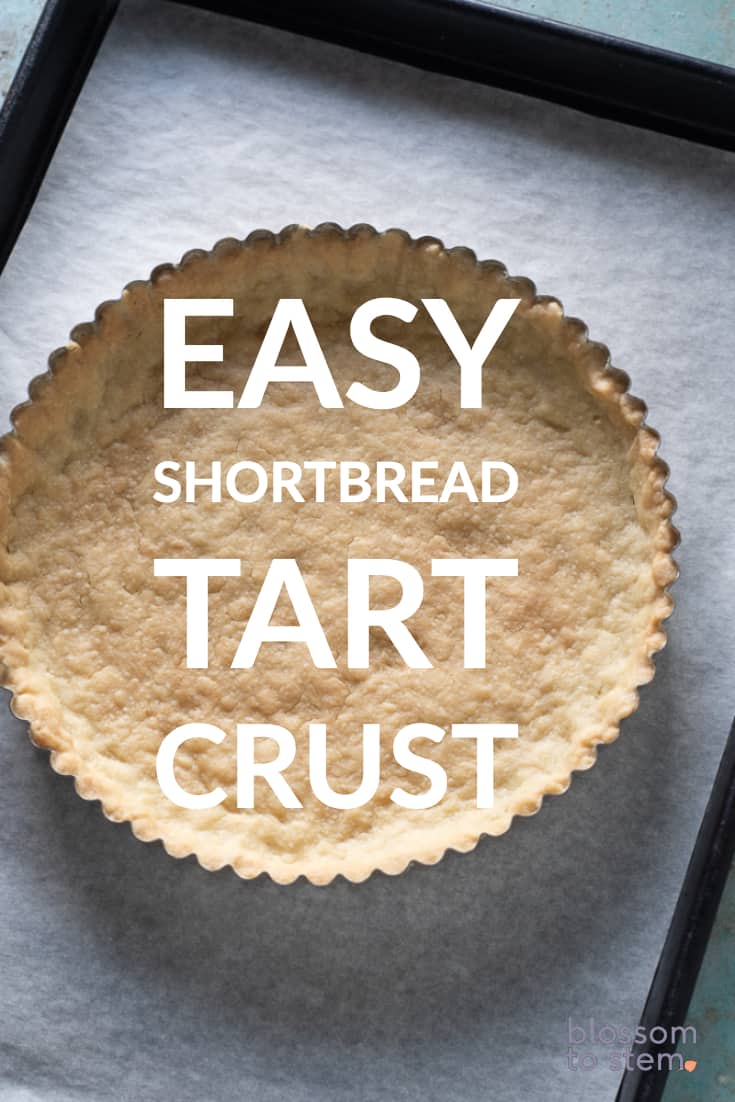
This easy shortbread tart crust is one of my most-used recipes. I turn to it all the time.
And, to be honest, it took so much anxiety out of my tart baking.
So many tart crusts involve pulling out the food processor, chilling the dough, rolling the dough, carefully draping it into the pan, chilling it all again, blind baking with pie weights…
It can be intimidating to even get started. (Though if you’re looking for more of a challenge, you can try the crust in my passion fruit tart.)
And even after all that careful work, so many of them shrink!
You know that moment of dread when you pull a blind baked tart crust out of the oven to find the crust slumped halfway down the sides of the tin, completely incapable of holding the filling you were planning to put in it?
And, uh, you still have to wash the food processor…
I’ve been there. And, oof, it isn’t fun.
But this shortbread crust changes all that.
It takes about five minutes of active time to make. There’s no rolling and no chilling. It goes from puttering around in the pantry to out of the oven in less than a half hour.
It’s pretty much foolproof.
The method is a simple one that I learned from Alice Medrich, the chocolate queen and baker extraordinaire. Though I’ve tweaked the ingredient list, and swapped in confectioners’ sugar for granulated for added tenderness, the general technique is the same.
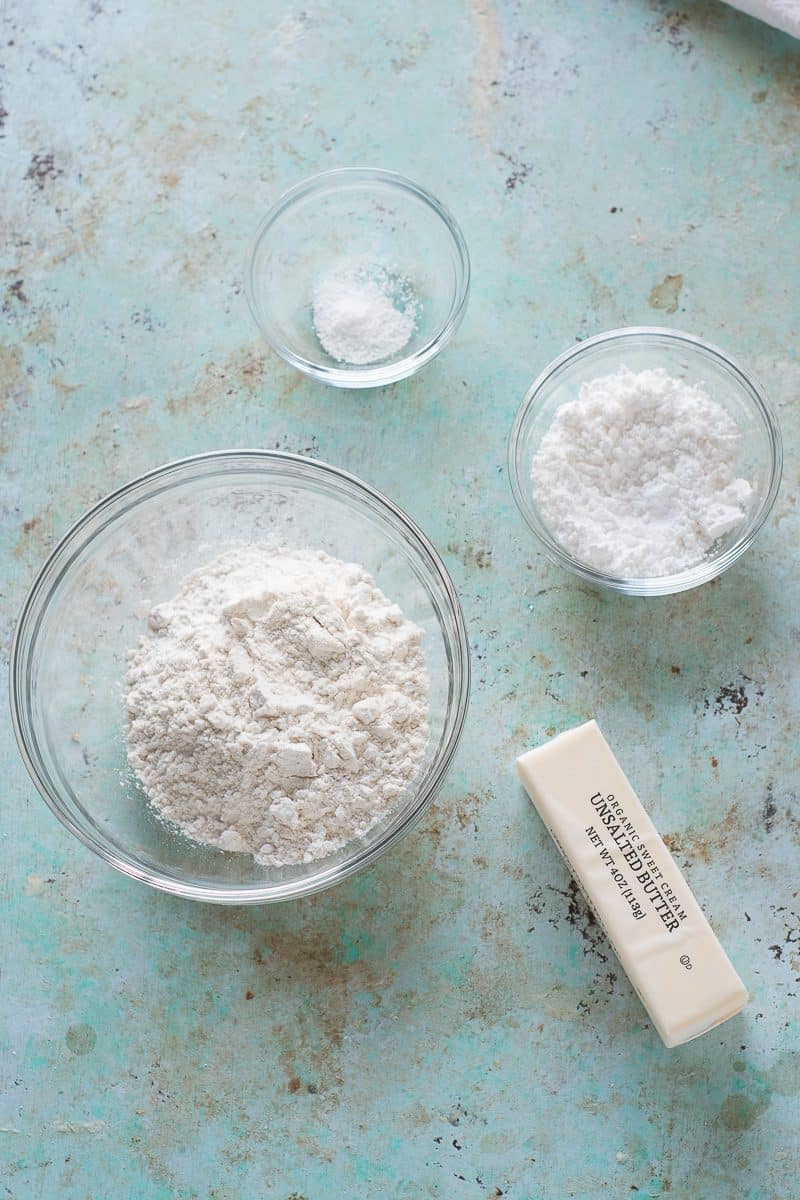
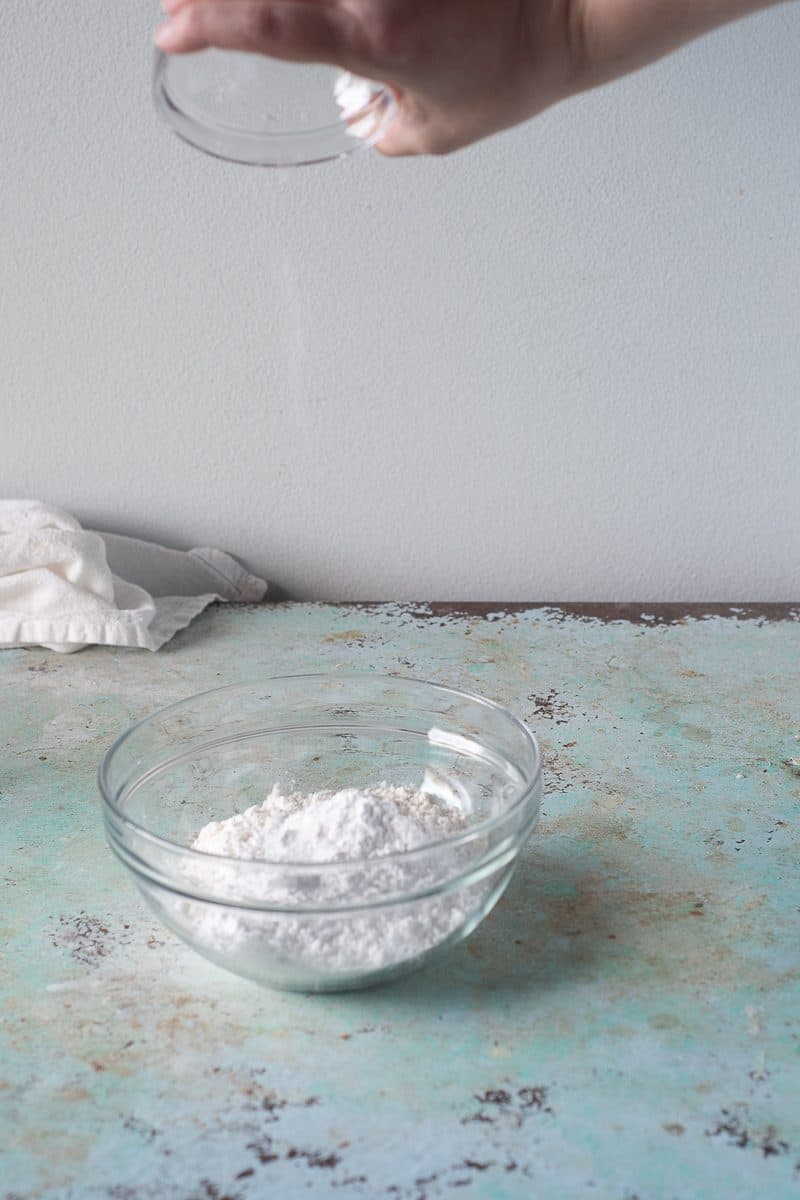
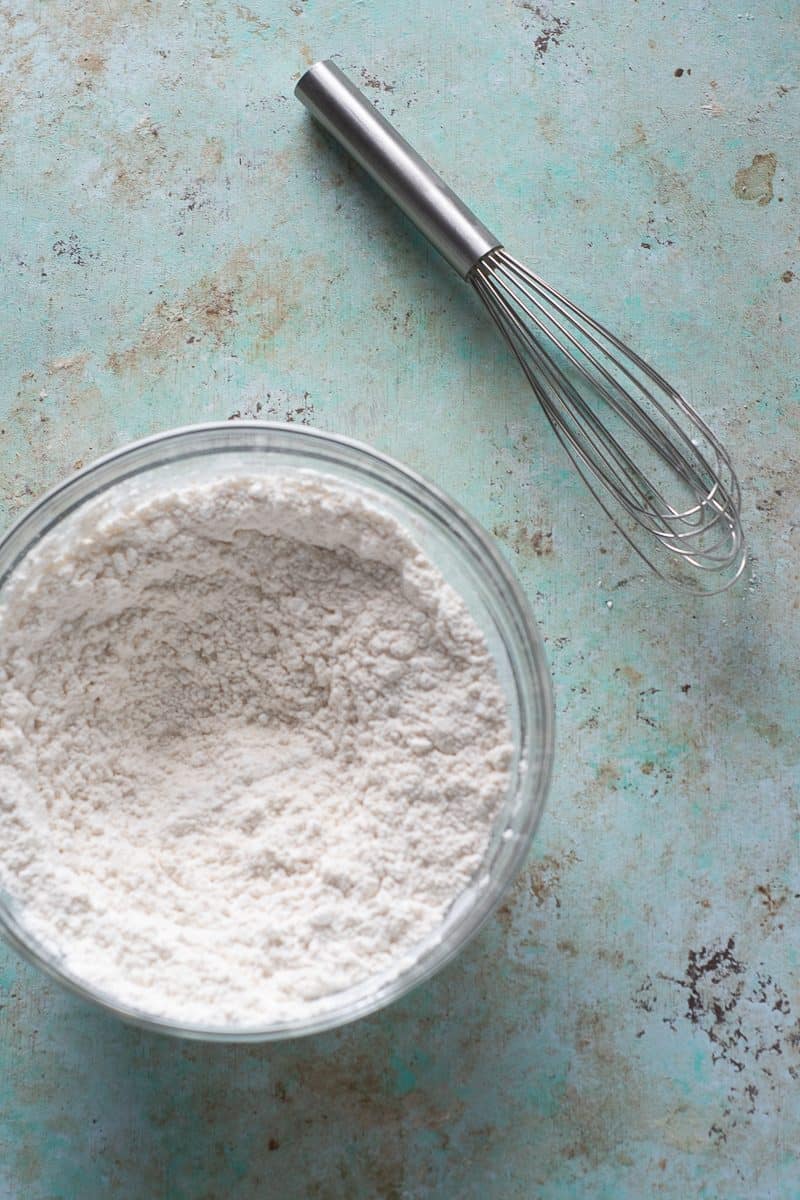
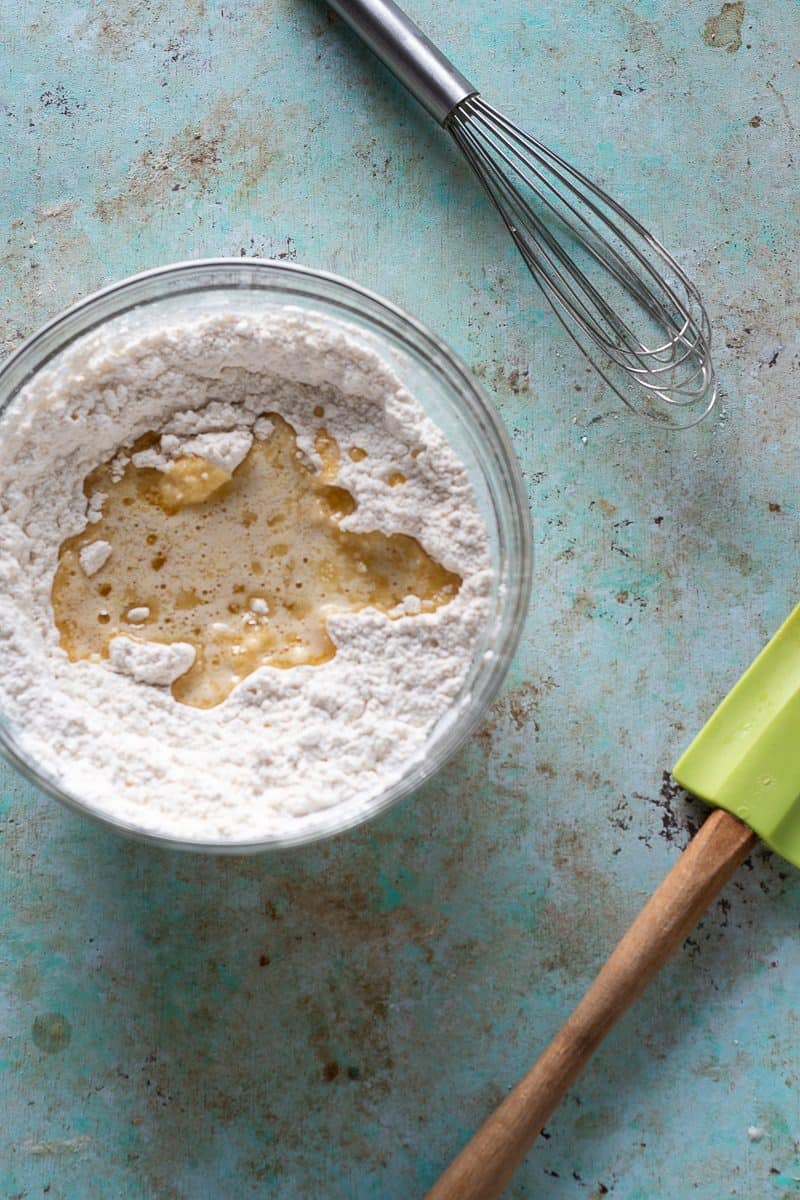
You whisk together flour and confectioners’ sugar and a pinch of salt. Then you melt some butter, add some vanilla, and pour the mixture over the dry ingredients.
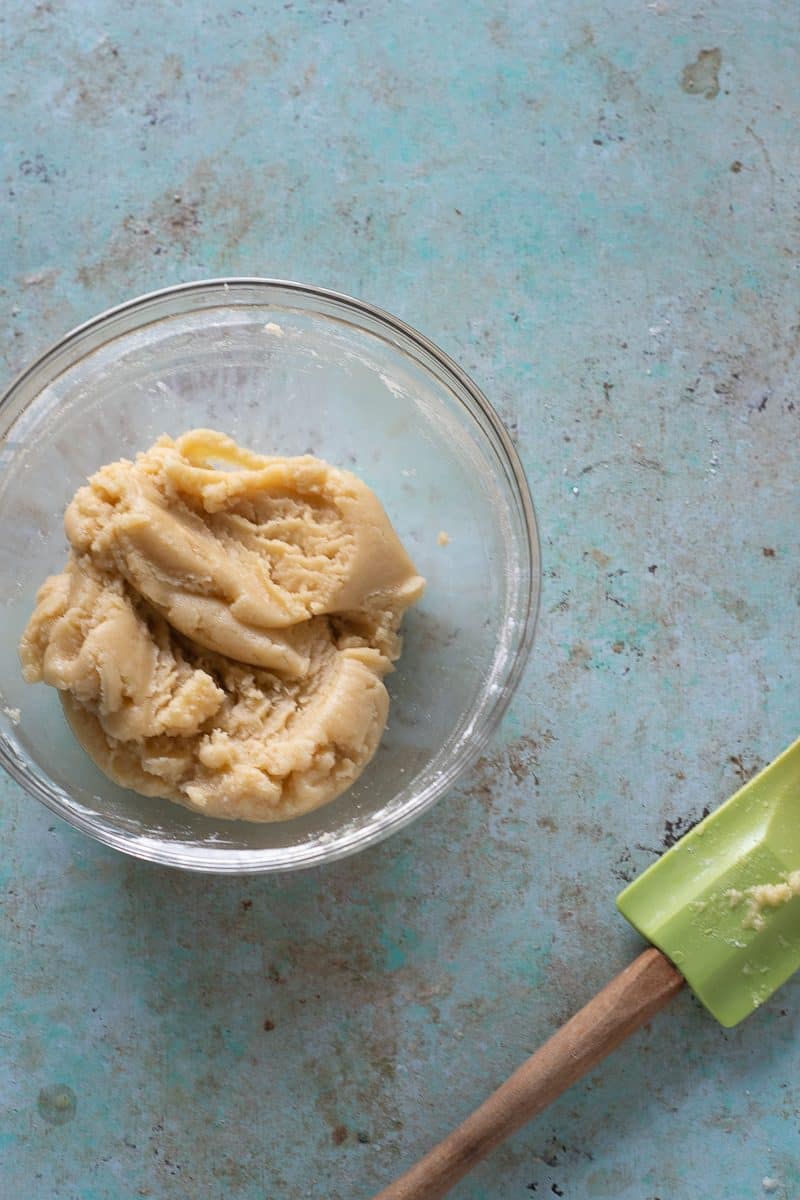
Then you stir everything together until it’s all moistened.
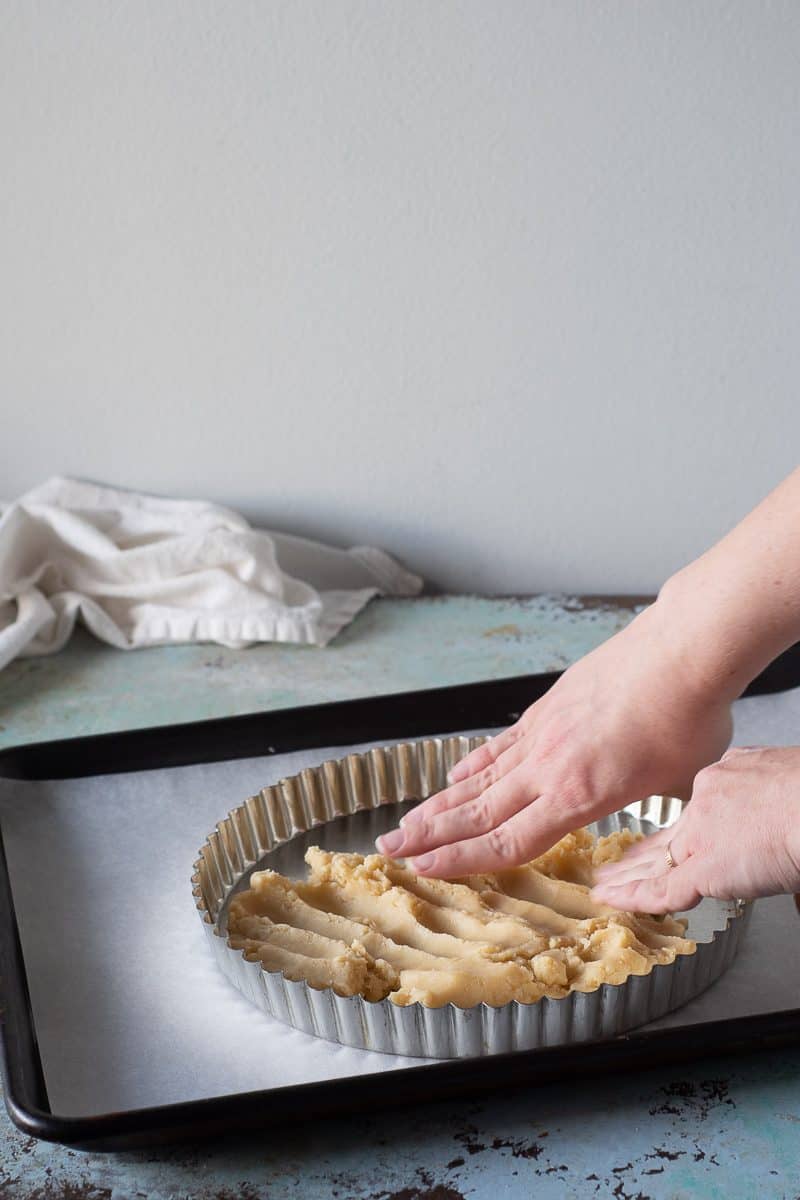
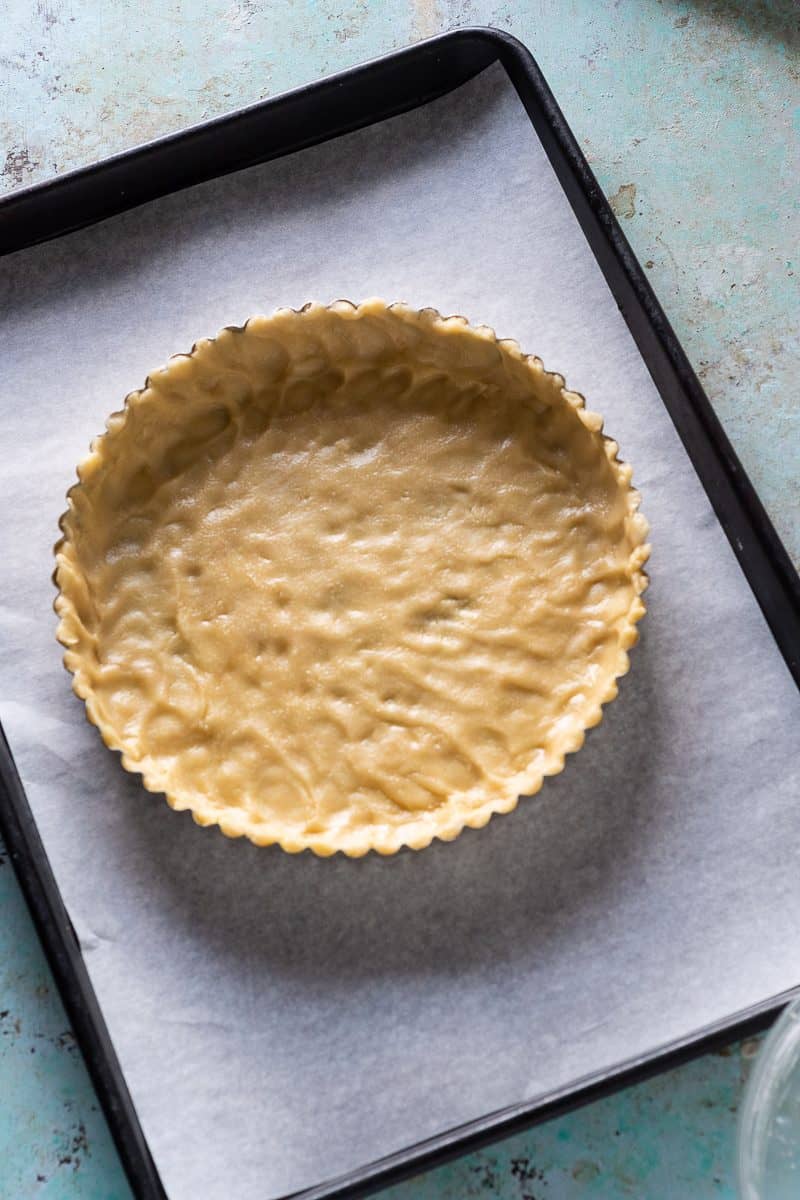
And then you press it into your tart pan in an even layer, bake it immediately, with no rolling pin or fussy pie weights to mess with.
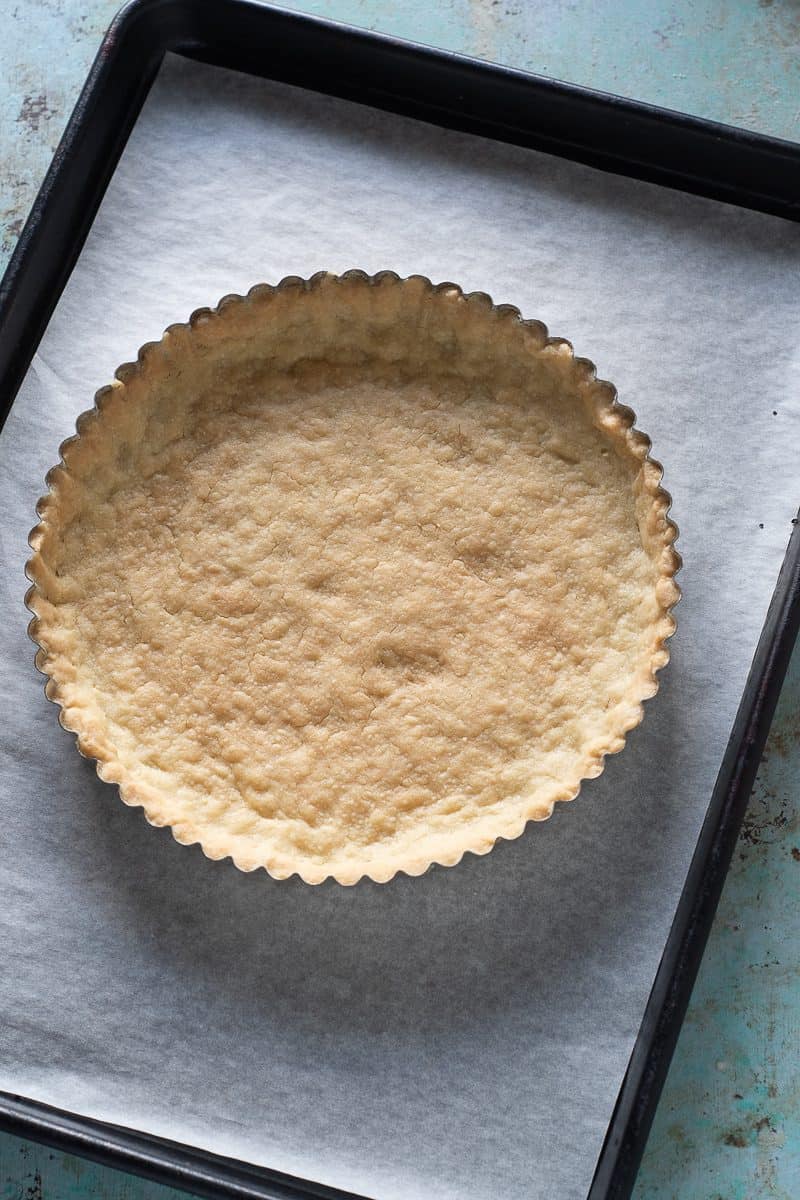
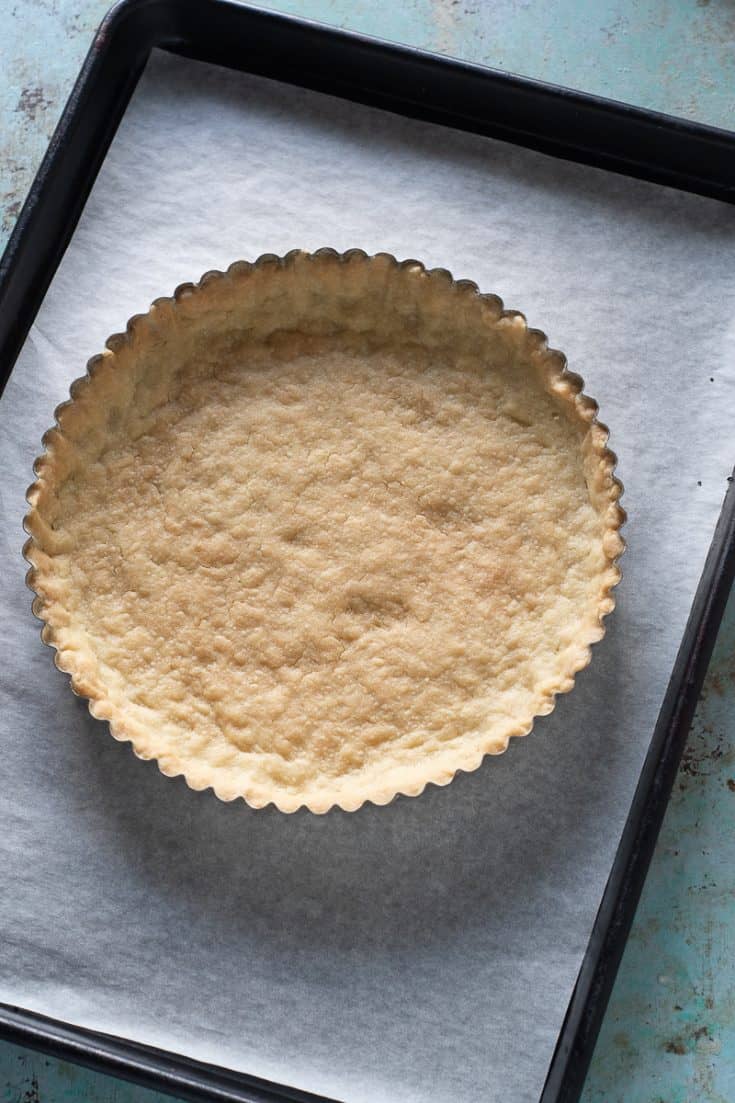
It’s an extraordinarily forgiving shortbread tart crust. I’ve never had it shrink on me (a millimeter or two doesn’t count).
And it’s also incredibly versatile. I’ve added orange zest to the shortbread crust in my cranberry curd tart. I’ve made a chocolate version in my chocolate peanut butter tart. (And I use it just as written in my plum custard tart.)
Variations on this shortbread crust also show up in my brown butter apple bars and my almond shortbread brownies.
(And there’s a similar method in my gingersnap tart crust, which, sorry, involves a food processor…)

It’s a good recipe to have in your back pocket, whenever you want a crust that just works. You can use it in any standard tart recipe in place of whatever crust is called for.
You’ll be glad to have this one bookmarked, printed-out-and-laminated if you’re old school like that, or saved in whatever form you’ll be able to find it again.
You’ll thank yourself later.
Looking for an unfussy, all-butter pie crust instead of a tart crust? I’ve got you covered with this easy flaky pie crust. (And I’ve even got instructions on how to make a lattice-top, if that’s your thing.)
Easy Shortbread Tart Crust
This shortbread tart crust is pretty much foolproof. It's a press-in crust that's a simple mixture of flour, confectioners' sugar, salt, melted butter, and a little bit of vanilla. It's easy to make and doesn't require any rolling or chilling or any special equipment (beyond a tart pan itself).
It's a versatile crust that will work with any standard tart recipe.
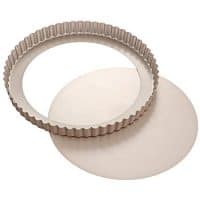
The tart crust can be made and baked up to two days ahead. You'll need a 9-inch tart pan with a removable bottom for this recipe.
Ingredients
- 1 cup (125 grams) all-purpose flour
- 1/4 cup (30 grams) confectioners' sugar
- 1/4 teaspoon kosher salt
- 1/2 cup (1 stick, 113 grams) unsalted butter
- 1/2 teaspoon vanilla extract
Instructions
Make the crust
- Preheat oven to 350°F. Add the flour, confectioners' sugar, and salt to a small bowl and whisk together.
- Melt the butter in a small saucepan (or in the microwave), add the vanilla extract to the butter and stir, then pour into the dry ingredients and stir together until thoroughly moistened.
- Press the dough evenly along the bottom and sides into a 9-inch tart pan with a removable bottom.
- Place the tart pan on a baking sheet and bake until the crust is golden brown, about 20 minutes.
Notes
Keeps, at room temperature, for about 2 days.
Recommended Products
As an Amazon Associate and member of other affiliate programs, I earn from qualifying purchases.

Nutrition Information:
Yield:
8Serving Size:
1Amount Per Serving: Calories: 65Total Fat: 4gSaturated Fat: 1gTrans Fat: 0gUnsaturated Fat: 0gCholesterol: 2mgSodium: 45mgCarbohydrates: 12gFiber: 0gSugar: 2gProtein: 2g
Patty
Thursday 11th of June 2026
Can I use brown butter?
lil
Saturday 2nd of May 2026
=can i use THIS USING THE STRAWBERRY FILKING MADE WITH JELLO LWOUD THIS BE TOO MUCH FILLING
S
Tuesday 23rd of December 2025
If I wanted to use this for a savory tart, do you have any recs for adjustments? Perhaps reducing the sugar and replacing some of it with cornstarch?
J
Monday 1st of September 2025
Followed the recipe but it came out fluffy more like a cookie than a crust
Marilyn
Friday 25th of July 2025
I am trying to recreate a sided sheet pan tart that my Mother used to make. It had a lattice top to it. If I doubled the recipe and chilled the second batch briefly--say about 10 minutes in the fridge after rolling it out, do you think I can use this shortbread as a lattice crust in a diamond pattern?