I may earn from purchases through links in this post.


I’ve spent years dissatisfied with my pie crusts.
They were okay. I mean, I still had pie.
But, no matter whether or not I froze the butter or added vodka or vinegar or hauled out the food processor or used a pastry cutter, they always managed to be a little too dry to too soft or too dense or somehow fall short of the crisp, buttery, flaky pie crust in my imagination.
Finally, I’ve settled on a method that reliably produces the kind of crust I’m looking for with a minimal amount of bother.
It’s adapted from Stella Parks’ pie dough in BraveTart, a book that’s an excellent resource for anyone interested in baking classic American desserts.
And I trust her implicitly and she’s always right, but because I’m lazy I’ve simplified her method and slightly tweaked the ratios of ingredients to make it easier.
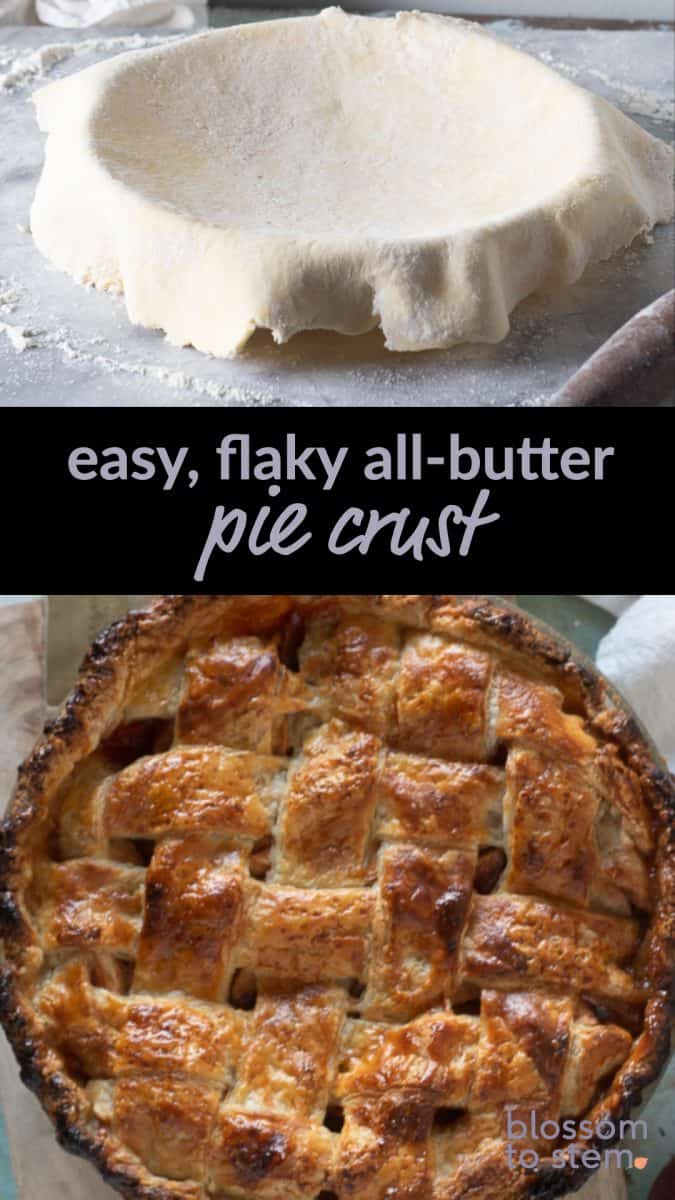
It works beautifully for rustic galettes (like this blueberry galette or this cherry galette), but it also holds its shape well enough to handle intricate lattice patterns, if that’s what you’re going for. (Like this lattice-top pie technique, that I use with this apple pie.)
But there are a few tricks to getting it right.
The first is using a higher ratio of butter to flour than most American pie crust recipes call for. This takes it in the direction of rough puff pastry, which is a brilliant way of making a flaky dough without having to spend hours folding and chilling and rolling dough with a big block of butter in the middle (which is how classic or full puff pastry is made).
The next is working with cold chunks of butter, right from the fridge.
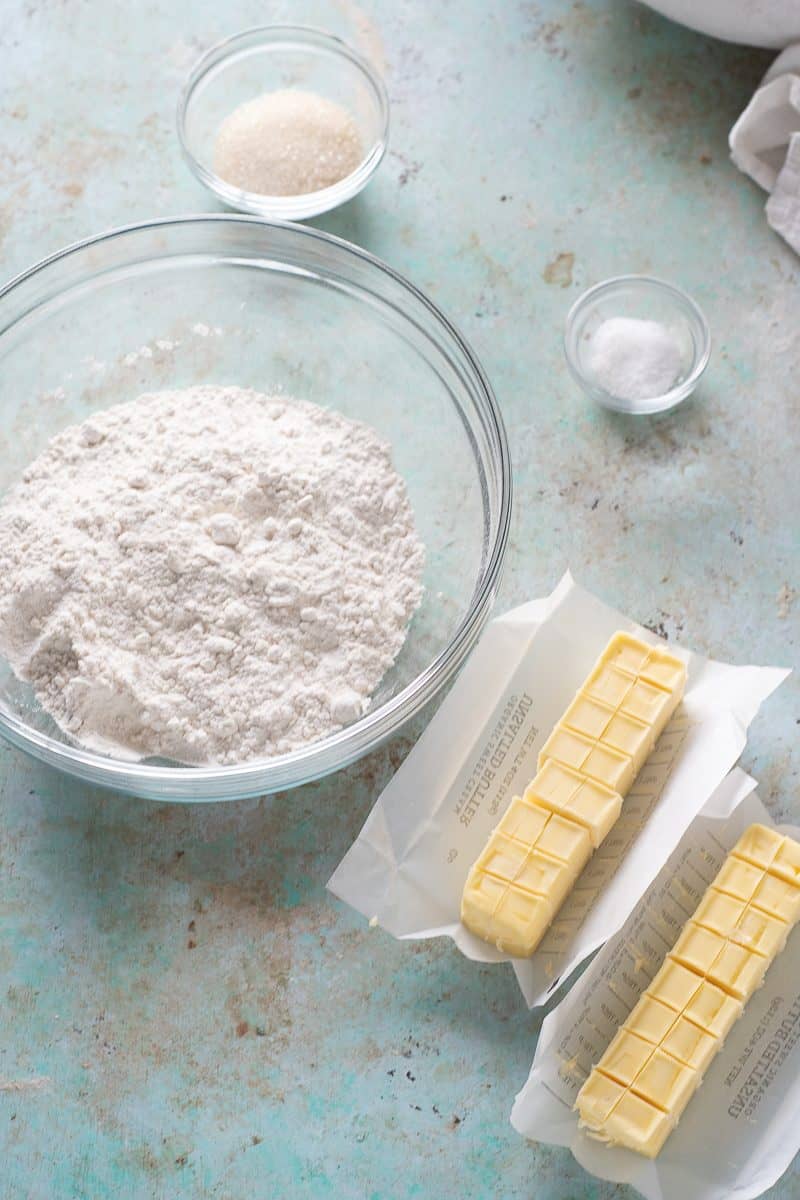
It’s worth noting that this recipe is designed to work with American-style butter, which has lower fat content than European-style butters. The butter should be unsalted (but, honestly, you can make it with salted butter if that’s what you have in the fridge, just cut back on the salt).
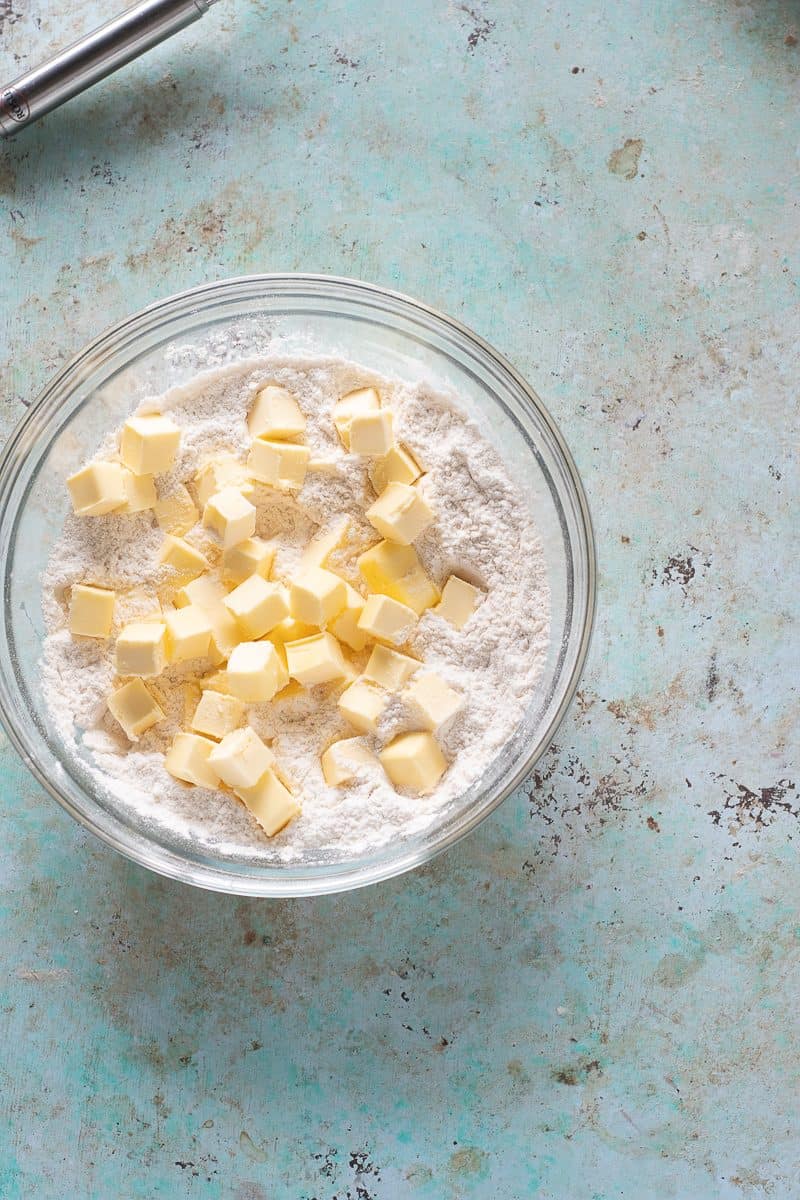
You whisk together a bit of flour, sugar, and kosher salt and add those lovely chunks of butter and toss them with the flour mixture to coat them.
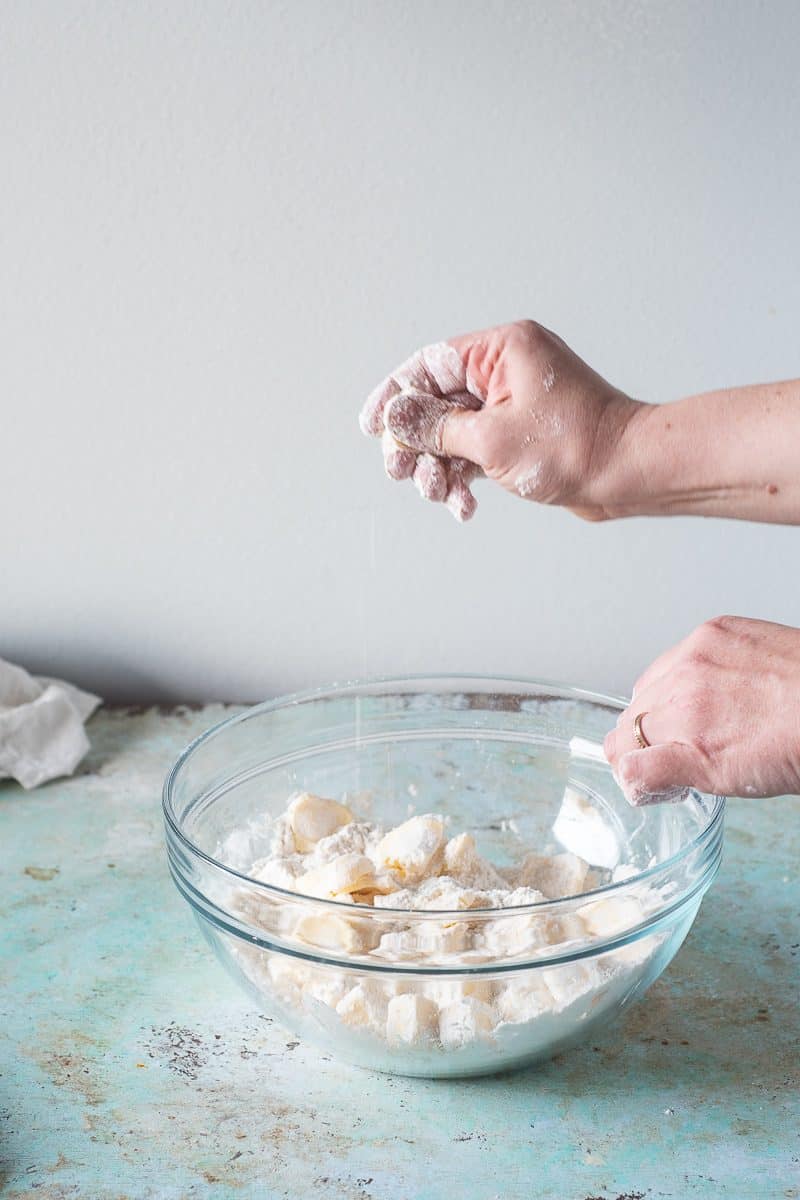
Then you take each cube of butter and smash it flat between your thumb and forefinger.
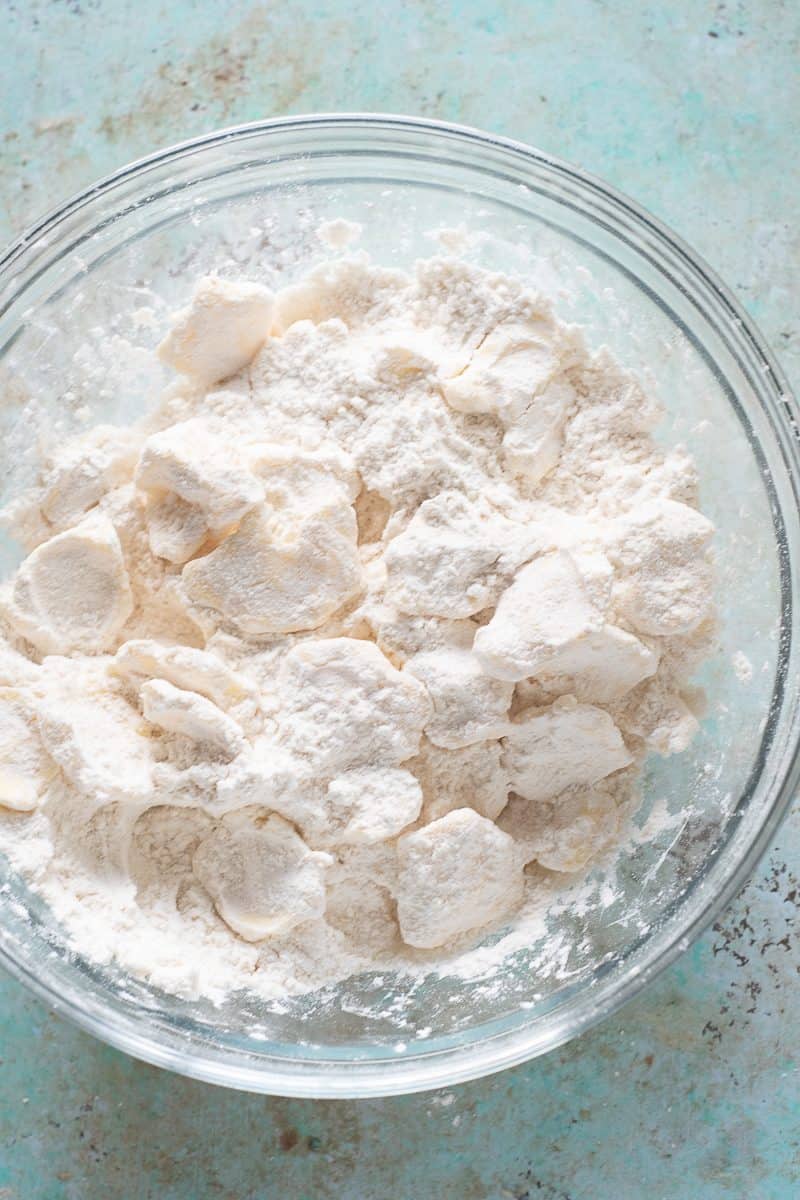
You’ll have a bowl full of flour-coated butter shingles. And that’s honestly the hardest part of making this crust.
There’s no futzing around with a pastry cutter or pair of knives to cut the butter into the flour.
You leave the butter in those big, flat pieces and add the water. Just cold tap water. It doesn’t need to be ice water like some recipes call for, and you don’t need to add any other liquid.
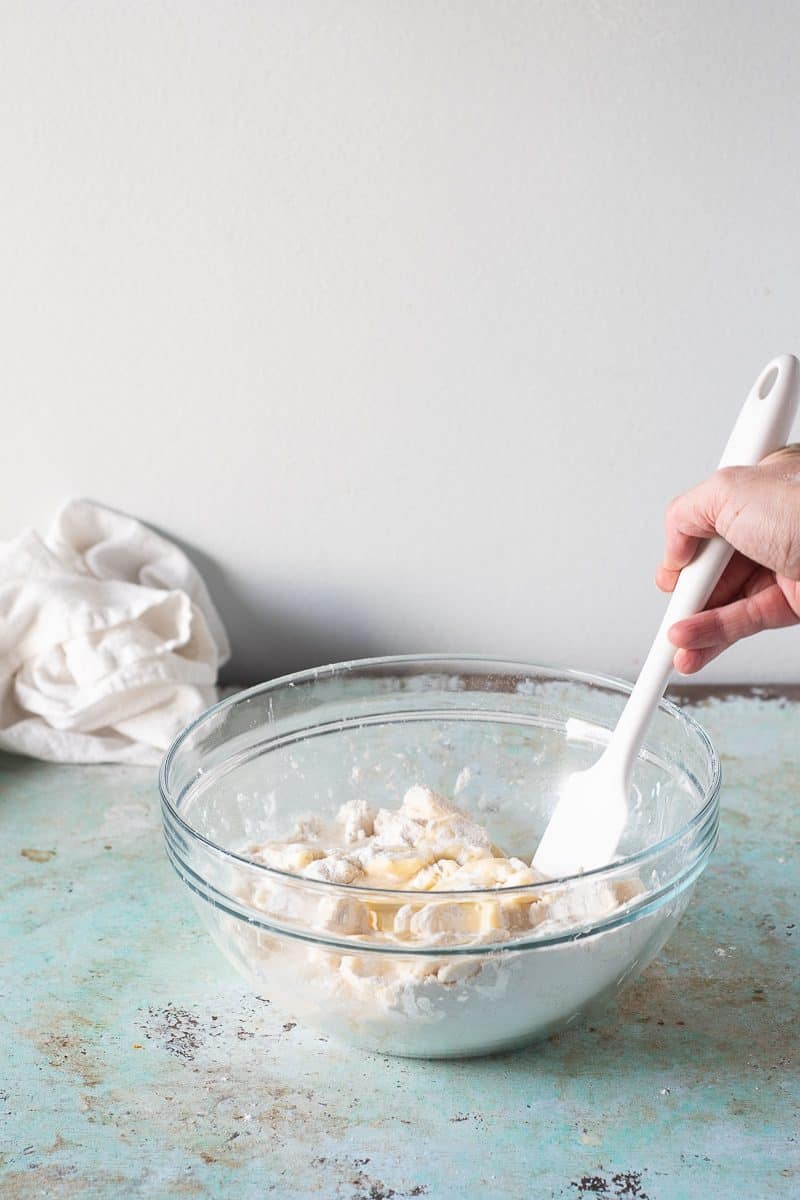
And you don’t need to dribble it in a tablespoon at a time attempting to discern if it’s wet enough. Just pour the full amount in—it works every time.
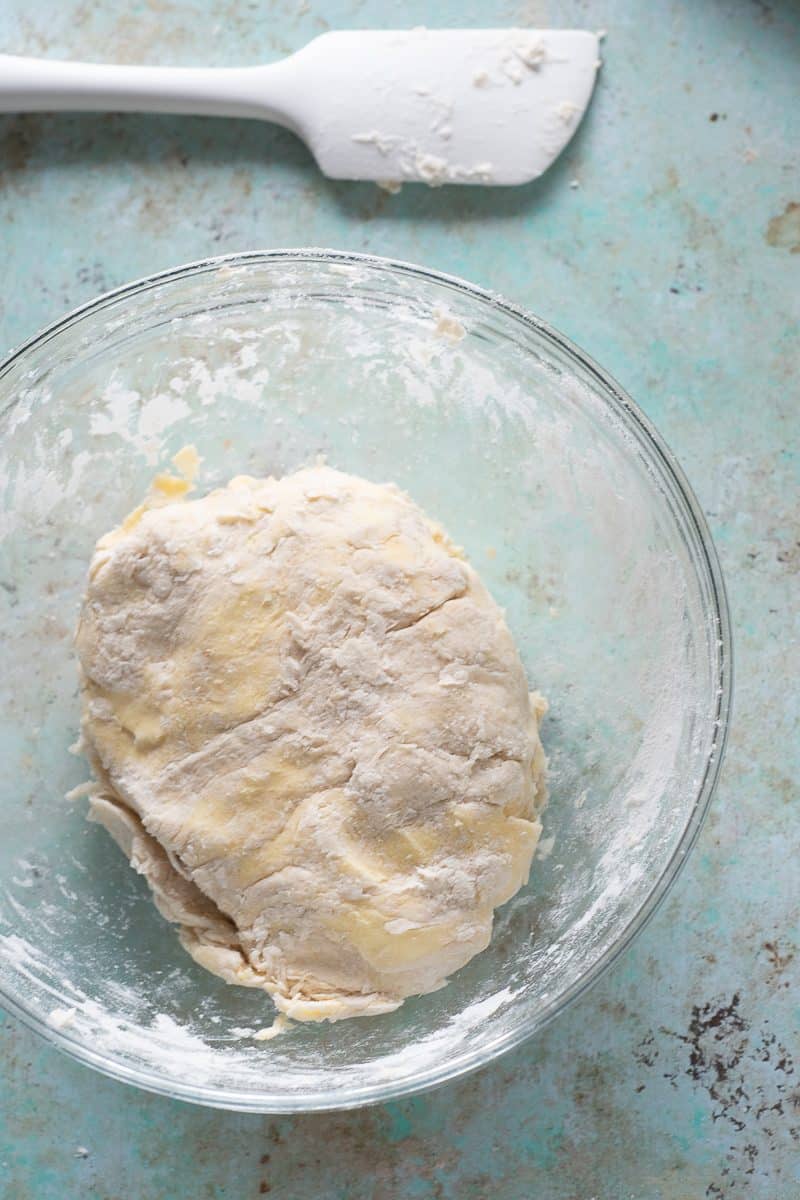
Then you stir in the water until the dough is mostly moistened. And then you knead it in the bowl of few times, folding it over itself, until it comes together in a ball.
(At this point, if the dough feels too sticky, it’s because it is too warm, so chill it for a while and come back to it. If it feels too dry, it’s because it is too cold, so let it sit for a while at room temperature to warm up.)
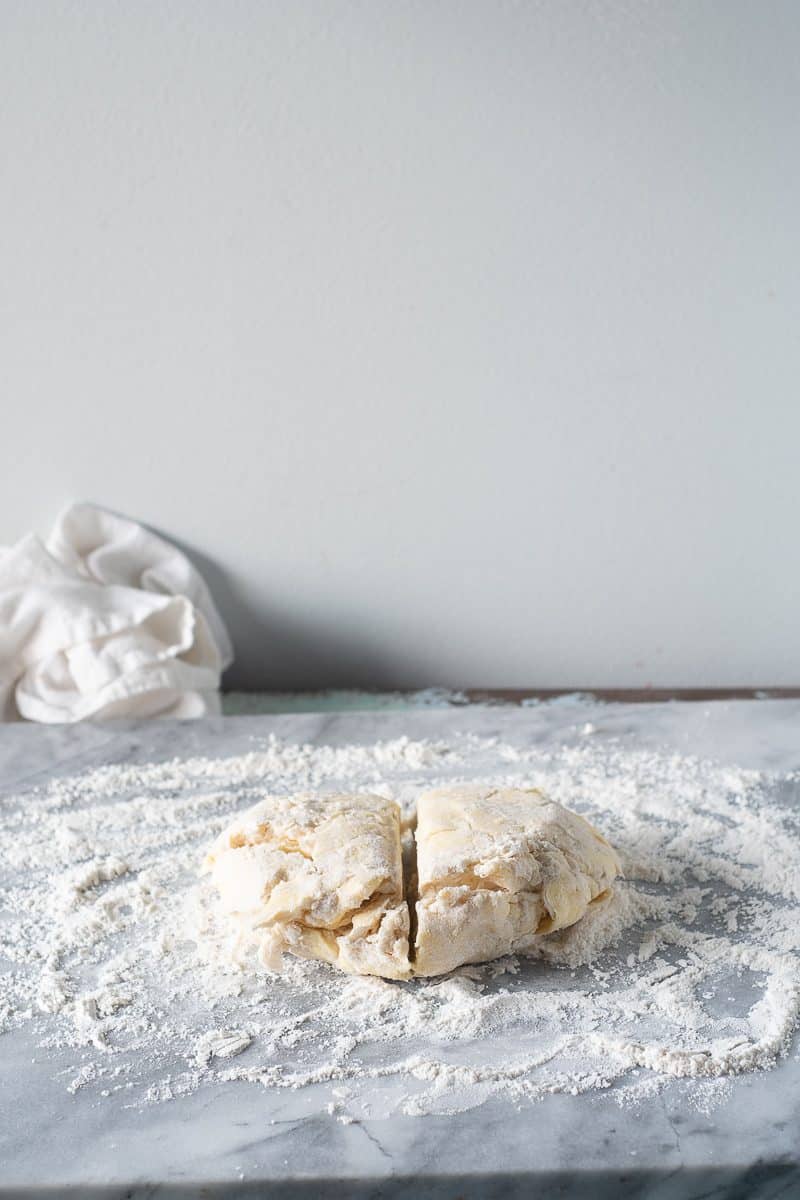
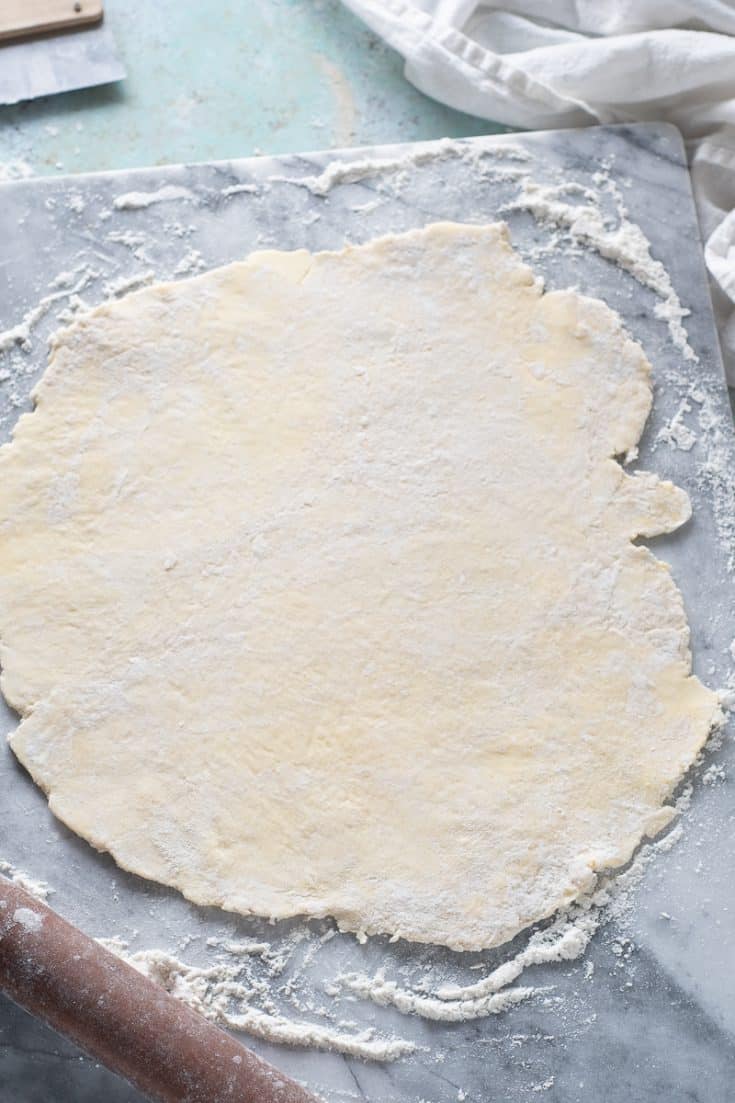
Then you divide the dough in half and immediately roll it out.
Most recipes ask you to chill the dough before rolling it out, but it’s a maddeningly inefficient technique that usually requires extra time letting your rock hard dough soften enough to be pliable.
This gets around that by rolling it while it’s soft and workable and then chilling it later. It’s a hack I love for sugar cookies, too (I use it with these orange cardamom snowflake cookies every winter).
And be generous with flouring your work surface and your rolling pin and the dough itself when you’re rolling this out.
If the pin hits a streak of butter, it can stick, but don’t worry, just sprinkle on more flour and keep going.
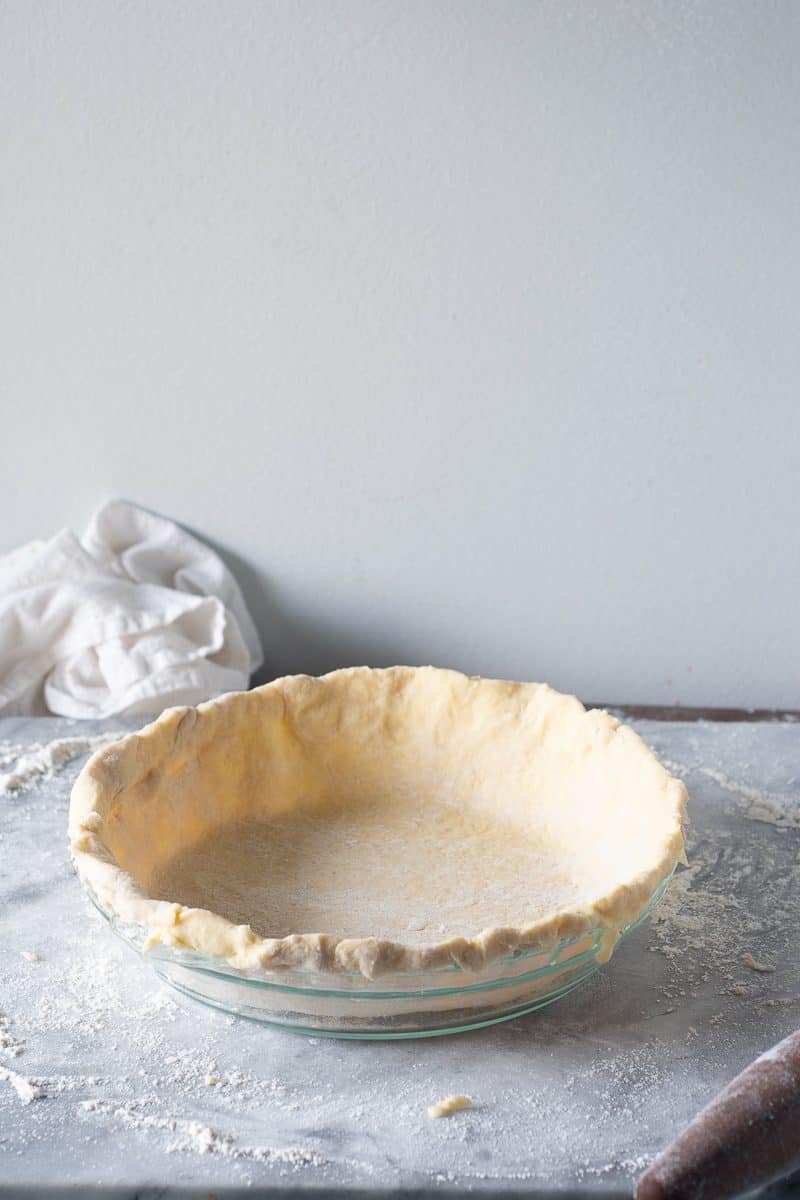
If you’re making a galette, you leave the dough flat and lay it on a baking sheet to chill. If you’re making a pie, you drape it over a pie plate and gently lower it into the pan without pulling and stretching it.
Then you trim away any majorly excess dough while leaving an inch or two of overhang and tuck the edges up around the edge of the pie plate to create some height.
If you’re making a double crust pie, you roll out the other half of the dough and lay it flat on a baking sheet. (If you’re making a single crust pie or a single galette, you can store the extra dough in the freezer for a few months.)
And that’s it! How you proceed from there depends on the pie recipe you’re using. Happy baking!
Looking for a crisp, buttery and pretty much foolproof tart crust? I’ve got you covered with this easy shortbread tart crust.
Easy Flaky Pie Crust
The crust has a higher ratio of butter to flour than many pie crusts, which makes it extra flaky. This recipe works best with American butter and not higher fat European butters.
It's a simple and forgiving dough to work with. The sugar in the dough helps with browning, but doesn't make the crust itself sweet, which makes the dough flexible enough to work with sweet or savory fillings.
This crust works well for rustic free-form galettes or intricate lattice crusts.
I include instructions for blind-baking here, that is, baking the crust without filling, but you can use this with any standard pie recipe.
Ingredients
- 2 cups (250 grams) all-purpose flour
- 2 tablespoons sugar
- 3/4 teaspoon kosher salt
- 1 cup (2 sticks, 226 grams) unsalted butter, cold from the fridge
- 1/2 cup water
Instructions
- Add the flour, sugar, and salt to a mixing bowl and whisk together.
- Cut the butter into 1/2-inch cubes, add to the mixing bowl, and toss with the flour mixture to coat.
- With your fingers, smash each butter cube flat.
- Add the water and stir with a spoon or silicone spatula to mix. Continue kneading the mixture with your hands, folding it over itself a few times to work in the rest of the flour until the dough forms a ball.
- Divide the dough in half
- Generously flour a clean flat surface (like a counter or marble slab) and coat your rolling pin with flour and roll the dough out into a circle about 14-inches in diameter. (If you're working in a very warm kitchen and the butter gets really soft and starts sticking to your rolling pin, stick the dough in the refrigerator for about 10 minutes and try again).
- Drape the dough over a 9-inch pie plate and gently nestle the dough into the pan so it's pressed up against the sides of the dish.
- Trim away the excess dough, leaving an overhang about 1 1/2 inches all around the pie plate. Fold over to make a border of dough that sits on the rim of the pie plate and press the dough between your thumb and index and middle fingers to create a crimping pattern. Repeat with remaining dough. Chill for at least 2 hours or overnight. (If making a double crust pie, roll remaining dough out and transfer to a parchment lined baking sheet and chill flat.)
- Proceed with your recipe. To blind bake the crust, preheat oven to 350° line the chilled crust with parchment paper or aluminum foil and fill with uncooked rice, beans, or pie weights. Place on a baking sheet and bake until golden brown, about 1 hour. Carefully life out the lining and use within 24 hours of baking.
Notes
Crust can be frozen (either formed in a pie plate or before being rolled out) for up to 3 months. Thaw in the refrigerator before using.
Recommended Products
As an Amazon Associate and member of other affiliate programs, I earn from qualifying purchases.
-
 Farberware 5216396 Professional French Wood Rolling Pin
 -
 Anchor Hocking 77922 Fire-King Pie Plate, Glass, 9-Inch
 -
 Escali Primo Digital Kitchen Scale (11 lb/ 5 kg Capacity) (0.05 oz/ 1 g Increment) Premium Food Scale for Baking, Cooking and Mail
 -
 Baking Parchment Paper - Set of 100 Half-Sheets
 -
 Set of 2 Pastry Brushes, 1-Inch and 1 1/2-Inch Width Natural Boar Bristle Pastry Brushes, Lacquered Hardwood Basting Brushes, Cooking / Baking Brushes
 -
 Nordic Ware Natural Aluminum Commercial Baker's Half Sheet (2 Pack), Silver
Nutrition Information:
Yield:
16Serving Size:
1Amount Per Serving: Calories: 69Total Fat: 1gSaturated Fat: 0gTrans Fat: 0gUnsaturated Fat: 0gCholesterol: 2mgSodium: 105mgCarbohydrates: 13gFiber: 0gSugar: 2gProtein: 2g
Kelly
Monday 11th of October 2021
I am in the UK and would like to make this recipe but of course I only have European butter available to me. What would you suggest as a substitute portion using a higher fat European butter.
Mary Kasprzak
Monday 11th of October 2021
I hate to say it, but I think you're better off looking for a pie crust recipe that's developed for European butter. There are lots of great ones out there. Good luck!
Nancy
Thursday 25th of February 2021
Thanks for even further simplifying Stella's recipe. But one question. Doesn't look like you used the most common butter stick 'shape' (yours is longer) , so I'm wondering about cutting the regular stick into cubes. Did you cut each stick into 32 cubes? or... ? I'd like to do the same with my more-common shape. Thanks!
Nancy
Saturday 27th of February 2021
@Mary Kasprzak, Thanks! Probably my optical 'illusion' :) Good to know that chilling after rolling is essential. ;)
Mary Kasprzak
Thursday 25th of February 2021
I did use the most common American stick butter shape (like Land 'O Lakes or any similarly ubiquitous standard American brand). I usually use the tablespoon markings on the wrapper as a guide and roughly slice into tablespoons, then quarter each tablespoon. So it is 32 pieces.
They may appear longer because the pieces are slightly spread out, or maybe the angle of the shot makes them look longer? I don't know.
Cris
Monday 28th of October 2019
I have difficulty baking a blind crust. They always seem to shrink even with pie weights. Do you leave the weights in the whole baking time? Any other suggestions before I head for the kitchen?
Mary Kasprzak
Monday 28th of October 2019
My best tips for blind baking are:
First, be really gentle when you ease the dough into the pie plate, and be careful not to stretch the dough when you tuck it into the corners or when you crimp the edges. Stretching the dough is a very common shrink-culprit.
Second, make sure you let the pie crust chill in the pie plate for at least 2 hours before baking so the gluten has time to relax.
Third, I actually think most sets of pie weights don't have enough weights to fill a pie, so if you've had problems with shrinkage in the past, you may not have filled the pie enough. Fill it really full with rice or beans and leave them in for the whole bake time.
Good luck!
Shadi Hasanzadenemati
Wednesday 23rd of October 2019
This is absolutely delicious! I love that it’s such a crowd pleaser for the whole family
Jessica Formicola
Wednesday 23rd of October 2019
This is my absolute favorite pie crust recipe! Using it for all of my holiday baking!