I may earn from purchases through links in this post.
Classic apple pie, when it’s good, is a delight to eat.
And when it’s mediocre, well, it’s still pretty good.
And for years, I made mediocre apple pies. I mean, they were good enough, especially when they were accompanied by a scoop of ice cream or a cup of piping hot coffee, but they weren’t everything I hoped they’d be.
The bottom crust might be soggy, the filling a little too wet or too stiff with thickeners, the spices a little too subtle or too assertive. Decent but somehow falling short of the apple pie of my dreams.
But this time, finally, I’ve pretty much nailed it.
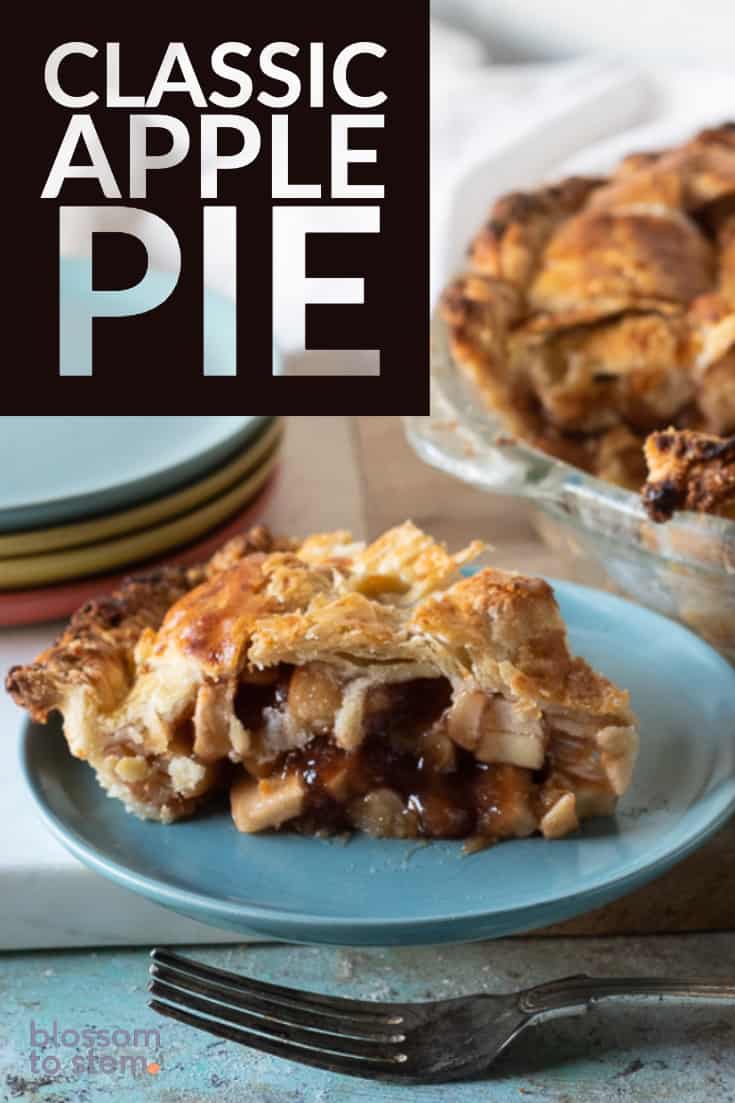
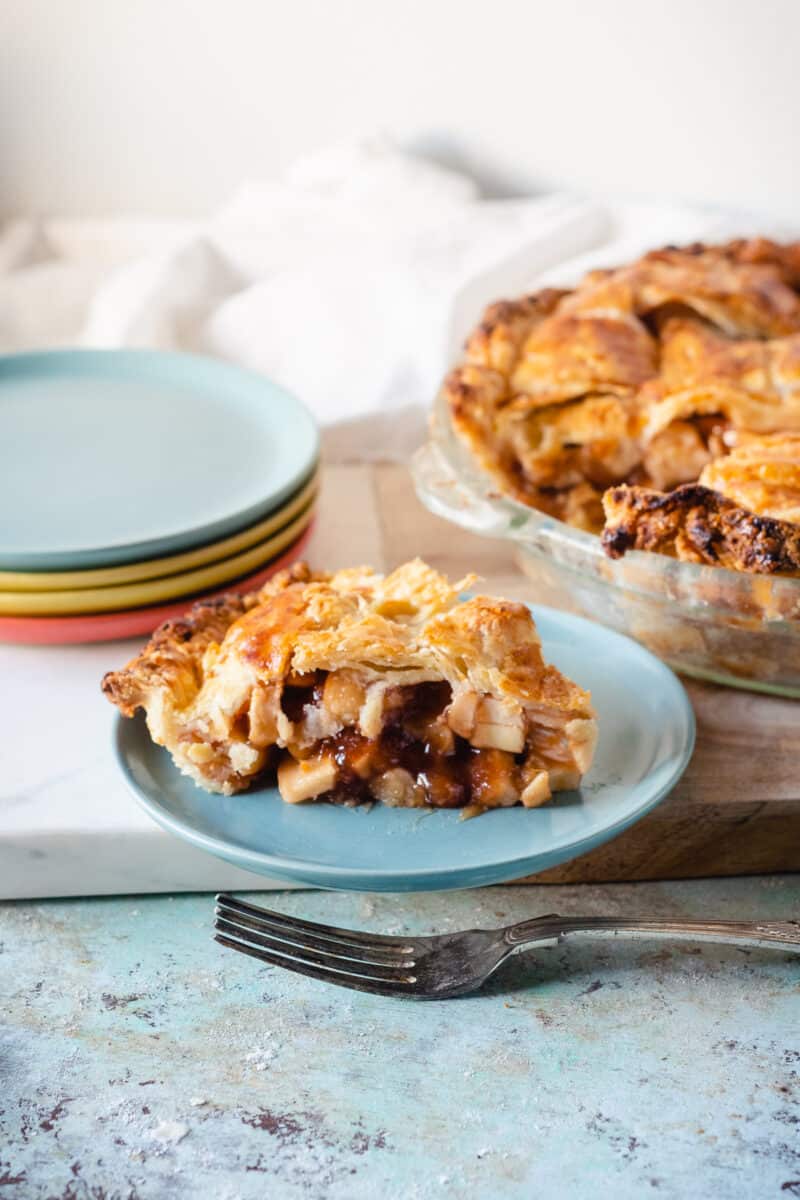
This apple pie has a complex flavor from a variety of apples, a combination of white and dark brown sugar, and a generous amount of cinnamon. The crust is flaky and buttery and the interior is sturdy enough to be sliceable but has enough moisture to feel gooey and rich.
The apples retain a little bite to them, which makes for a textural contrast I love. (If you want your apples to be really soft, slice them thinner than I recommend here.)
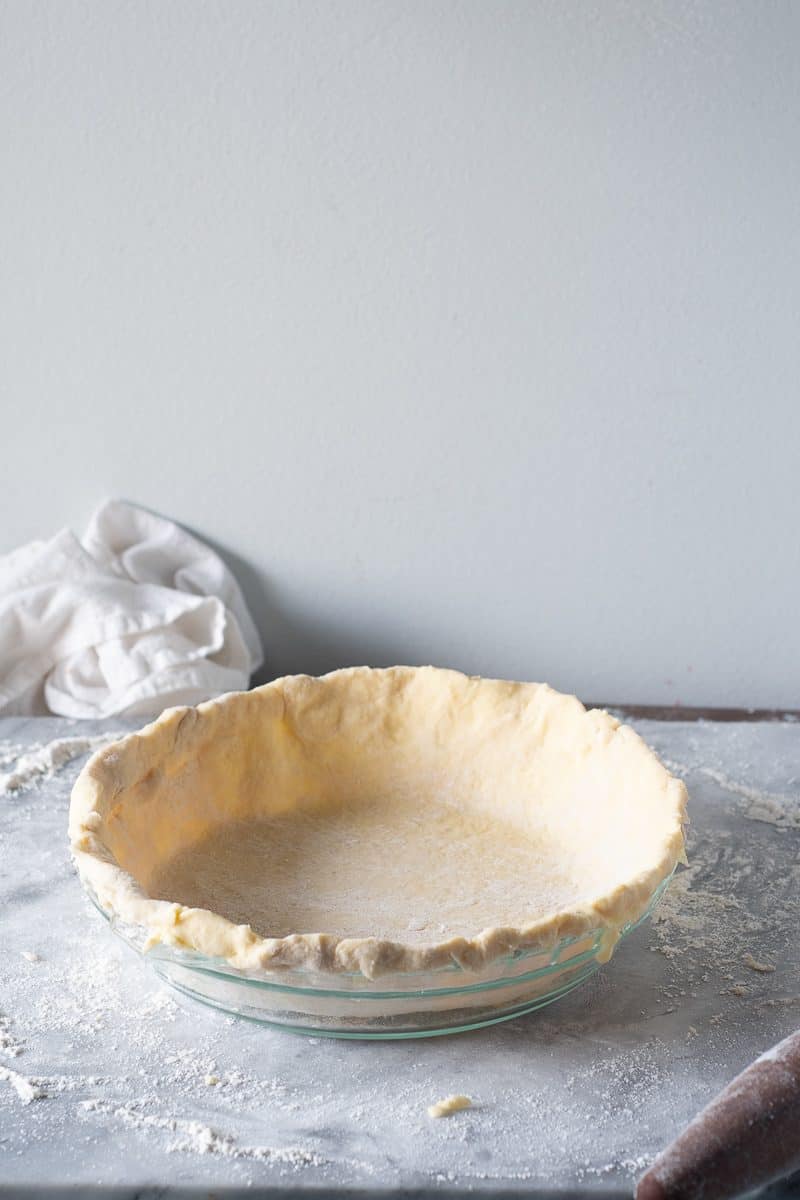
Of course a good pie starts with a good crust. So here I turn to my favorite flaky all-butter pie crust. (It’s the same one I use in this blueberry galette and this cherry galette, and it never fails me.)
The crust is actually pretty easy to make. But I’ll admit that the filling part of this pie involves a little bit of fussy business.
But I promise, it’s worth it.
I combine a variety of tips and techniques that I’ve gathered from my favorite resources for pies: Paula Haney’s Hoosier Mama Book of Pie (and if you’re in Chicago you should totally check out her shops), Emily & Melissa Elsen’s The Four & Twenty Blackbird Pie Book, and Stella Parks’s BraveTart (which is a great resource for classic American baking in general, not just pie).
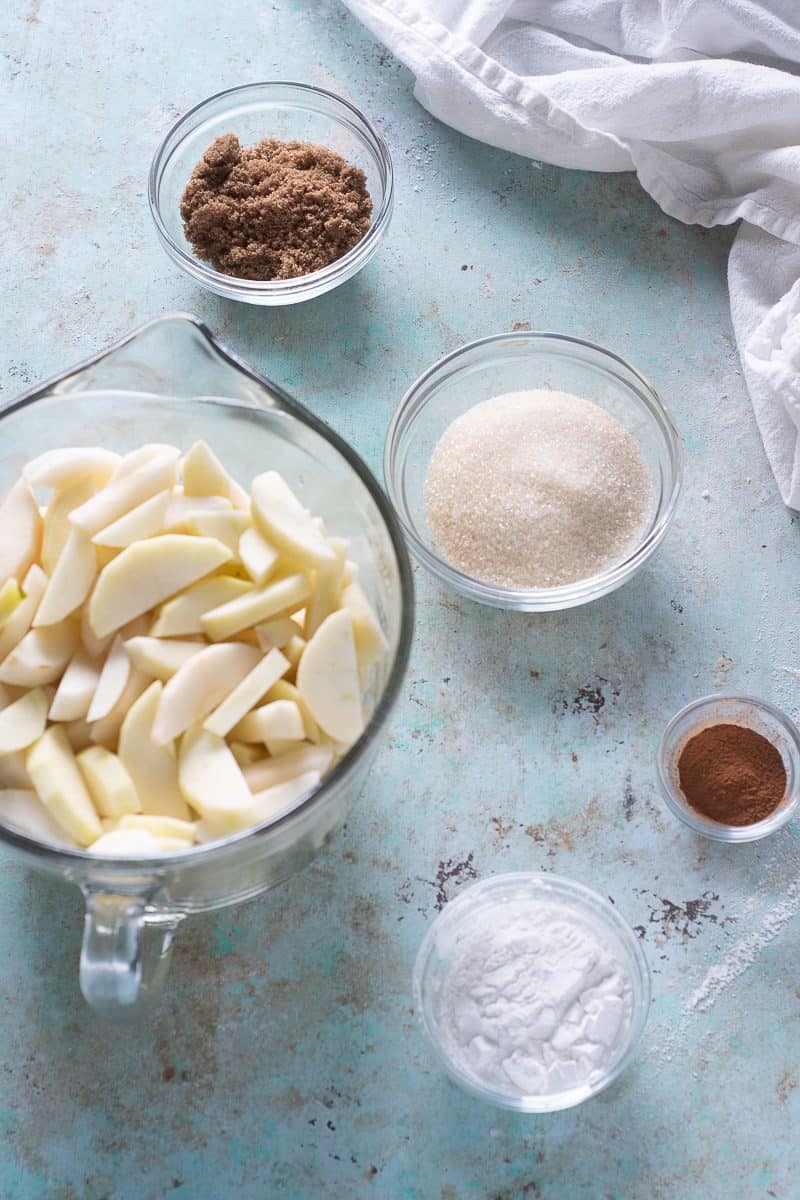
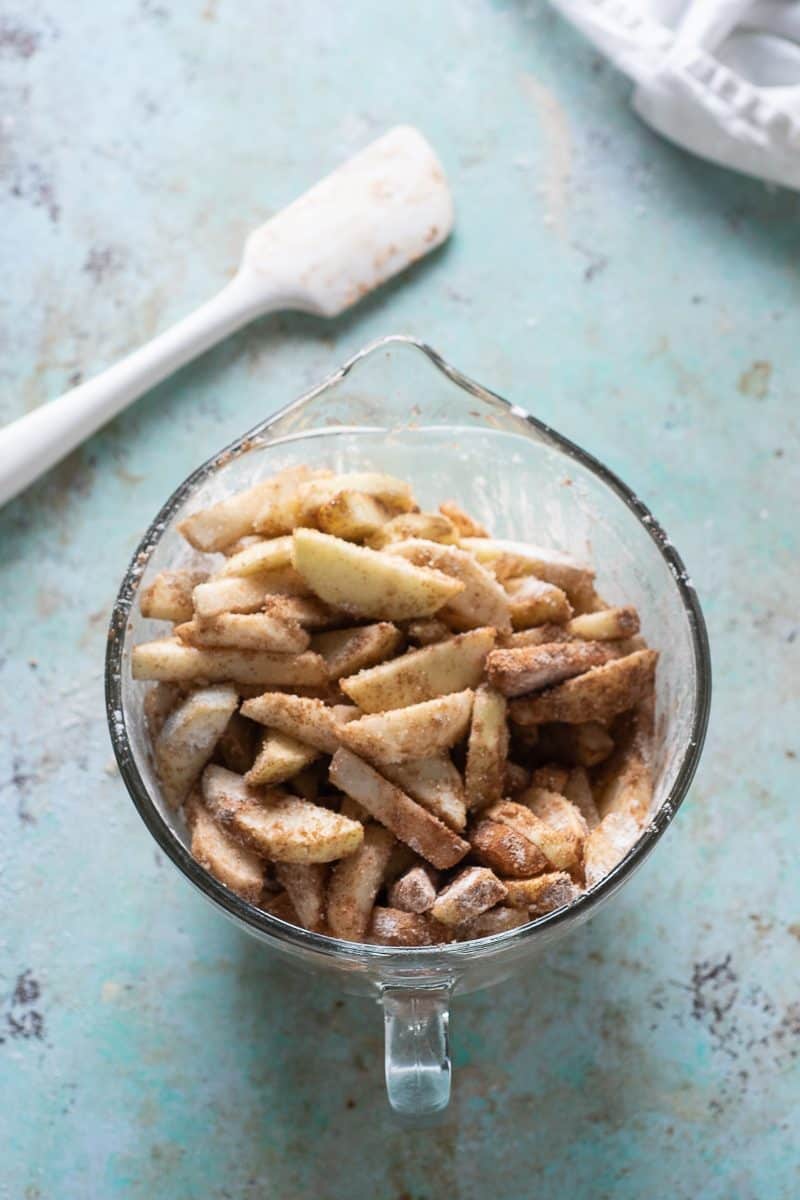
It starts simply enough. Like most pie fillings, you toss fruit with a bit of sugar, spices, and thickener—in this case the apples are tossed with white and dark brown sugar, cinnamon, and tapioca starch. But then you need to let time do some work.
The apples macerate for an hour to allow them to give up some of their moisture while the sugar they’re sitting in melts around them.
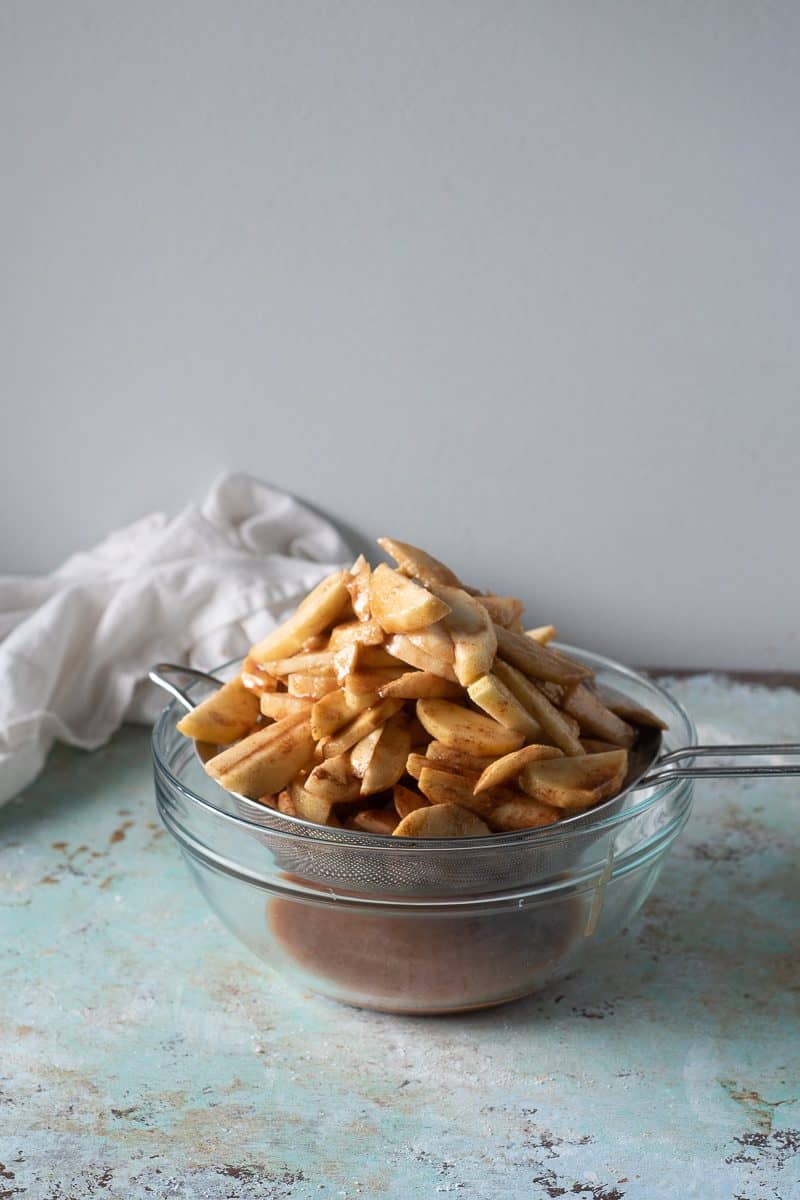
Then you strain the apples, allowing the liquid to drain for a half hour to collect all of those delicious juices.
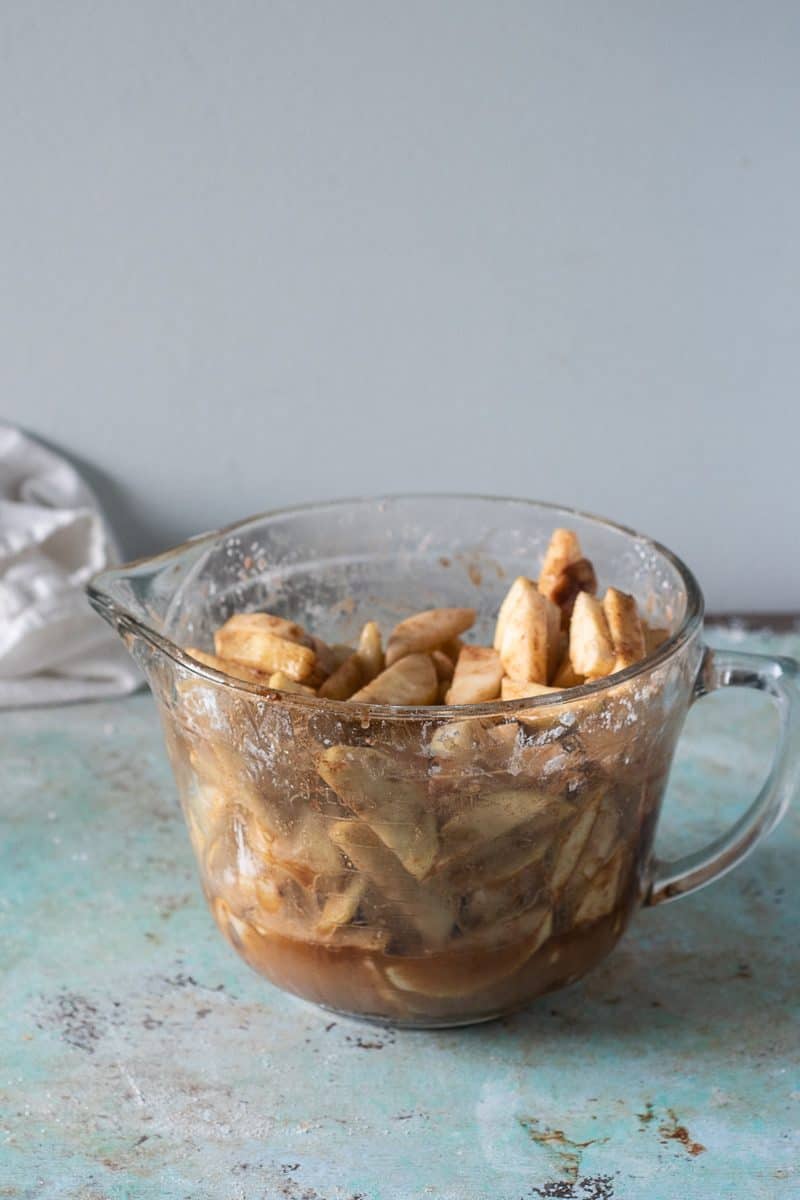
Then you reduce that liquid in a saucepan until it turns into a thick, goopy, almost caramel-like mixture. And then you mix it back in with the apples.
This process helps reduce the excess liquid that gets released while apples bake while concentrating the flavor at the same time.
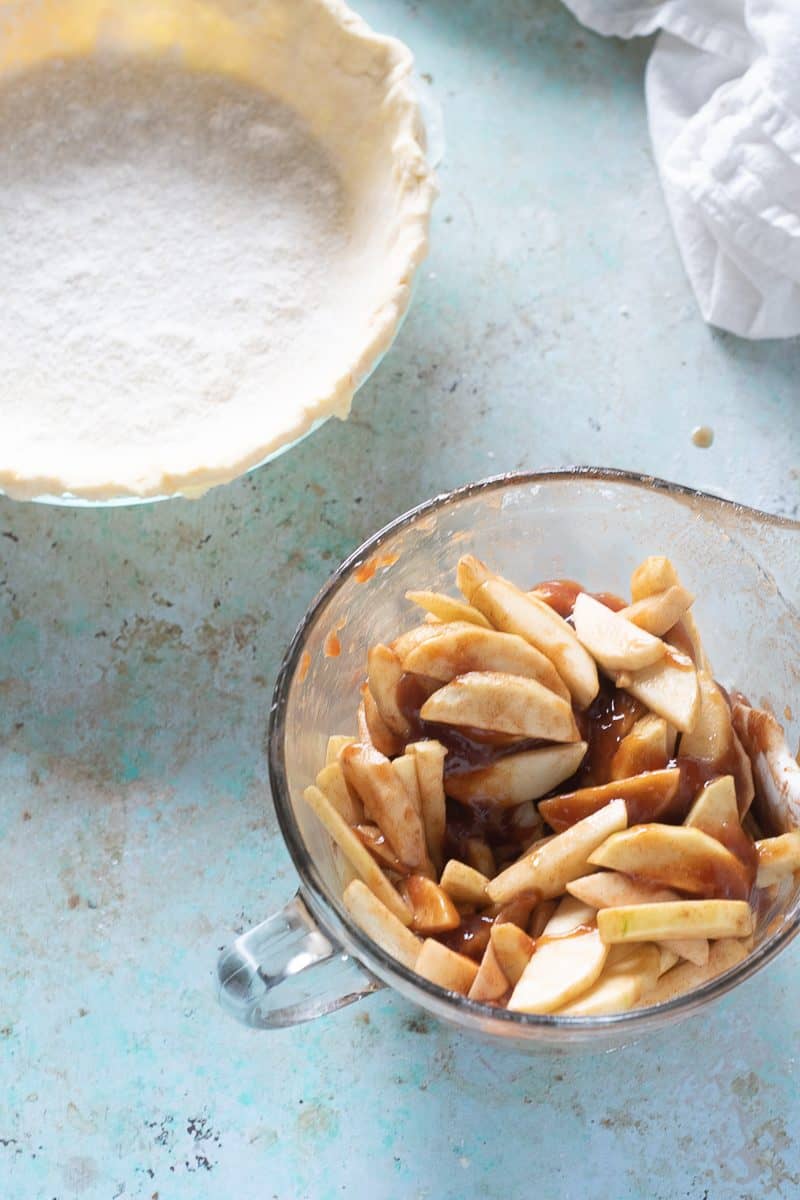
Then to give the bottom crust and extra layer of insurance against sogginess, you sprinkle on a layer of what Paula Haney calls “crust dust,” which is a simple mixture of flour and sugar.
The flour absorbs any extra liquid that gets released from the apples, and the sugar prevents the flour from clumping.
It’s an old-timey technique that fell out of fashion at some point, which is a shame, because it is so simple to do and it really works.
That’s all of the fussy stuff. And none of it is difficult, but it does add some extra time to the process.
But you can do it all while your pie crust is chilling.
The rest of it is probably familiar if you’ve ever made a two-crust pie before.
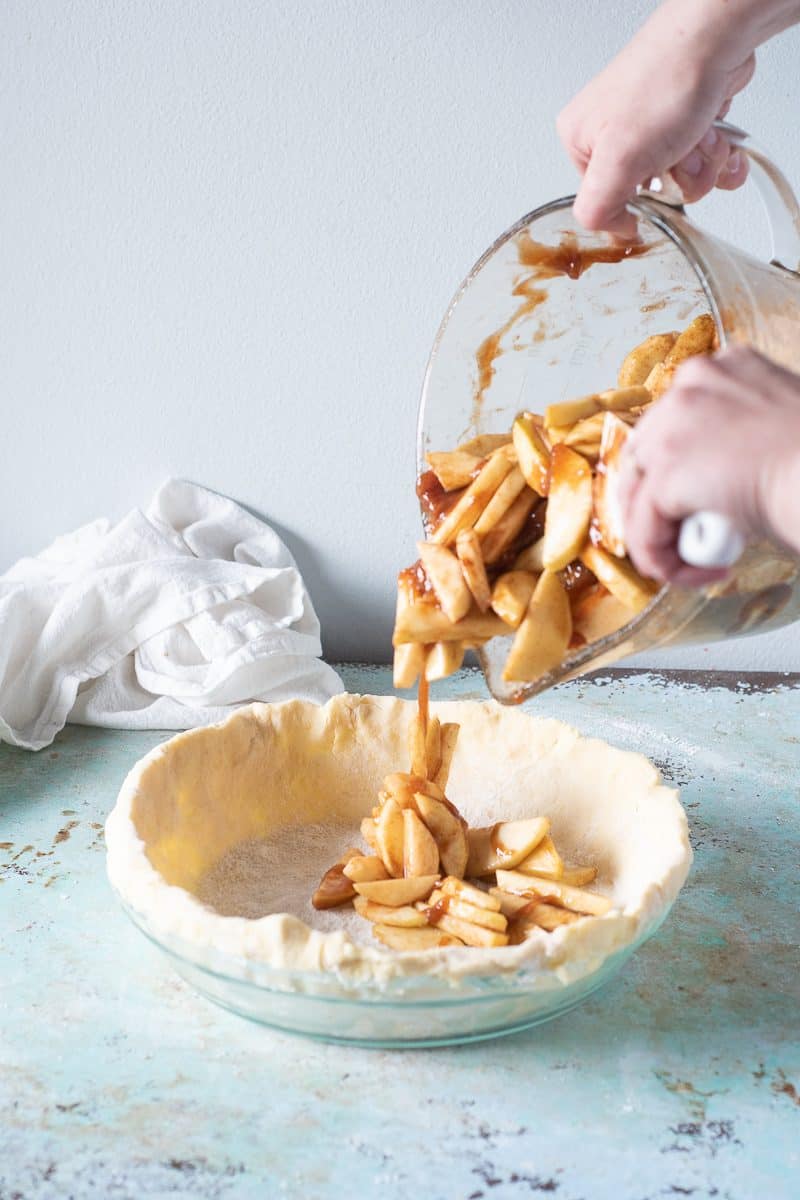
You add the filling to the chilled bottom crust. And then add the top crust.
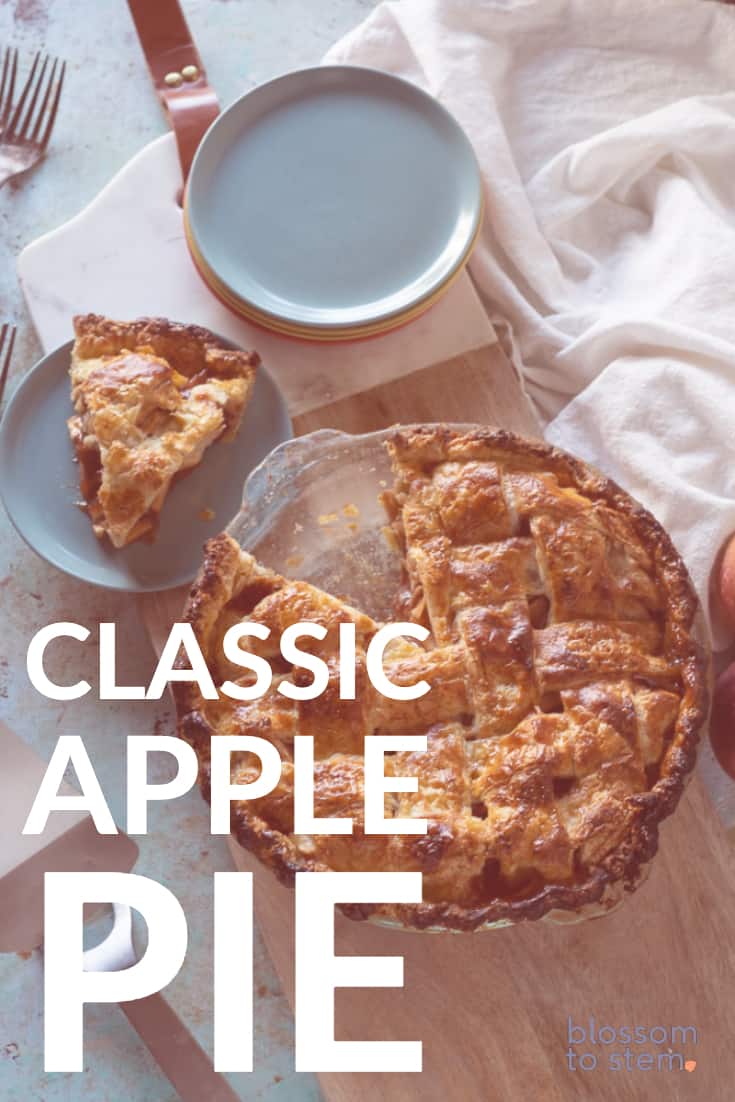
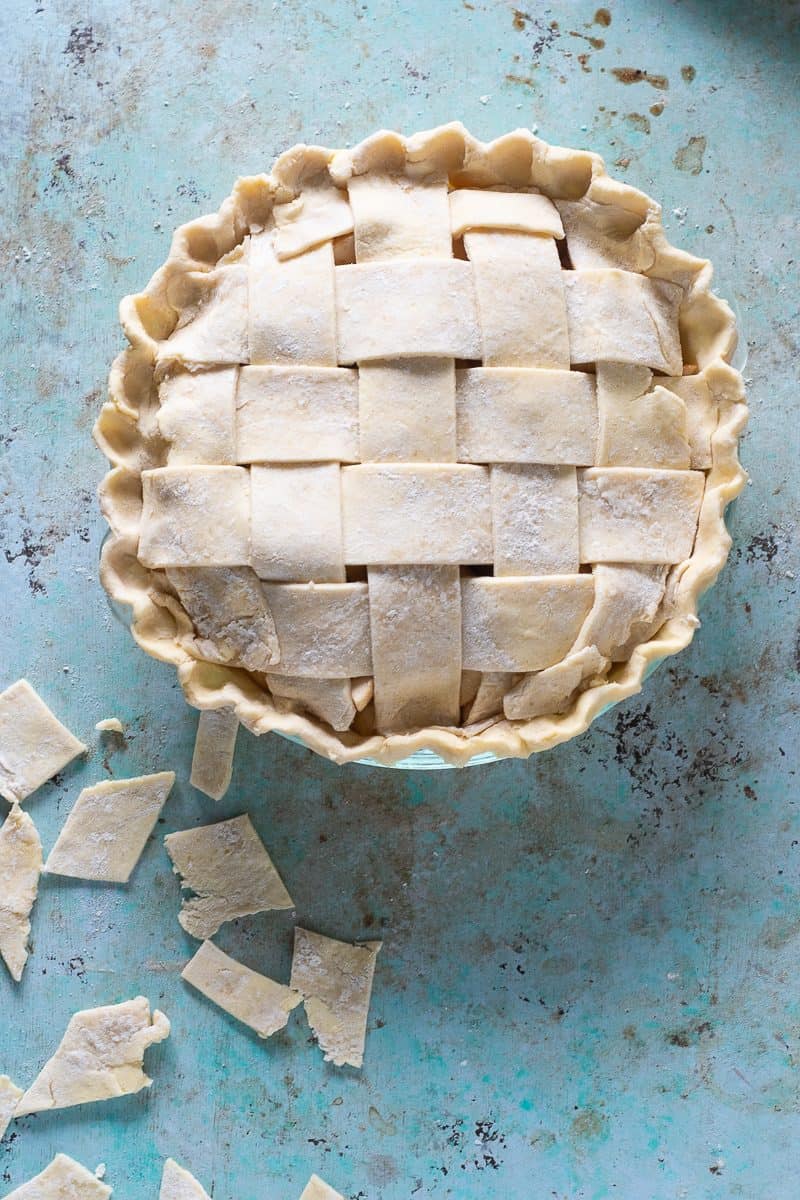
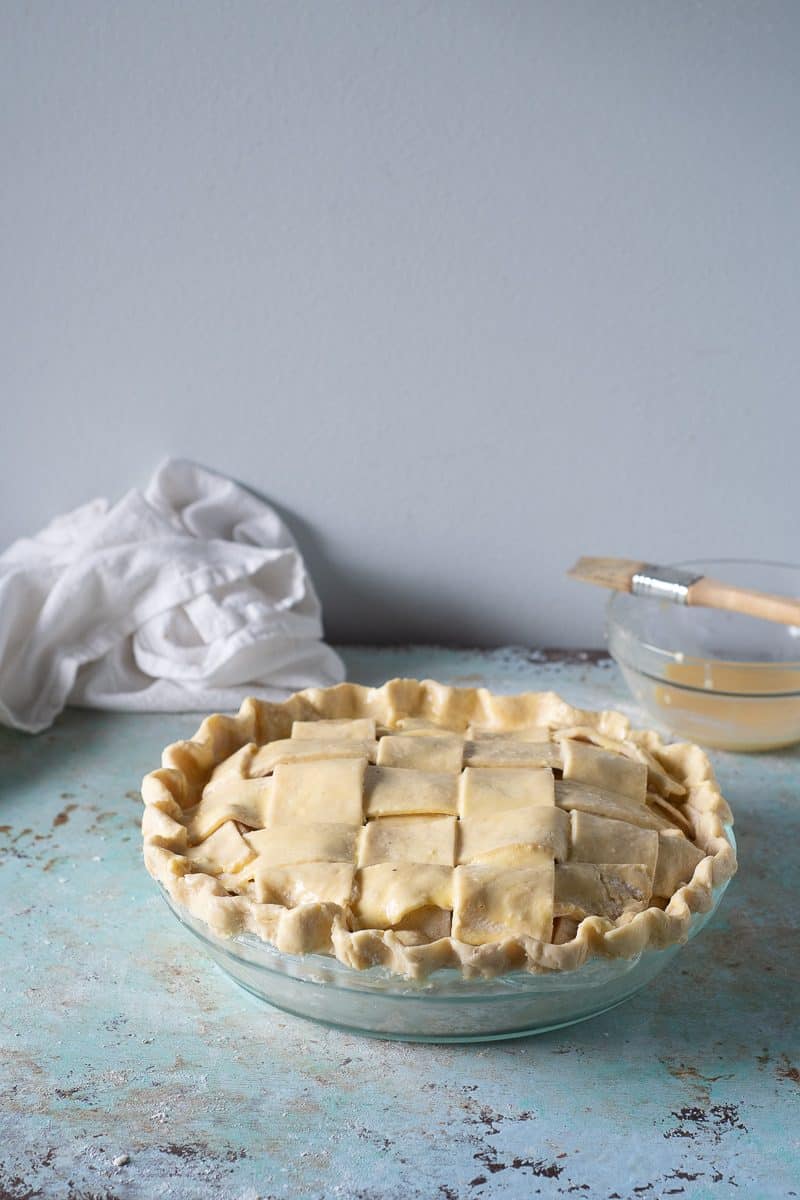
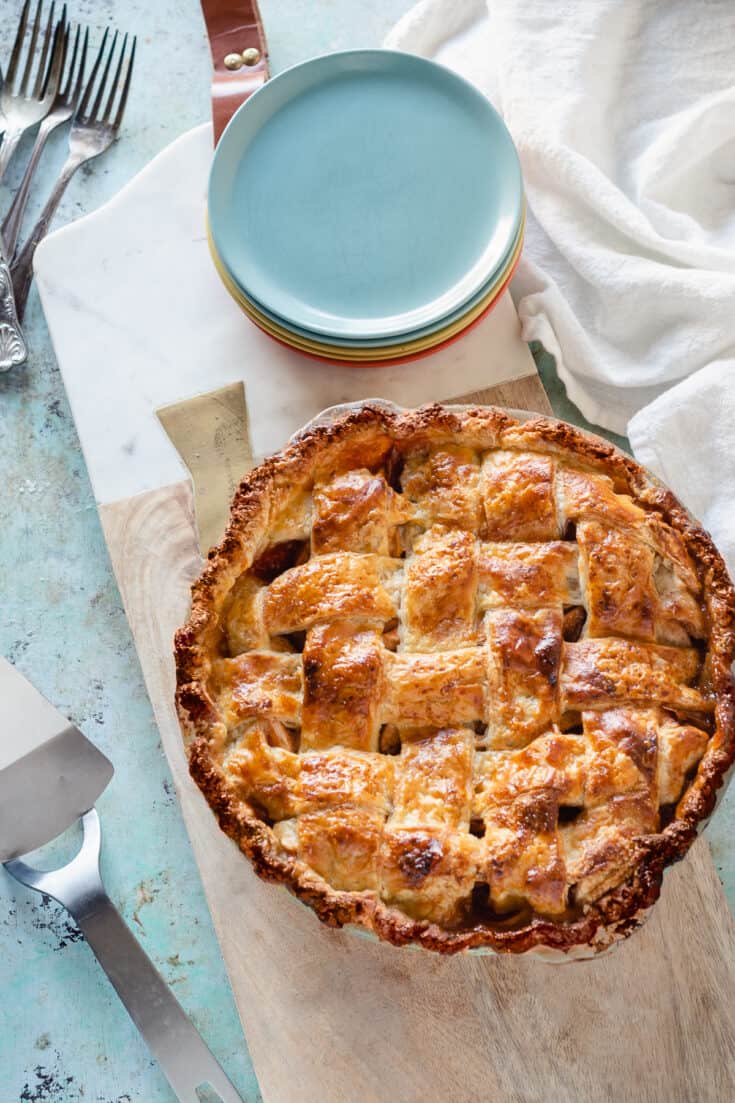
The one pictured here has a lattice-top. That part is totally optional if it feels like too much bother. You can simply top it with your rolled out top crust and slice a few vents in to allow steam to escape.
Then you brush it with a wash that’s a mix of egg and heavy cream to give it a lovely golden brown sheen.
And then it goes into the oven where the filling bubbles and softens and the crust turns a rich golden brown.
And then comes the hardest part: waiting for it tool down enough to slice.
Seriously, as much as I love warm pie, this one is at its best when it has cooled for at least two hours and is more or less at room temperature.
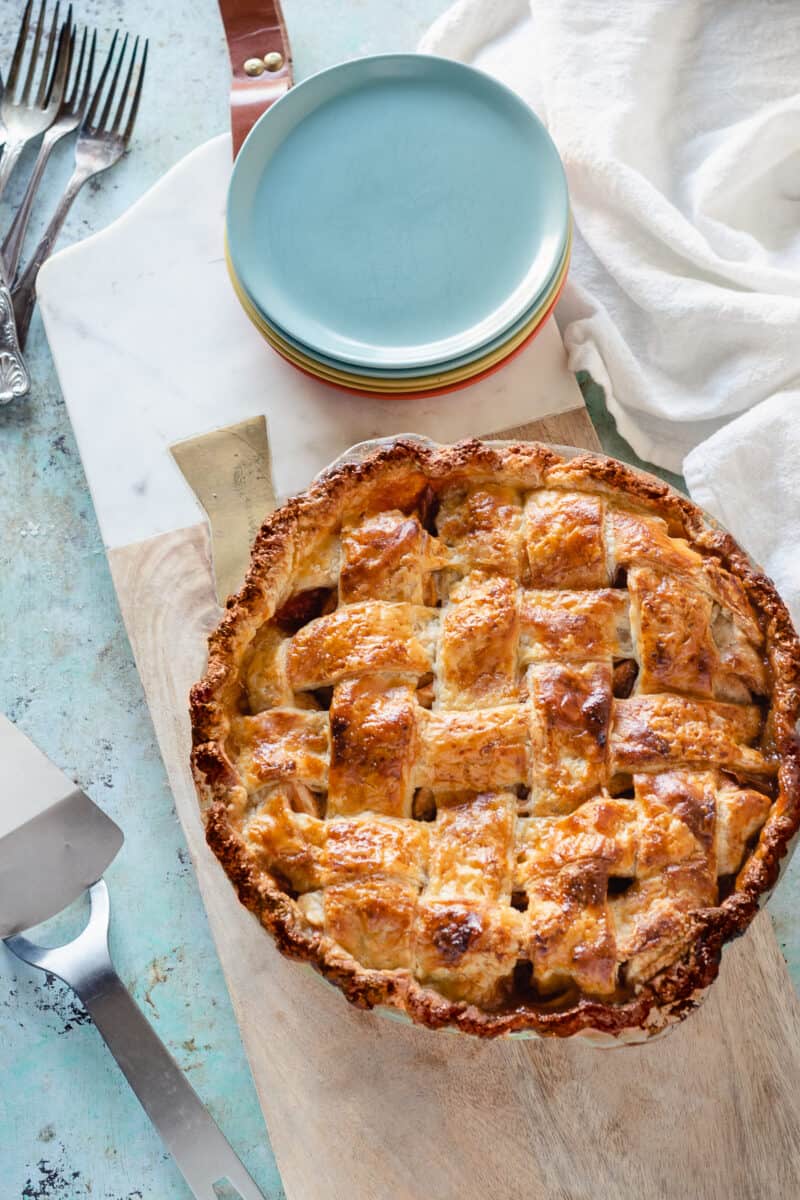
I like to slice it with a sharp chef’s knife that goes right through the crisp crust and the dense layers of apples, then use a standard pie server to get the slice out of the pie plate.
And then you just need to figure out whether or not you need a scoop of ice cream alongside that slice.
Looking for more apple desserts? Try a gorgeous (and naturally gluten free) apple beehive, these brown butter apple bars, or these brown butter apple almond cakes.
Classic Apple Pie
This apple pie is everything I look for in a classic apple pie. The crust is flaky, the filling is sturdy enough to slice but gooey enough to feel rich. It's got a mix of white and brown sugar for depth of flavor and a generous amount of cinnamon to keep the flavor profile simple and classic.
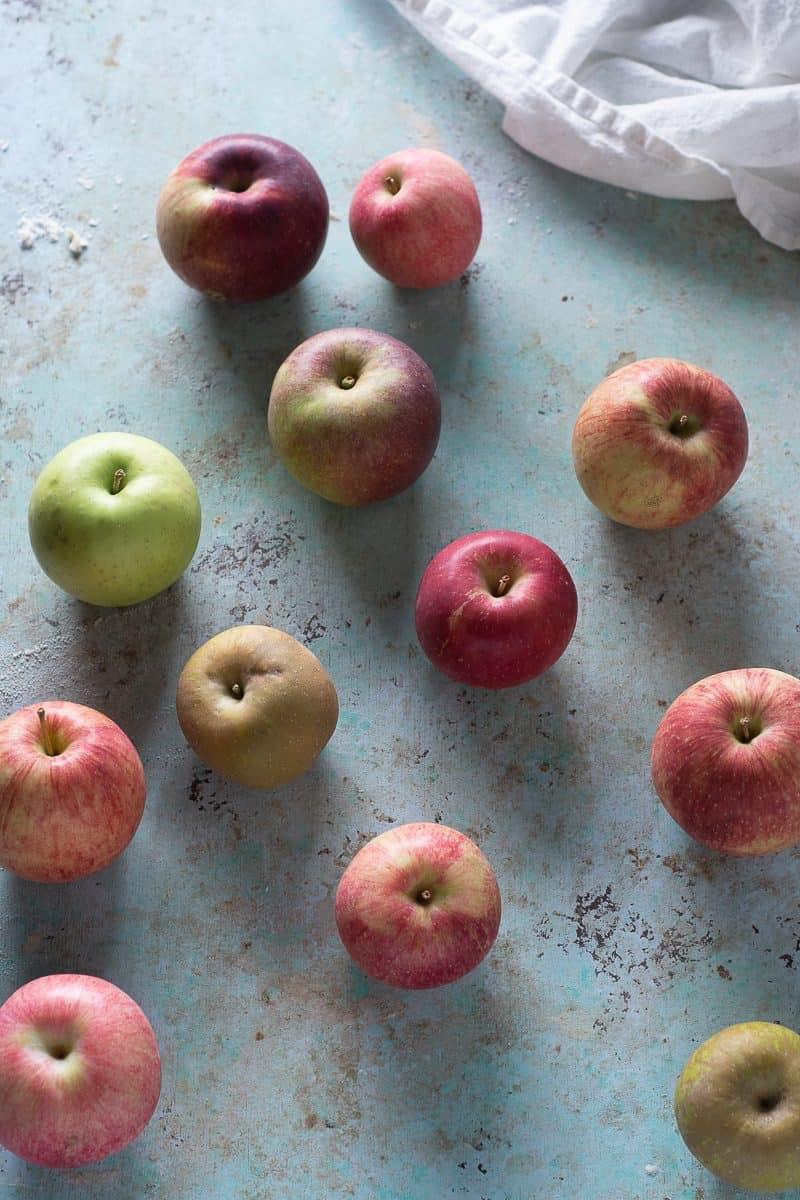
My favorite apple pies are made with a mix of apple varieties like Empires, Cortlands, Liberty, and Northern Spy. But if you are limited in what apples are available to you, Granny Smiths are a solid option.
Don't use Honey Crisp or other extra sweet and juicy apples—they're too sweet to handle extra sugar and their texture is too soft to hold up in baking.
The apples in this pie retain a bit of a firm bite. I like them that way, but if you want your apples totally soft, slice them thinner than I do here.
Ingredients
- 1 recipe double crust pie dough, rolled out and chilled
- 8 cups apples, peeled and sliced 1/3-inch thick
- 1 tablespoon lemon juice
- 1/2 cup granulated sugar
- 1/4 cup dark brown sugar
- 1/2 teaspoon kosher salt
- 1/4 cup tapioca starch (also called tapioca flour)
- 1 1/2 teaspoons cinnamon
Crust Dust
- 1 tablespoon all-purpose flour
- 1 tablespoon granulated sugar
Pie Wash
- 1 egg, beaten
- 1 tablespoon heavy cream
Instructions
- Toss the sliced apples with lemon juice, granulated sugar, brown sugar, kosher salt, tapioca starch, and cinnamon in a large mixing bowl and stir to combine until the apples are coated. Cover with plastic wrap and let the apples macerate for one hour.
- Place a fine mesh sieve over another mixing bowl and add the apple mixtures and let the liquid strain into the bowl for 30 minutes.
- Transfer the liquid to a small saucepan and bring to a boil over medium high heat and simmer until the liquid thickens, about 30 seconds. It will be dark and goopy—that's fine. Let cool for a few minutes.
- Transfer the apples to a large mixing bowl and stir in the thickened juices.
- Preheat the oven to 400°F.
- Remove your unbaked pie shell from the refrigerator. Mix together the crust dust in a small bowl and sprinkle it over the unbaked pie shell.
- Add the apple filling mixture in an even layer over the pie shell.
- Top with top layer of crust, crimp the edges, and cut a few vents in the top of the pie crust (or follow these instructions for a lattice top).
- Mix together the beaten egg and heavy cream to make the pie wash and brush over the top of the pie.
- Bake for 45 minutes to 1 hour until the crust is a deep golden brown and the juices are bubbling.
- Let cool for at least 2 hours before slicing.
Notes
Best on the day it is made, but keeps well at room temperature for up to 3 days.
Recommended Products
As an Amazon Associate and member of other affiliate programs, I earn from qualifying purchases.
-
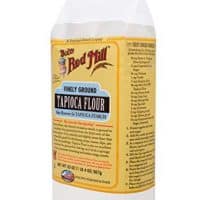 Bob's Red Mill Bob's Red Mill Finely Ground Tapioca Flour, 20-ounce,
 -
 Norpro Grip-EZ Pastry/Ravioli Wheel
 -
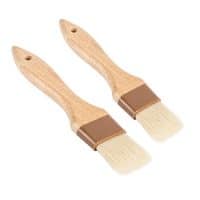 Set of 2 Pastry Brushes, 1-Inch and 1 1/2-Inch Width Natural Boar Bristle Pastry Brushes, Lacquered Hardwood Basting Brushes, Cooking / Baking Brushes
 -
 Kuhn Rikon 3-Set Original Swiss Peeler, Red/Green/Yellow
 -
 Cuisinart CTG-00-3MS Set of 3 Fine Mesh Stainless Steel Strainers
 -
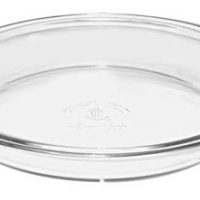 Anchor Hocking 77922 Fire-King Pie Plate, Glass, 9-Inch
Nutrition Information:
Yield:
8Serving Size:
1Amount Per Serving: Calories: 304Total Fat: 9gSaturated Fat: 4gTrans Fat: 0gUnsaturated Fat: 5gCholesterol: 27mgSodium: 263mgCarbohydrates: 55gFiber: 4gSugar: 32gProtein: 2g
Andrea Metlika
Saturday 26th of October 2019
This pie looks amazing. My favorite part is the thick, goopy, Caramel like sauce that you make out of the juices. I can see that bringing all the flavors together.
Sue
Saturday 26th of October 2019
Wow, this post is beautiful and sets such a serene mood, just what I love about baking from scratch. Your crust is awesome :)
Demeter
Saturday 26th of October 2019
Thank you for taking the time to really nail this classic and then share it with us. It’s not the holidays without Apple pie!
Alyssa
Saturday 26th of October 2019
This truly is the perfect apple pie! All of the "old time" techniques stand the test of time - there's a reason our grandmothers were such great bakers. This recipe is a keeper for sure!
Julia
Saturday 26th of October 2019
Thanks for the tip of adding crust dust - I will be trying it as I don't like soggy crust!