I may earn from purchases through links in this post.
This cake is a beauty.
It’s worthy of a special occasion. Like a birthday or a game night with an old friend with a major sweet tooth whom you haven’t seen in way too long and who you just found out is pregnant (!).
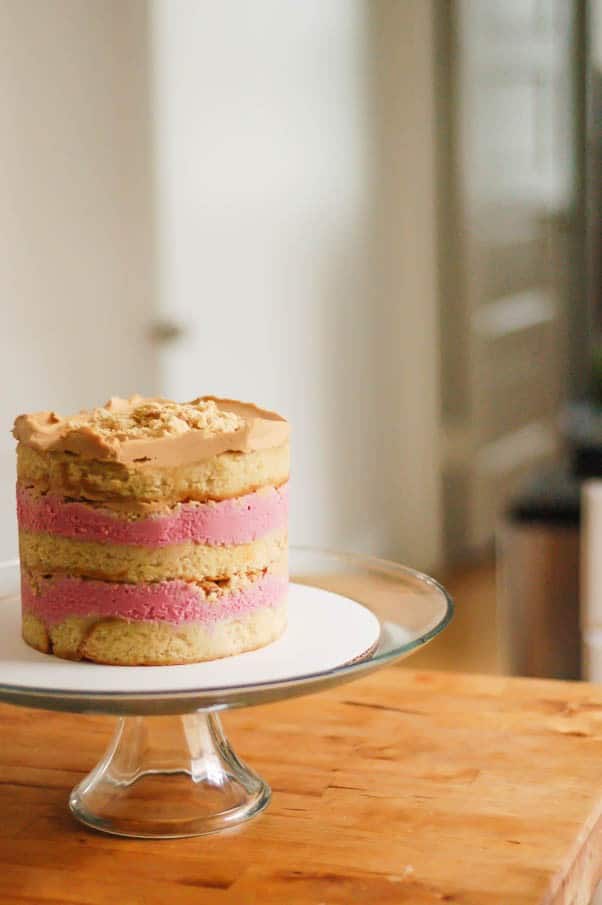
Three layers of brown butter cake filled with lush, pink cranberry curd, orange cardamom crumbs for spice and crunch, and rounded out with a Biscoff spread frosting–this cake has variety in flavor, color, and texture.
It’s a mouthful just to describe. In my head, I’ve been referring to it simply as my pink elephant.
For me, it also hits the right ratio of cake to filling to frosting. I’m not much of a frosting person. I never opt for a corner piece of a frosted sheet cake when an interior slice is available. It’s just too much sugar for me.
I also think cake fillings like this are worth showing off.
So when I saw Christina Tosi’s approach to assembling cakes at Momofuku Milk Bar, I fell hard for it.
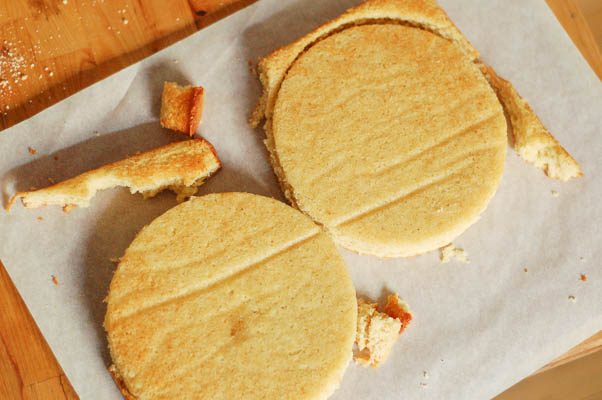
The cake is baked in a quarter sheet pan, cut out and assembled with the fillings in an acetate lined cake ring. Then it goes into the freezer overnight to set up and gets unwrapped and thaws in the refrigerator for a few hours before it’s ready to eat.
It’s a long process, but it isn’t a difficult one.
In fact, the whole thing takes a while, but each element is pretty easy. You can tackle this all at once when you have a free Saturday, or you can break it down and make one component one day, another the next, until you’re ready to assemble the whole thing.
The method and the cake are Tosi’s, but the fillings and the flavor combinations are all mine.
I love this version of cranberry curd, and you might consider making a double batch if you want some to spread on toast (or eat with a spoon later).
(And if you like cranberry curd, you should definitely try this cranberry curd tart.)
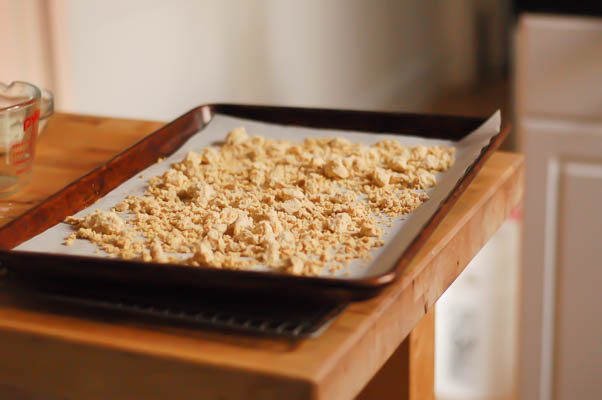
I also had some orange cardamom crumbs (which were inspired by these orange cardamom cookies) left over, but I think I could have piled them even thicker.
And the leftovers keep in the freezer for a long time and would be nice sprinkled over ice cream or just eaten out of hand.
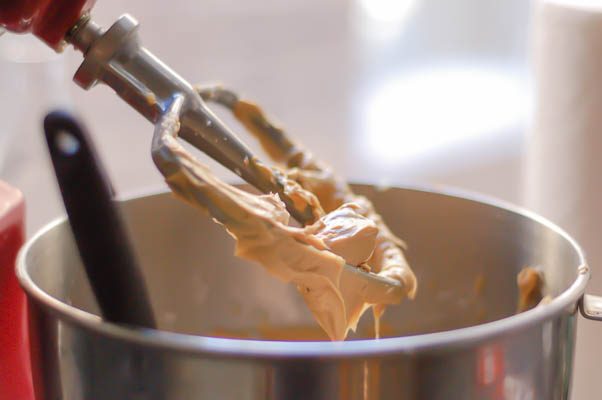
As I said, I’m not the biggest frosting person, but this Biscoff cookie butter frosting had me licking the spatula.
Then again, Biscoff cookie butter spread is one of those magic food products that tastes delicious on it’s own. My job in developing this frosting was simply to make it softer, fluffier, and smoother.
So, if you’re up for a baking adventure, give this one a try.
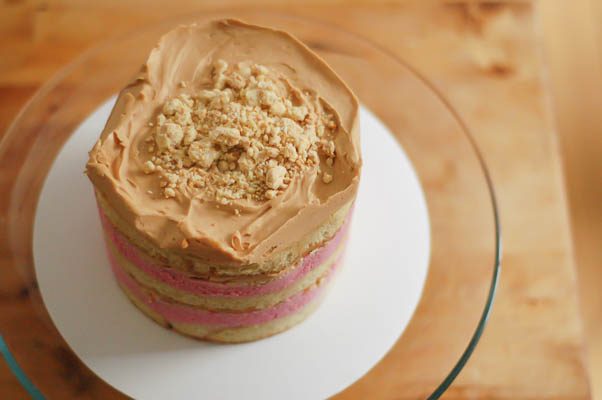
Brown Butter Cake with Cranberry Curd, Orange Cardamom Crumbs, and Biscoff Frosting (a la Momofuku Milk Bar)
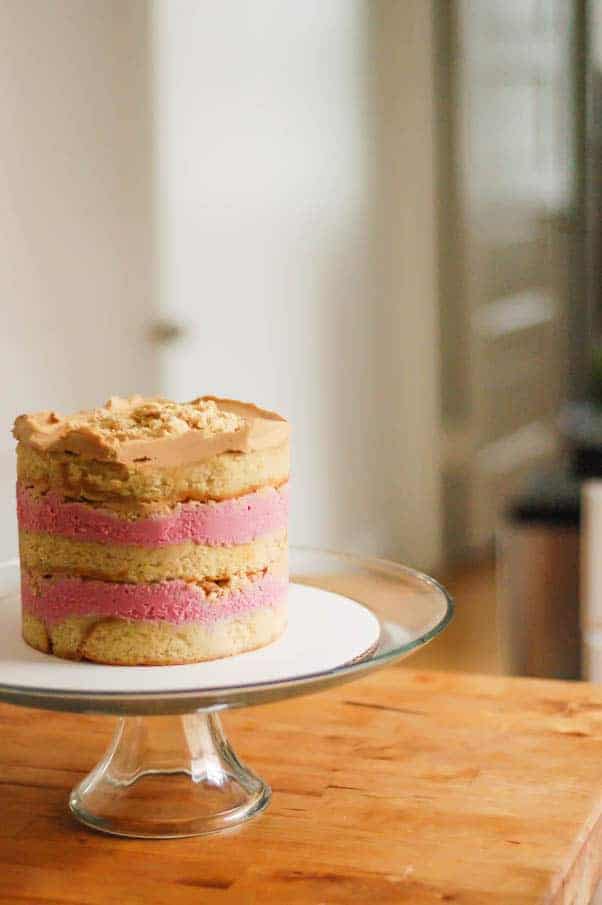
This is my take on a Momofuku Milk Bar cake. The cake and the method are Tosi’s (she’s really the genius here), but the fillings and flavor combinations are mine. This is a big project and needs to be started at least a day before you want to serve it, but all of the components except for the frosting can be made a few days ahead of time, and the fully assembled cake keeps in the freezer for up to two weeks. So you have plenty of flexibility in getting it ready for a special occasion. I had leftover orange cardamom crumbs, but I would layer them on even more densely if I made it again. I love this cranberry curd and think it’s special enough to consider doubling just to have leftovers. This method of making curd without tempering the eggs is unorthodox, but again, the method comes from Tosi, and I’ve started making all of my fruit curds this way. If you don’t have a kitchen scale, you should really think about getting one. Grams are so much more precise than cups and tablespoons. I’ve provided measurements for both weights and volume, but you’ll get more consistent results if you weigh everything.
Ingredients
Orange Cardamom Crumbs
- 40 grams (1/2 cup) nonfat dry milk powder
- 40 grams (1/4 cup) all purpose flour
- 12 grams (2 tablespoons) cornstarch
- 25 grams (2 tablespoons) sugar
- 2 grams (1/2 teaspoon) kosher salt
- .5 gram (1/4 teaspoon) ground cardamom
- zest of one orange
- 55 grams (4 tablespoons) unsalted butter, melted
- 20 grams (1/4 cup) nonfat dry milk powder
- 90 grams (3 ounces) white chocolate, melted
Cranberry Curd
- 227 grams (one 8 oz bag) fresh or frozen cranberries
- 118 grams (1/2 cup) water
- 150 grams (3/4 cup) sugar
- 2 eggs
- 113 grams (1/2 cup, one stick) unsalted butter, cold
- 1 sheet gelatin or 1/2 teaspoon powdered gelatin
- 4 grams (1 teaspoon) vanilla extract
Brown Butter Cake
- 40 grams (2 tablespoons) unsalted butter, at room temperature
- 55 grams (1/4 cup) unsalted butter, browned and cooled
- 250 grams (1 1/4 cups) sugar
- 50 grams (1/4 cup packed) brown sugar
- 3 eggs
- 110 grams (1/2 cup) buttermilk
- 65 grams (1/3 cup) grapeseed oil
- 2 grams (1/2 teaspoon) vanilla extract
- 185 grams (1 1/2 cups) all purpose flour
- 4 grams (1 teaspoon) baking powder, preferably aluminum free
- 4 grams (1 teaspoon) kosher salt
Cake Soak
- 60 grams (1/4 cup) whole milk
- 4 grams (1 teaspoon) vanilla extract
Biscoff frosting
- 150 grams (1/2 cup) creamy Biscoff cookie spread (or similar cookie butter)
- 113 grams (1/2 cup, one stick) unsalted butter, at room temperature
- 40 grams (1/4 cup) confectioners’ sugar
- 60 grams (1/4 cup) whole milk
Instructions
Make the orange cardamom crumbs.
- Preheat oven to 250°F. Line a half sheet pan with parchment paper.
- Combine the 40 grams of nonfat dry milk powder, all purpose flour, cornstarch, sugar, salt, cardamom, and orange zest in a small bowl and mix until combined. Add the melted butter and stir until everything is moistened. This mixture will clump together in clusters.
- Sprinkle these clusters on the sheet pan and bake for 20 minutes until the crumbs are dry and turn golden brown. Allow to cool completely.
- Toss the crumbs in the remaining nonfat dry milk powder until it’s mixed throughout, and then mix in the melted white chocolate and toss until well distributed throughout the crumbs. It helps to hold the clusters together. Allow to dry, and break up any large clusters. Store in an airtight container. These will keep at room temperature for several days or in the freezer for up to a month.
Make the cranberry curd.
- In a small saucepan, heat the cranberries and water over medium heat until most of the cranberries pop and split open. Pass the cranberries through a fine mesh sieve and discard the solids.
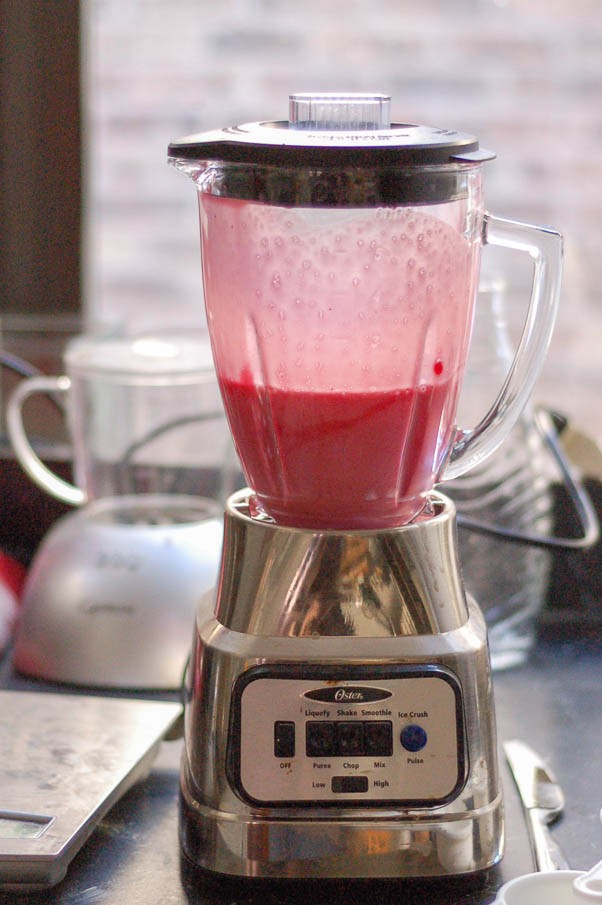
- Add the cranberry puree and sugar to a blender and mix until the sugar is dissolved. Add the eggs and blend until combined. Transfer the mixture to a saucepan and clean the blender (you’re going to use it again soon).
- Heat the cranberry mixture over low heat, whisking constantly. When it boils, immediately remove it from the heat and add to the blender.
- Bloom the gelatin (here’s how to do that). Add the gelatin and butter to the blender and blend until the mixture is pale pink, thick, and smooth.
- Transfer to a glass or metal container, cover, and refrigerate until cold, for at least an hour. It will keep in the refrigerator for up to a week.
Make the brown butter cake
- Preheat the oven to 350°F.
- In a small saucepan, heat the 55 grams of butter over medium heat until the solids are a deep brown and smells nutty and amazing. Let cool.
- Line a quarter sheet pan with parchment paper and spray with oil (I use Pam baking spray).
- In a medium bowl, whisk together the flour, baking soda, and salt. Set aside.
- In the bowl of a stand mixer fitted with a paddle attachment, combine the brown butter, room temperature butter and both sugars and mix on high for 2 to 3 minutes, until the mixture looks pale and fluffy. Scrape down the sides and bottom of the bowl. With the mixer on low, add the eggs one at a time, until incorporated. Scrape down the sides and bottom of the bowl.
- With the mixer on low speed, pour in the buttermilk, grapeseed oil, and vanilla extract. Increase the speed to medium-high and mix for 6-7 minutes, until the mixture is very pale and completely homogenous. It’s very important to make sure this is mixed thoroughly at this point. If you see any oil droplets or if the mixture looks grainy, keep mixing for a few minutes more until the mixture looks silky and smooth. Scrape down the sides and bottom of the bowl.
- Add the flour mixture, and mix on low speed for about a minute until the dry ingredients are thoroughly moistened. Scrape down the sides and bottom of the bowl again, and mix on low speed for another 45 seconds to make sure any remaining dry bits are well mixed.
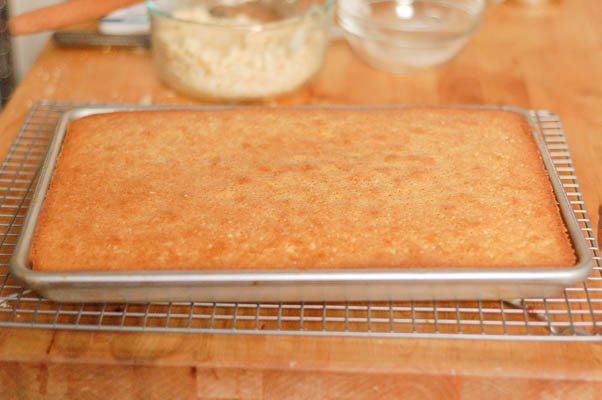
- Pour into the prepared quarter sheet pan, and spread evenly with a spatula. Bake for 30 to 35 minutes, until the cake is a deep golden brown and bounces back slightly when poked.
- Cool on a wire rack. Once cooled, the cake can be wrapped in plastic wrap and stored in the refrigerator for up to 5 days.
Make the cake soak.
- In a small bowl, mix the vanilla extract into the milk until well combined.
Make the Biscoff frosting.
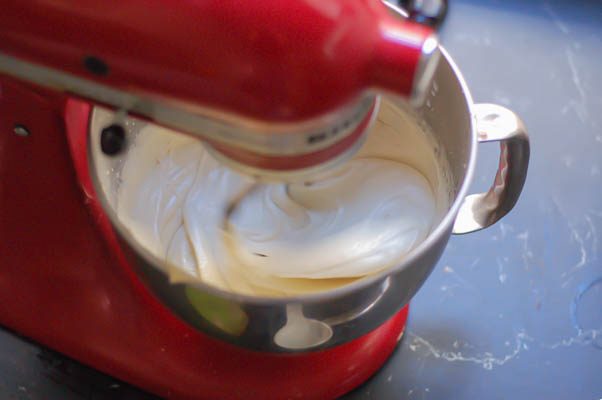
- In the bowl of a stand mixer fitted with the paddle attachment, add the butter and sugar, and mix on medium-high speed for about 3 minutes, until pale and fluffy.
- Add the Biscoff spread and milk and mix on low-medium speed until the liquid is fully incorporated. It may look hopeless when you add the milk, but keep mixing, and it will come together eventually. The frosting will be pale brown, silky smooth, and shiny. This frosting is best used right away.
Putting it all together
- Put a piece of parchment paper on the counter to make a clean safe landing spot for your cake. Invert the cake onto the paper, and peel off the parchment that lined the pan.
- Using a 6-inch cake ring, stamp out two circles from the cake. Those are the top two layers of your cake. The remaining bits will become the bottom layer.
- Line a half or quarter sheet pan with parchment, place the cake ring in the center, and line the ring with a sheet of acetate–about 20 inches long and 6 inches high. Tape the acetate together with scotch tape.
- Put the scraps of cake inside the ring, and tamp it all together into an even layer. You want the cake to fill the ring to the edges, but don’t worry if it isn’t pretty. This part doesn’t have to be perfect.
- Using a pastry brush, spread half of the milk cake soak onto the bottom layer of cake. Spread half the cranberry curd over the cake in an even layer (the back of a spoon or a small offset spatula works well for this). Sprinkle one-third of the orange cardamom crumbs over the curd and gently press them into the curd with your hand. Spread one-third of the Biscoff frosting over the crumbs. Try to get it as even as possible, but don’t worry if some of the crumbs come up.
- Set one of the rounds of cake (if one of the cake rounds is prettier than the other, save it for the top layer and use the homelier one here) on top of the frosting, and repeat with the soak, cranberry curd, orange cardamom crumbs, and frosting.
- Place the final cake round on top, and cover with the remaining Biscoff frosting. Pile on the remaining orange cardamom crumbs. If it feels like you have too many crumbs, you can leave some off and save them for another purpose.
- Cover loosely with plastic wrap and place the sheet pan into the freezer for at least 12 hours or for up to two weeks.
- At least three hours before you want to serve the cake, remove from the freezer. Gently pull the cake, acetate and all, from the cake ring. Carefully remove the acetate lining, and transfer the cake to a plate or cardboard circle and place in the refrigerator. Let it defrost in the refrigerator for at least three hours or for up to a day. After it is defrosted, it will be fine at room temperature for several hours.
- Slice into wedges, and serve.
Recommended Products
As an Amazon Associate and member of other affiliate programs, I earn from qualifying purchases.
-
 Momofuku Milk Bar
 -
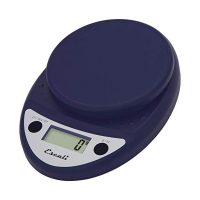 Escali Primo Digital Kitchen Scale (11 lb/ 5 kg Capacity) (0.05 oz/ 1 g Increment) Premium Food Scale for Baking, Cooking and Mail
 -
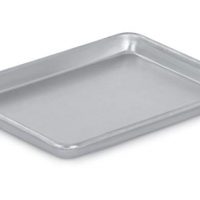 Vollrath (5220) Quarter Size Sheet Pan
 -
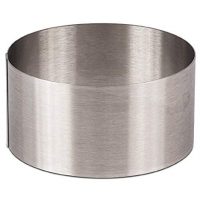 JB Prince Tall Cake Ring - 6 x 3 inch high
 -
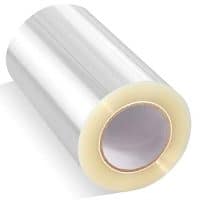 Cake Collar, GUCUJI Chocolate Mousse and Cake Decorating Acetate Sheet CLEAR ACETATE ROLL 125 Micron (3.1 X 394 inch)
 -
 9" Round Coated Cakeboard, 12 ct
 -
 Biscoff Cookie Butter Spread (Creamy + Crunchy Combo Pack)
Nutrition Information:
Yield:
12Serving Size:
1Amount Per Serving: Calories: 707Total Fat: 54gSaturated Fat: 29gTrans Fat: 0gUnsaturated Fat: 22gCholesterol: 194mgSodium: 364mgCarbohydrates: 50gFiber: 1gSugar: 35gProtein: 8g

Janine
Friday 11th of June 2021
Could you possibly add to the recipe how much water to bloom the gelatine in? The instructions are a bit confusing as they are for a whole package not just 1/2 tsp. I tried to do the math to figure it out how much liquid I should use and it didn’t set and I ended up with a runny curd. Also it doesn’t say when to add the vanilla. I crumb is delicious!! And the curd tastes amazing! I just wish it had set.
Janine
Tuesday 15th of June 2021
@Mary Kasprzak, That’s awesome thank you!!!!!!! It all worked out in the end. Fabulous recipe! The flavours are beautiful and all go so well together. I will definitely make it again.
Mary Kasprzak
Saturday 12th of June 2021
If you're using powdered gelatin it should be about 1 1/2 teaspoons of water. You really just want enough to cover the gelatin.
AnneIrene
Tuesday 27th of November 2018
This was amazing! I've made three MilkBar/Momofuku-style cakes and this was my favorite. The combination of flavors is perfect!
Mary
Tuesday 27th of November 2018
Thanks so much! I'm glad you liked it as much as I did!
Lynn | The Road to Honey
Thursday 19th of November 2015
Momofuku cakes are absolutely divine. I love how you took the technique and made it your own with these fall perfect flavors. Beautiful!
Mary
Thursday 19th of November 2015
Thanks, Lynn! I'm glad we're agreed on the awesomeness of Momofuku cakes. They're something special for sure.
Thalia @ butter and brioche
Monday 12th of January 2015
Love Momofuku recipes! This cake looks SO awesome.. and quite an undertaking too I can imagine. Wish I had a slice to devour right now!
Momofuku Milk Bar Crack Pie | Blossom to Stem
Wednesday 28th of May 2014
[…] another one from Christina Tosi’s Momofuku Milk Bar, which inspired this cake and this tart. This time, though, I played it straight and pretty much followed the original […]