I may earn from purchases through links in this post.
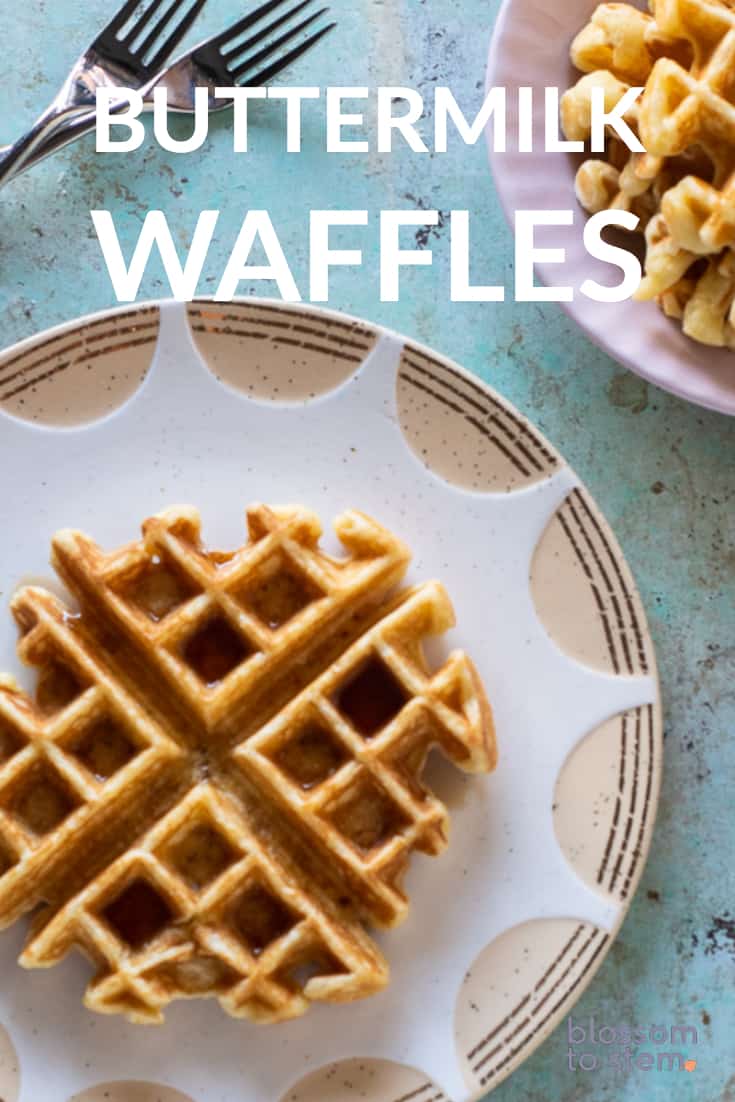
These buttermilk waffles are just the thing to make when you want a breakfast that feels special but doesn’t require too much work.
There’s no separating of egg yolks and whites. No beating of egg whites.
Not that there’s anything wrong with that. It can produce great waffles. But I am way too lazy to do that on a typical weekend morning.
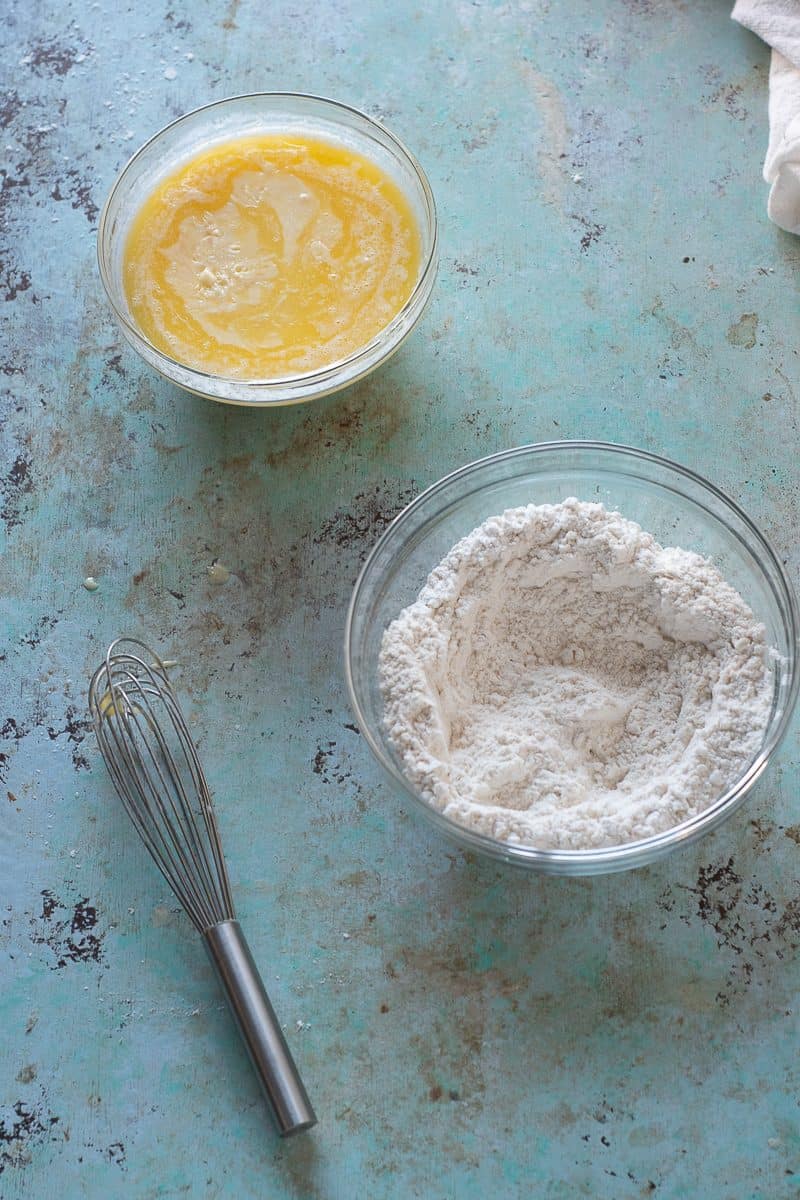
These waffles are a simple two-bowl affair. And they could even be a one-bowl job if you promise to be careful not to over mix the batter.
Mixing the dry ingredients and the wet ingredients separately first, and then adding the wet stuff to the dry stuff helps to avoid overworking the gluten in the flour, which can make your waffles unpleasantly tough and chewy (which, let’s be honest, is not what most of us are looking for in waffles, even if it can be a great feature of pizza dough).
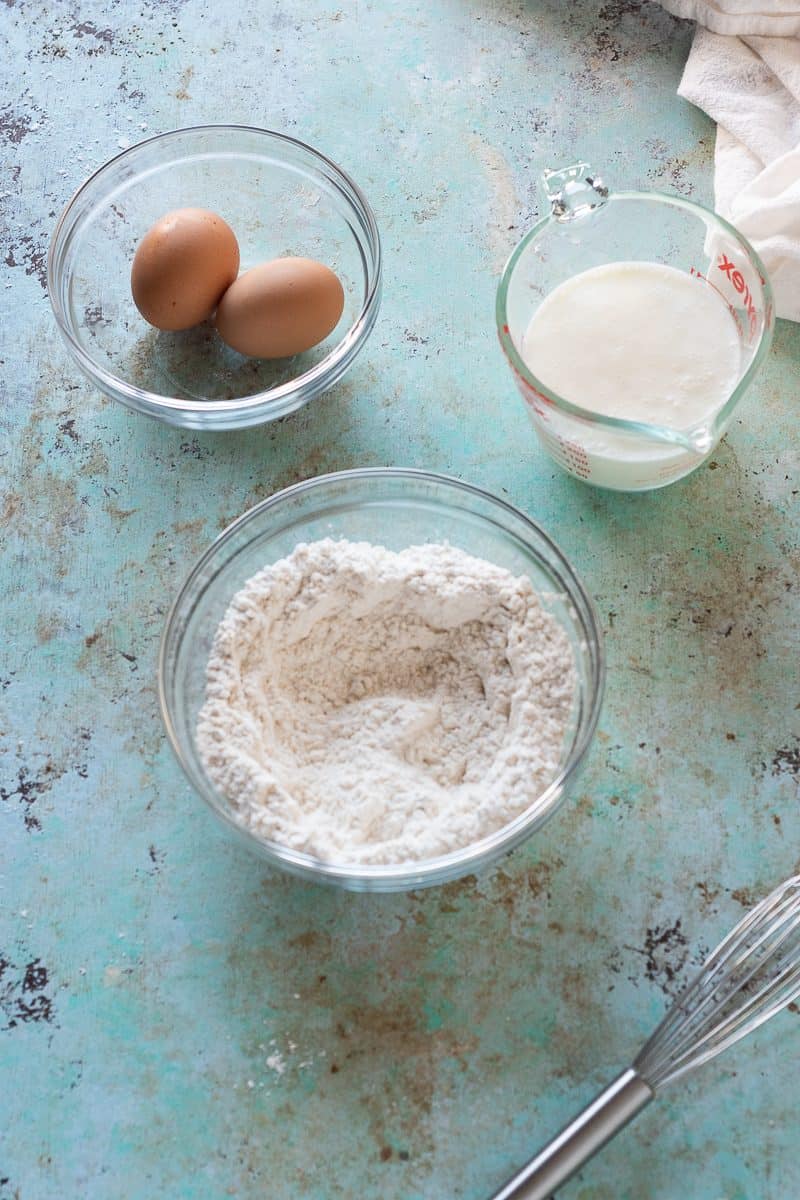
There’s a short list of ingredients, mostly involving the kinds of things most casual bakers have in their pantry.
A bit of flour, baking powder, baking soda (to neutralize some of the acidity from the buttermilk and help with browning), a pinch of salt, then buttermilk, eggs, a little bit of sugar, and melted butter.
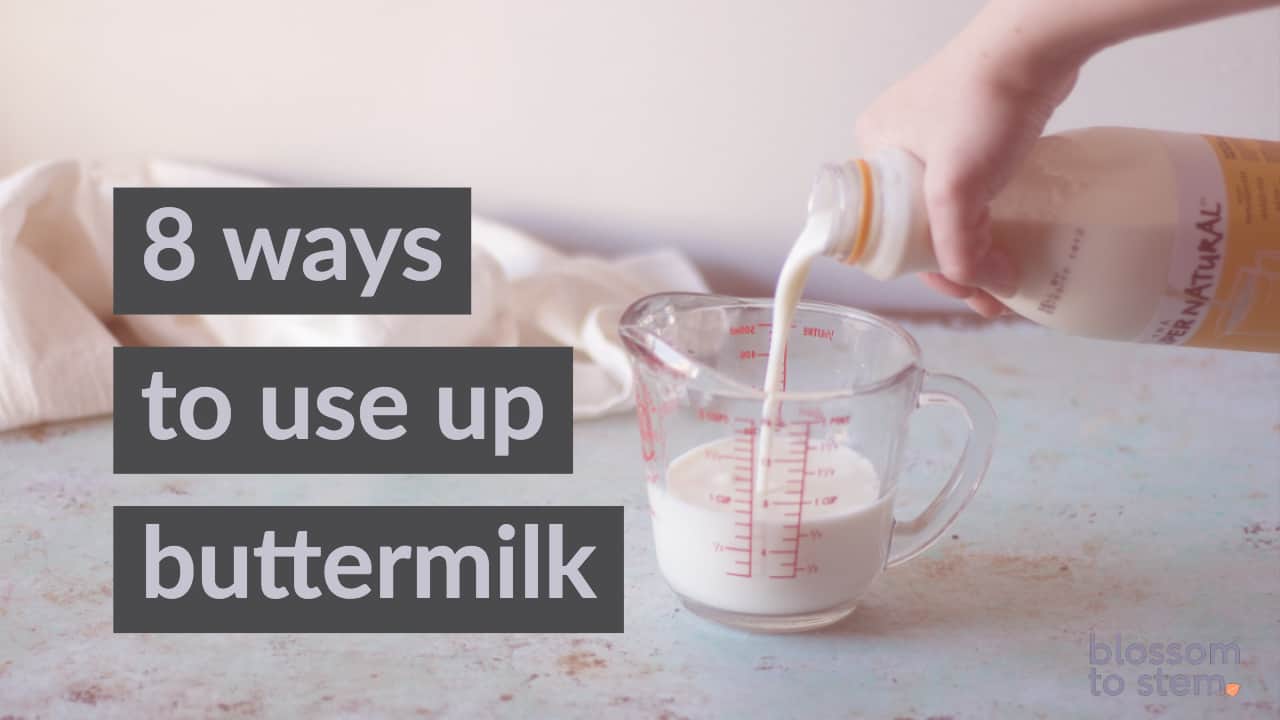
I know not everyone keeps buttermilk around. It’s the sort of ingredient that people are always either looking to substitute something else in its place or looking to use up the weird amount they have hanging around in the back of the fridge.
I’ll tell you that you’ll get the best results for these buttermilk waffles if you use actual buttermilk. They’ll more or less work with common buttermilk substitutes like milk with lemon juice or thinned out yogurt, but the batter will spread more with milk and the inside will be slightly gummy with yogurt.
Buttermilk is uniquely suited to giving these waffles a light and lovely and custardy texture in the middle and a golden brown exterior.
If you must use a substitute for buttermilk, kefir is your best bet.
And you don’t need to fear having extra buttermilk around. This batter uses a pint, which will use up a small container of buttermilk.
And if you only find quarts at your grocery store or only make a half batch (like I did for the pictures here), you can use the rest in these buttermilk biscuits, or this buttermilk French toast, or in this sugar snap pea and farro bowl with buttermilk dressing.
But armed with buttermilk, these waffles are a cinch to make.
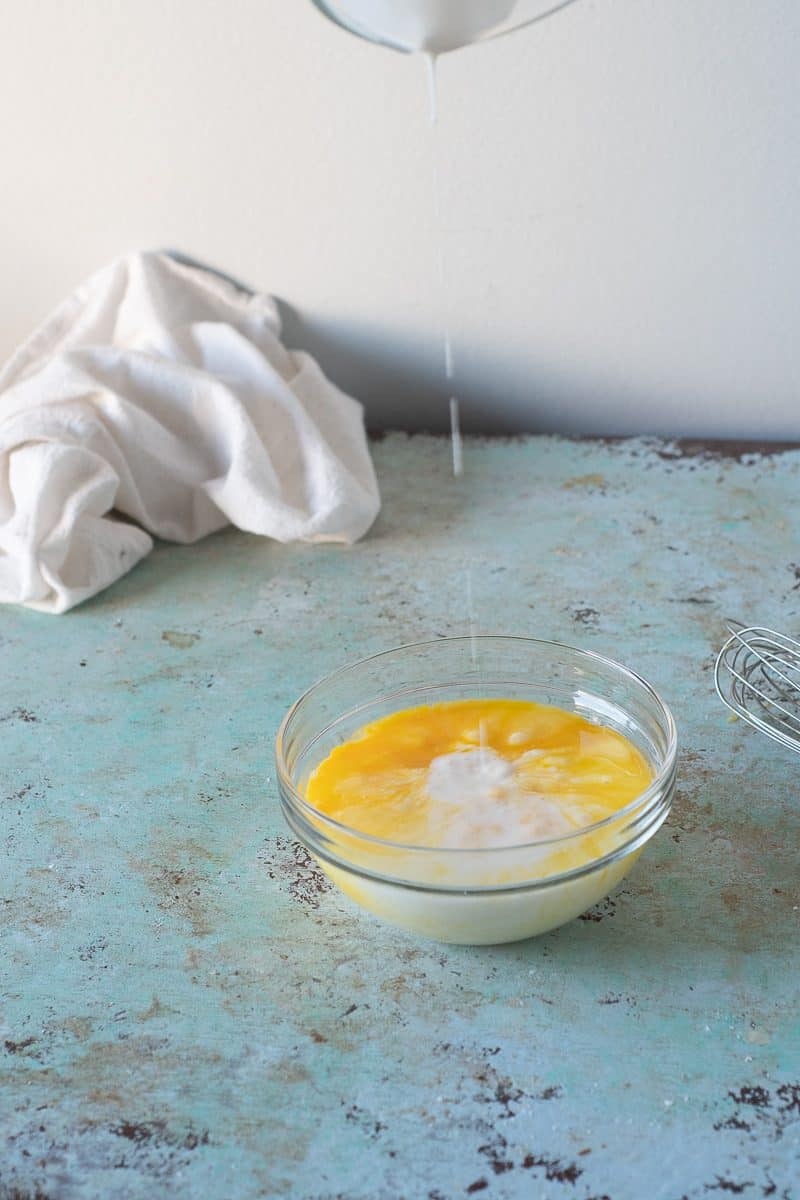
Whisk together your dry ingredients in one bowl. Whisk together the wet ingredients in another bowl. Mix the two together. Let it sit for 10 minutes while you haul out the waffle iron and let it heat up.
I find that letting the batter sit for a few minutes helps the batter thicken just slightly, which makes it easier to spread in the waffle iron.
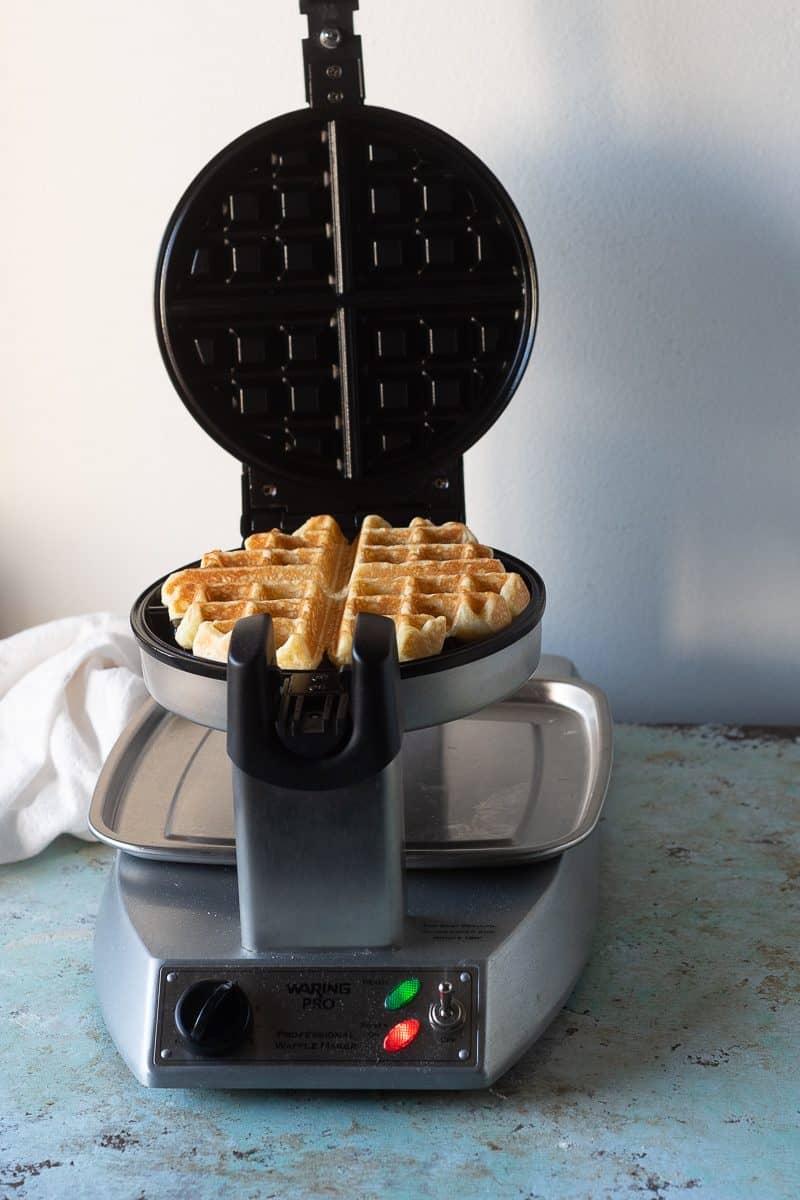
I usually spray my waffle iron with a little nonstick spray before I make the first waffle. You could also brush it with a little bit of neutral oil (like canola or grapeseed) or melted butter. This helps prevent the dreaded stuck waffle.
But there’s no need to add more oil after the first waffle—one application should provide sufficient stick protection for the whole batch.
Also, because I know waffle makers vary, the yield on this is going to be different depending on the model you have. A thick Belgian style waffle iron holds more batter per waffle than more standard American style irons (though both styles are common in American households).
But my rule of thumb on these is pouring batter in to cover about 2/3 of the waffle iron and allowing the batter to spread so that you avoid batter squidging out the sides when you close the iron.
You can adjust on the next waffle if you find you want to tweak it.
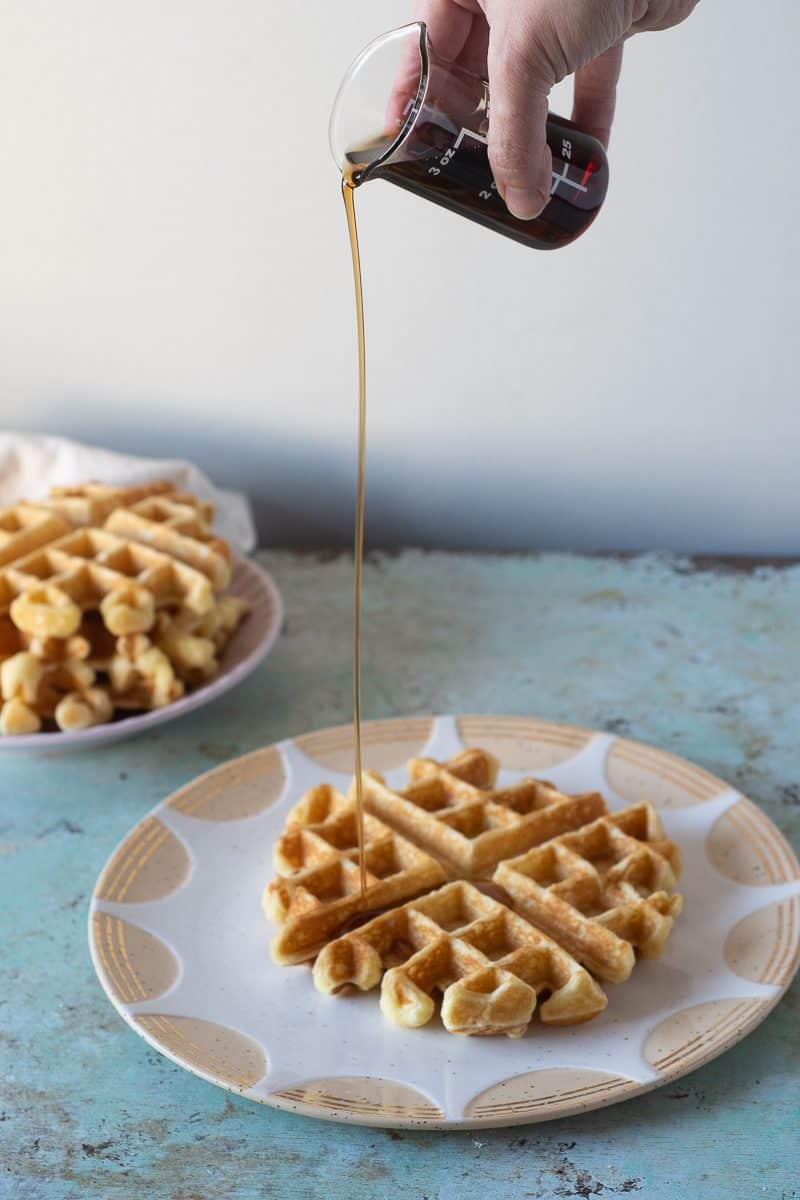
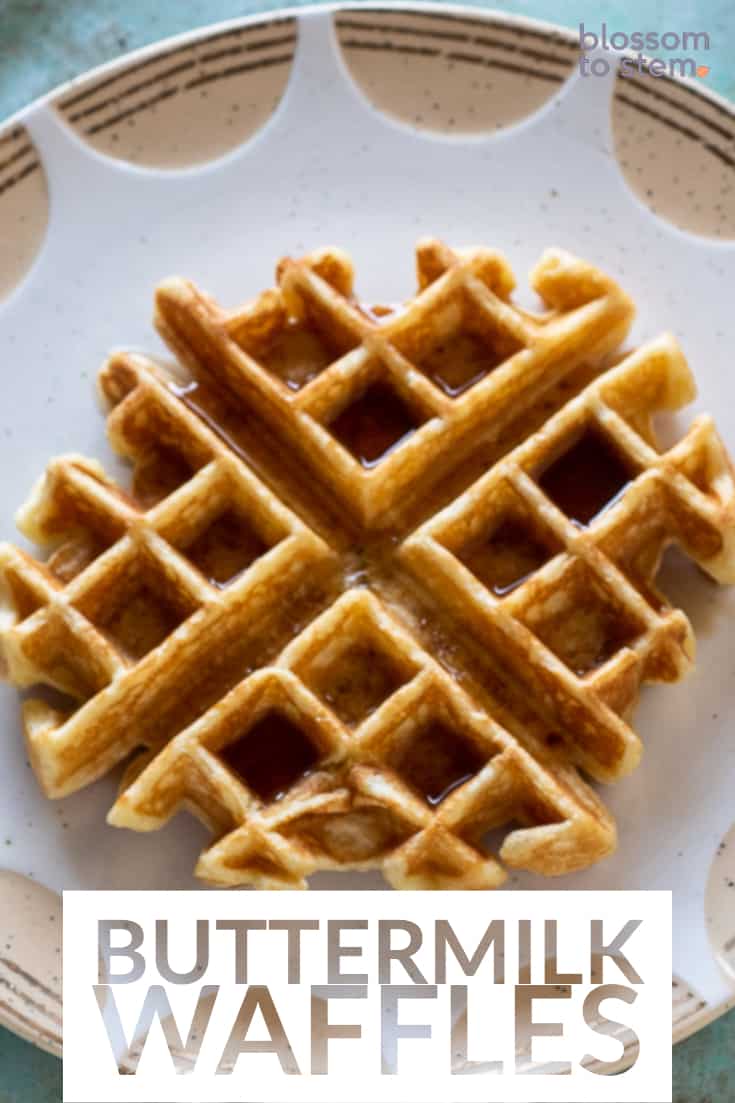
Then you just need to decide how much maple syrup you want on it.
Or if you’d rather go with a dusting of powdered sugar and berries.
Or go savory with chicken and waffles.
Or make a waffle sundae for dessert.
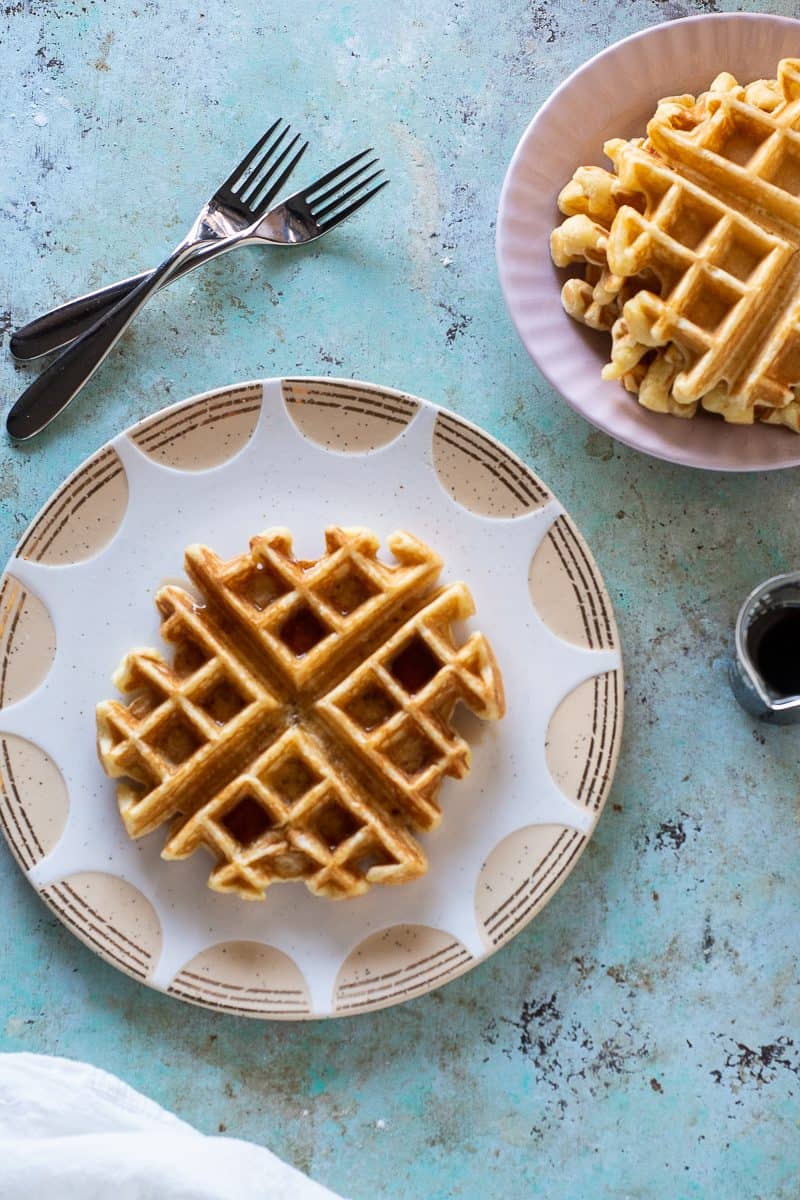
There’s no wrong way to eat these waffles.
So go ahead and enjoy them.
Buttermilk Waffles

These buttermilk waffles are light and custardy on the inside and golden brown on the outside. These are best made with real cultured buttermilk rather than any of the common substitutes, but if you don't have buttermilk available kefir is the best alternative. These waffles are barely sweet (the sugar helps with the browning) and work well with a variety of toppings from classic maple syrup to fruit to savory toppings if chicken and waffles is your thing. The yield on these will vary depending on your waffle maker. The waffles pictured here were made in a Belgian-style waffle iron, but this batter also works well in a more standard thinner American-style waffle iron.
Ingredients
- 2 cups (250 grams) all-purpose flour
- 1 teaspoon baking powder
- 1/2 teaspoon baking soda
- 3/4 teaspoon kosher salt
- 4 large eggs
- 2 cups buttermilk
- 2 tablespoons and sugar
- 4 tablespoons unsalted butter, melted and cooled
Instructions
- Add the flour, baking powder, baking soda, and salt to a large mixing bowl and whisk until combined.
- Add the eggs to a separate bowl and beat lightly, then add the buttermilk, sugar, and melted butter and whisk together until combined.
- Add the wet ingredients to the dry ingredients and stir with a rubber spatula until the flour mixture is thoroughly moistened and no lumps remain but stop there. Avoid over mixing, which will make the waffles tough. The batter will be slightly thick and bubbles will start to form.
- Let the batter sit for about 10 minutes while you heat your waffle iron and heat your oven to 200°F.
- When the waffle iron is heated, spray with nonstick spray or brush with oil or melted butter. Then add batter to cover about 2/3 of the surface of your waffle iron to allow for spreading.
- Cook according to the manufacturers directions on your waffle iron.
- Carefully remove with tongs or lift up with a fork and place on a plate and transfer to the oven to keep warm while you make the remaining waffles.
- Serve warm, topped with maple syrup or your desired toppings.
Notes
These are best when they are made, but leftover waffles can be refrigerated and toasted the next day.
Recommended Products
As an Amazon Associate and member of other affiliate programs, I earn from qualifying purchases.
-
 Arm&Hammer Pure Baking Soda, 8 Ounce (Pack of 3)
 -
 Rumford, Baking Powder, 8.1 oz
 -
 Gold Medal All Purpose Flour 5lb (Pack of 01)
 -
 Diamond Crystal Kosher Salt, 3 lbs - Pack of 2
 -
 OXO Good Grips 12-Inch Stainless-Steel Locking Tongs
 -
 Hidden Springs Organic Vermont Maple Syrup, Grade A Dark Robust (Formerly Grade B), 32 Ounce, 1 Quart, Family Farms, BPA-free Jug
 -
 Chef'sChoice 840B WafflePro Taste/Texture Select Nonstick Classic Belgian Waffle Maker
Nutrition Information:
Yield:
8Serving Size:
1Amount Per Serving: Calories: 237Total Fat: 9gSaturated Fat: 5gTrans Fat: 0gUnsaturated Fat: 4gCholesterol: 111mgSodium: 491mgCarbohydrates: 30gFiber: 1gSugar: 6gProtein: 8g
Liz
Thursday 5th of September 2019
These waffles look absolutely perfect! Waffles are my husbands favorite so these are going to be a weekend staple!
Traci
Thursday 5th of September 2019
Scrumptious! Buttermilk just adds the right touch to make them light, fluffy, and so tasty! Thanks for sharing another winner :)
Jamie
Thursday 5th of September 2019
I made these waffles for brunch with my friends and everyone loved it! They were soft and pillowy and just perfectly sweet. Great recipe!
Pam Greer
Thursday 5th of September 2019
Oh my, it's been way too long since I've made waffles and I've never made buttermilk waffles. I love buttermilk pancakes, I can't believe I haven't tried buttermilk waffles.